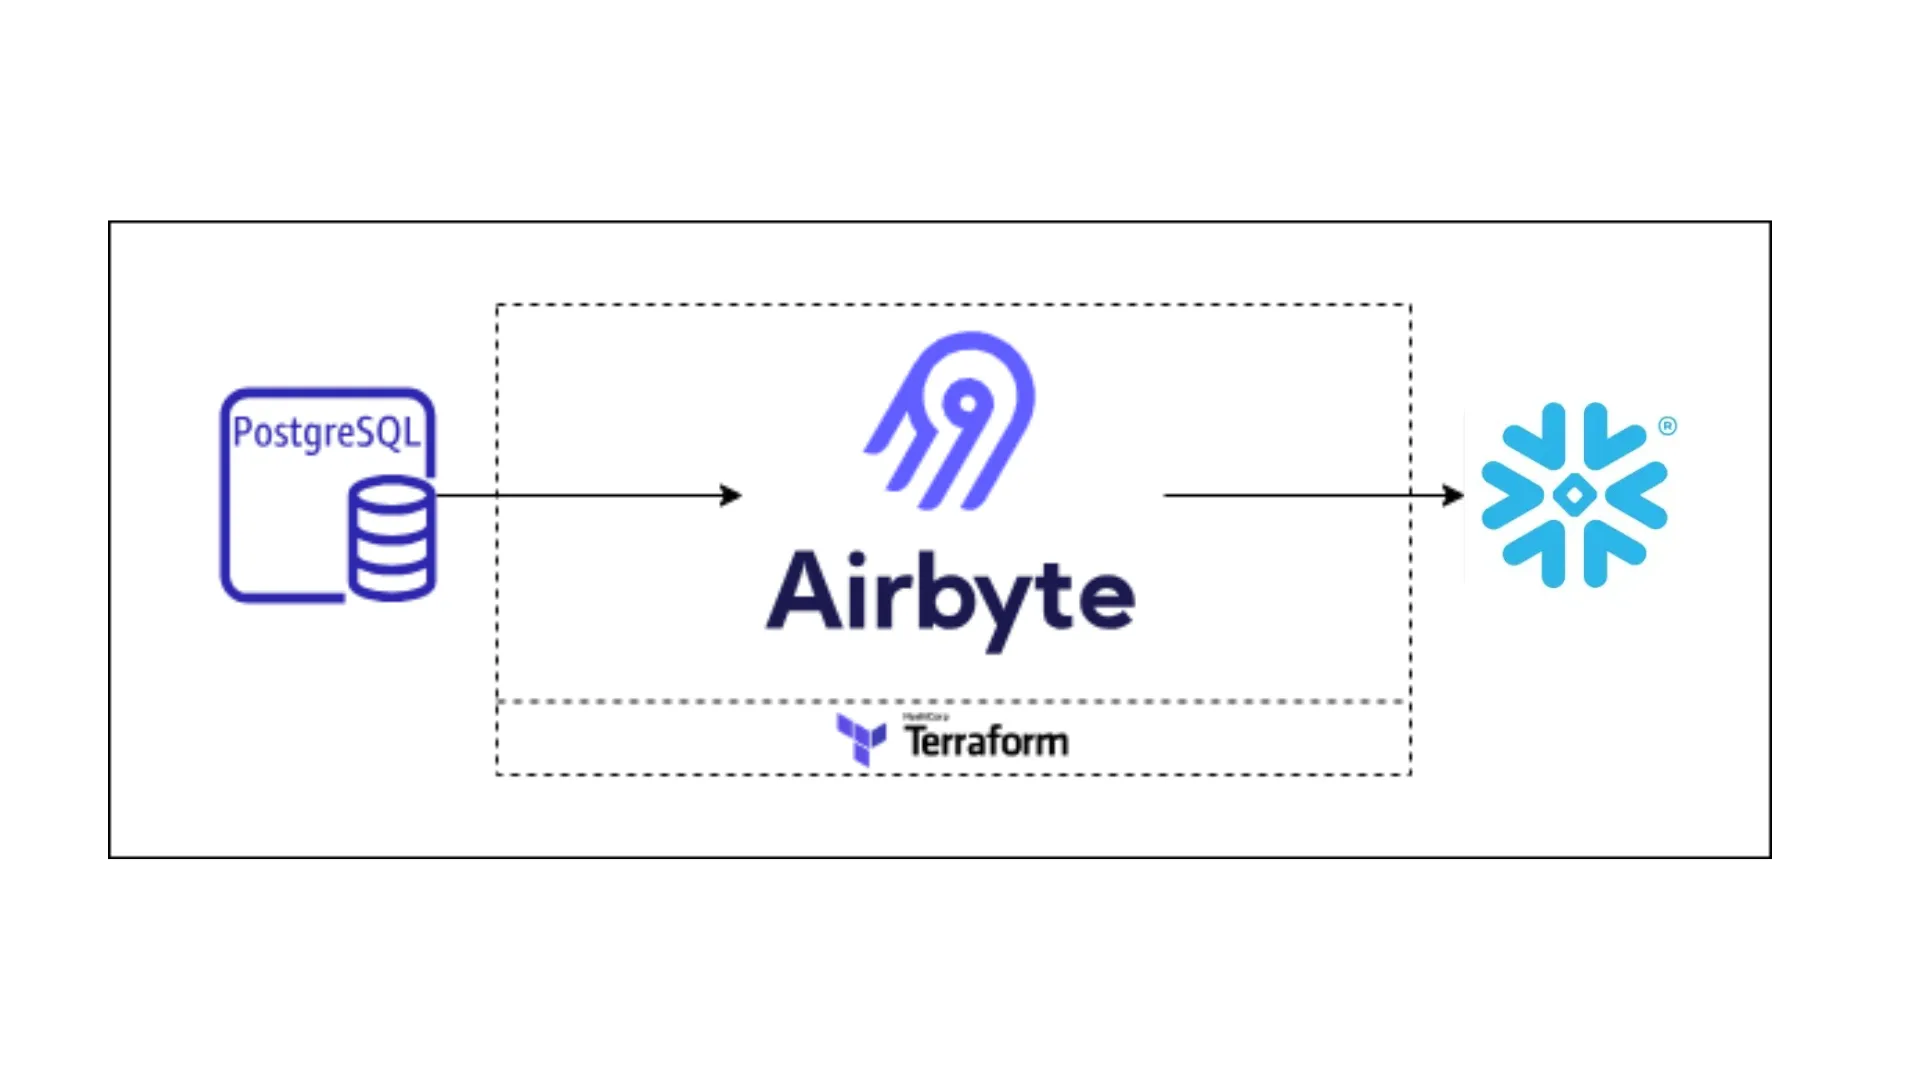
Navigate Postgres to Snowflake integrations effortlessly with Airbyte and terraform. Launch into a world of data connectivity with our streamlined template.
Summarize this article with:
Welcome to the "Postgres Snowflake Data Integration Stack" repository! This repo provides a quickstart template for integrating postgres data to snowflake warehouses using Airbyte powering terraform. We will easily integrate data from Postgres databases with Airbyte using terraform airbyte provider. This template could be act as a starter for integrating and also adding new sources, etc... the limits are endless.
This quickstart is designed to minimize setup hassles and propel you forward.

Before you embark on this integration, ensure you have the following set up and ready:
Get the project up and running on your local machine by following these steps:
1. Clone the repository (Clone only this quickstart):
2. Navigate to the directory:
3. Set Up a Virtual Environment (You may skip this and the following step if you don't want to develop or contribute):
For Linux and Mac:
For Windows:
4. Install Dependencies:
Airbyte allows you to create connectors for sources and destinations, facilitating data synchronization between various platforms. In this project, we're harnessing the power of Terraform to automate the creation of these connectors and the connections between them. Here's how you can set this up:
1. Navigate to the Airbyte Configuration Directory:
Change to the relevant directory containing the Terraform configuration for Airbyte:
2. Modify Configuration Files:
Within the infra/airbyte directory, you'll find three crucial Terraform files:
Adjust the configurations in these files to suit your project's needs. Specifically, provide credentials for your Postgres connections. You can utilize the variables.tf file to manage these credentials.
3. Initialize Terraform:
This step prepares Terraform to create the resources defined in your configuration files.
4. Review the Plan:
Before applying any changes, review the plan to understand what Terraform will do.
5. Apply Configuration:
After reviewing and confirming the plan, apply the Terraform configurations to create the necessary Airbyte resources.
6. Verify in Airbyte UI:
Once Terraform completes its tasks, navigate to the Airbyte UI. Here, you should see your source and destination connectors, as well as the connection between them, set up and ready to go.
Once you've set up and launched this initial integration, the real power lies in its adaptability and extensibility. Here’s a roadmap to help you customize and harness this project tailored to your specific data needs:
Extend the Project:
The real beauty of this integration is its extensibility. Whether you want to add more data sources, integrate additional tools, or add some transformation logic – the floor is yours. With the foundation set, sky's the limit for how you want to extend and refine your data processes.
Download our free guide and discover the best approach for your needs, whether it's building your ELT solution in-house or opting for Airbyte Open Source or Airbyte Cloud.
