How to Setup Quickbooks in 3 Easy Steps? [With Use Cases]
Summarize this article with:
✨ AI Generated Summary
QuickBooks setup overwhelms most small business owners. One business guide lists more than a dozen menus to configure before recording your first sale. These range from company details to industry presets to payment terms. Most of these settings can wait.
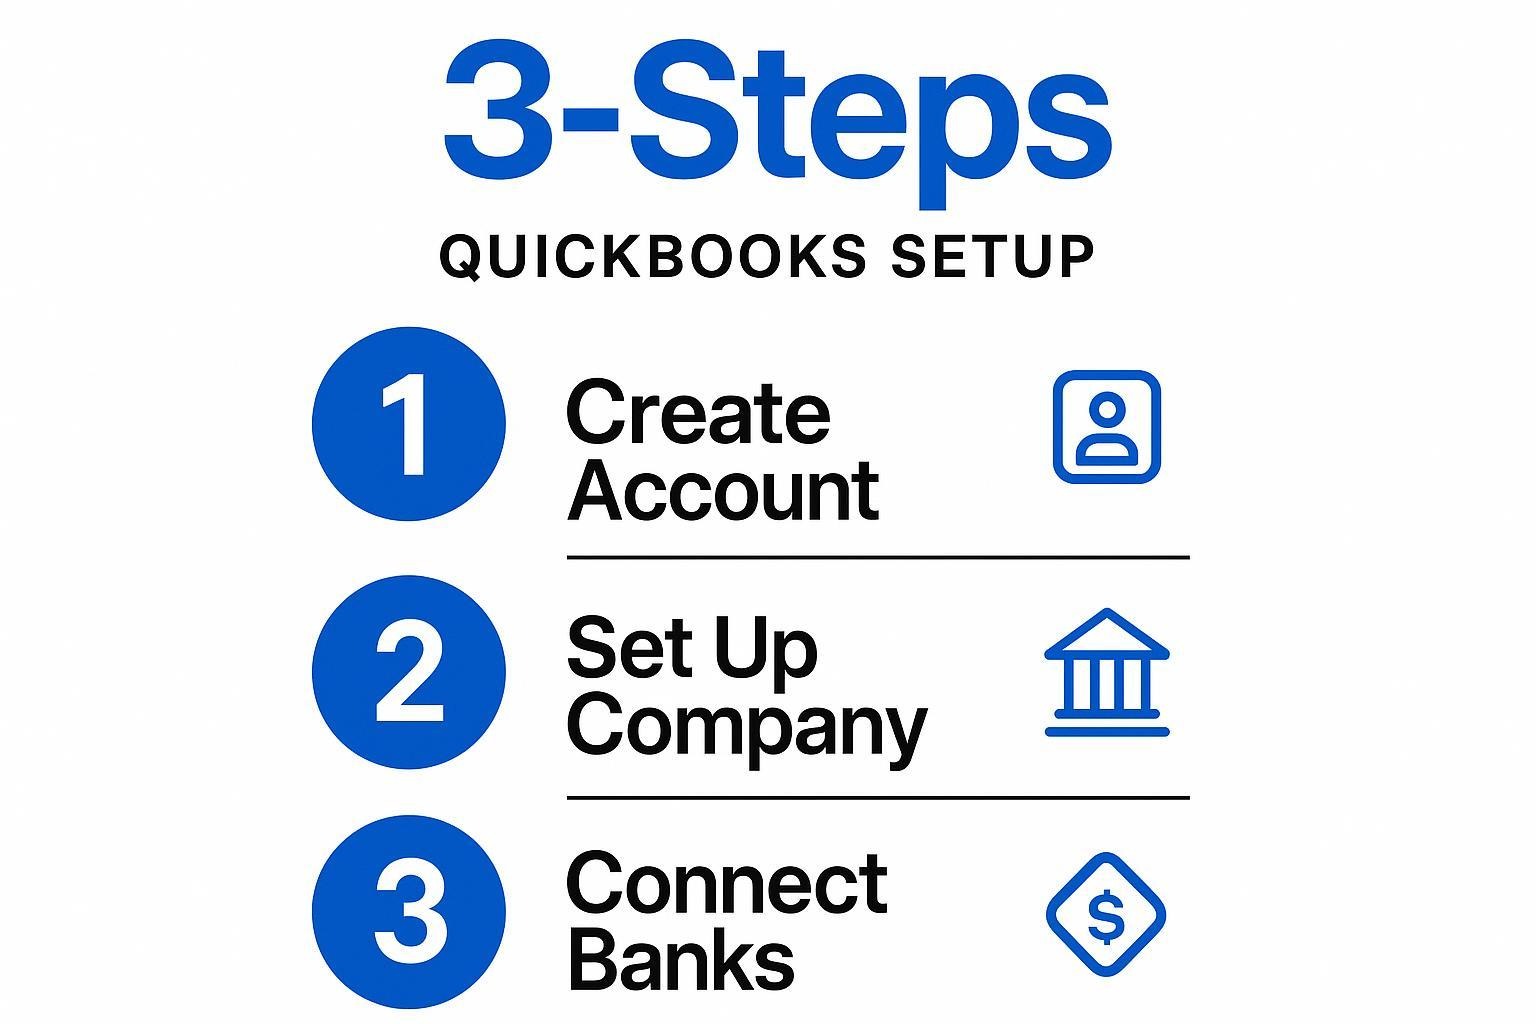
You need just three focused actions to create a working QuickBooks environment. This guide walks you through each step with mini-scenarios: a designer starting fresh, a contractor organizing job costs, and a bakery syncing daily sales. You can mirror what fits your workflow.
By the end, you'll have a clean, fully functioning QuickBooks workspace ready for everyday bookkeeping.
TL;DR: QuickBooks Setup in 3 Steps
- Gather basics first (business details, chart of accounts, banking login, logo).
- Create your QuickBooks Online account and choose the plan that fits your workflow.
- Customize your company file, adjust your chart of accounts, and add the products or services you sell.
- Connect your bank accounts and start using QuickBooks for invoices, expenses, and automations.
- Use built-in rules and automations to keep your books accurate and reduce manual work.
What Do You Need Before You Start QuickBooks Setup?

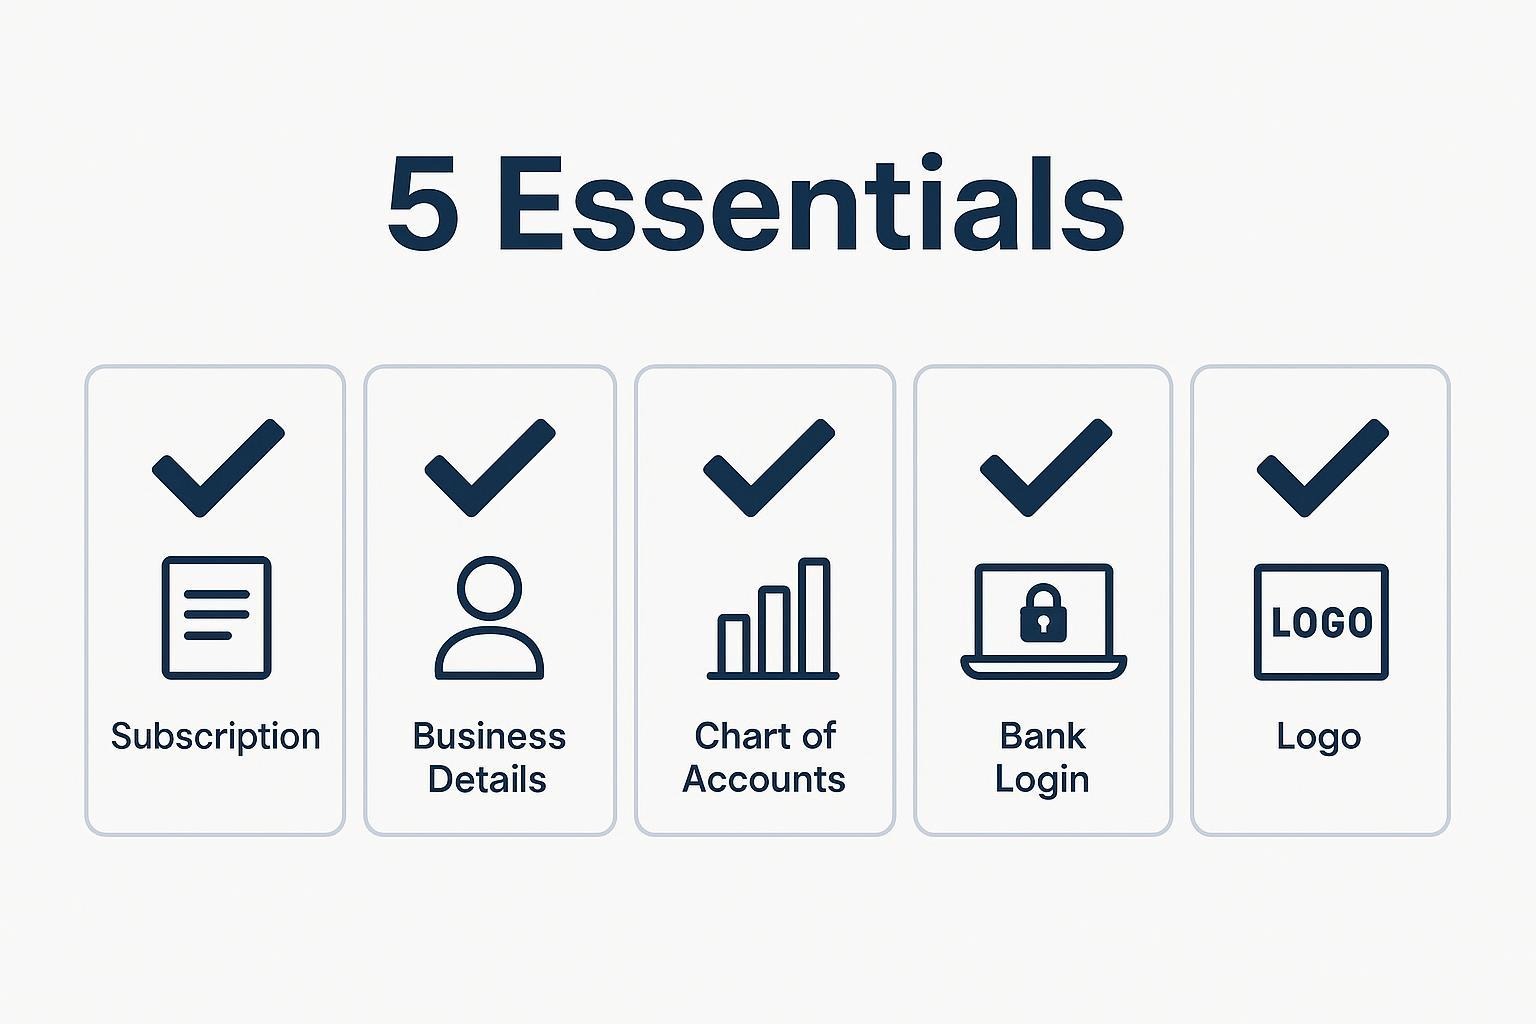
Most QuickBooks setups stall because people jump in unprepared, then spend hours backtracking through settings. Gathering these five essential items first ensures you'll breeze through the setup wizard in minutes:
- An active QuickBooks Online subscription or free trial: Pick the plan that fits your business size and needs. You can sign up directly through Intuit or compare tiers through partners that break down each plan's limits.
- Core business details (legal name, address, EIN or tax ID): QuickBooks prints this information on every invoice and tax report, so having it ready prevents cleanup work later and keeps you compliant.
- A basic chart of accounts: Even a simple list of your income and expense categories helps you customize the default template and avoid messy recoding later.
- Online banking credentials: Secure bank connections import transactions automatically, saving up to ten hours weekly on manual entry.
- Your logo and brand elements: Upload these during setup so every invoice looks professional from day one.
Step 1: How to Create a QuickBooks Account
Getting started comes down to two key decisions: which QuickBooks plan matches your workflow, and how carefully you complete the setup wizard. Get those right, and everything else falls into place: chart of accounts, bank feeds, and automations.
1. Sign Up or Log In
QuickBooks offers several Online tiers (Simple Start, Essentials, Plus) plus a Self-Employed version. Each tier unlocks different features, so you don't want to overpay or outgrow the product in six months. Inventory tracking, for instance, only appears in Plus, while multi-user access is available in both Essentials and Plus.
Once you've chosen your plan, create your Intuit ID and verify the confirmation email. The whole process takes about five minutes and lands you at the welcome screen.
2. Enter Your Basic Business Information
The setup wizard asks for your legal business name, address, tax ID, and industry. Don't rush through the industry field. It determines which default chart of accounts QuickBooks installs.
Choosing "Design Services" instead of generic "Other" gives you purpose-built income and expense categories right away. Double-check your fiscal year-end and tax settings too. Changing them later creates headaches.
Use Case: Freelancer Starting Fresh
Maya, a freelance graphic designer, picks Simple Start because she needs invoicing and basic expense tracking but not payroll. During setup she selects "Graphic Design" as her industry, enters her EIN, and uploads her logo.
With those few clicks, Maya's dashboard shows tailored income categories for design revenue, automatic expense buckets for software subscriptions, and branded invoices ready to send. No accounting jargon required.
Step 2: How to Set Up Your Company File and Financial Settings
Once your account is live, the next step is putting the financial foundation in place. A clean setup now prevents messy reconciliation later. You’ll confirm core company details, shape your chart of accounts, and add the products, services, and payment terms that flow into every invoice and report.
1. Enter Your Company Information
Open the Settings gear and choose Account & Settings. Fill in your legal business name, address, website, and contact email. QuickBooks also asks for your fiscal year and tax form. These choices affect every Profit & Loss or tax report you generate, so take a moment to get them right.
Upload a high-resolution logo. It takes seconds and instantly brands your invoices, estimates, and statements. Skip it and you’ll find yourself editing documents one by one.
2. Review and Customize Your Chart of Accounts
QuickBooks builds your chart of accounts based on the industry you chose during signup, but those default “catch-all” categories rarely match how you really operate.
Experienced bookkeepers recommend trimming unnecessary accounts and adding only the ones you’ll actually use. Too many accounts make monthly reports cluttered; too few hide useful insights. Aim for a balanced structure across income, expense, asset, liability, and equity sections.
Use classes or locations if you need extra detail rather than creating near-duplicate sub-accounts. This is one of the most common beginner mistakes.
3. Add Your Products and Services
Next, create the items you actually sell. Each product or service stores a description, price, and the account it should post to. Choose the correct income or expense account here and you’ll prevent miscoded transactions later.
4. Set Default Payment Terms
Pick your standard terms (Net 15, Net 30, or a custom option). Consistent terms keep aging reports clean and prevent overdue invoices from slipping through the cracks.
Quick setup tips:
- Keep account names short and clear: “Equipment Rental” is better than “Misc. Job-Related Costs.”
- Use numbering for high-level accounts only (e.g., 4000s for income, 5000s for expenses).
- Revisit after 30 days and archive any accounts that show zero activity.
Use Case: Contractor Organizing Costs
Ramos Renovations, a three-person construction crew, chooses QuickBooks Online Essentials and customizes its chart with three expense buckets: Subcontractors, Materials, and Equipment Rental. They map every product purchase or bill to one of these accounts, and create service items like "Framing Labor" that automatically post to Subcontractors.
By the time the first project closes, job-cost reports clearly separate labor from material margins. 1099 totals for each subcontractor populate automatically thanks to contractor tracking features.

Step 3: How to Connect Bank Accounts and Start Using QuickBooks
Connecting your financial institutions transforms QuickBooks from setup mode into a working system. This final step activates the automation that makes QuickBooks truly powerful. Once your feeds are active, transactions land in the books automatically, saving you up to 10 hours every week while cutting manual entry errors to almost zero.
1. Connect Bank & Credit Card Accounts
QuickBooks uses bank-grade encryption and Open Banking APIs, so you never share raw credentials with a third party. The connection process creates a secure, read-only link that three key security benefits protect your sensitive information. You'll find the Banking tab in the left menu; from there the flow is straightforward:
- Search your bank. QuickBooks lists more than 1,400 institutions; pick yours and click Connect.
- Authenticate. A secure pop-up from your bank opens, where you approve read-only access.
- Choose the date range. Pull up to two years of history to back-fill your books, or start fresh from today.
- Review imported transactions. QuickBooks suggests categories; accept, edit, or create a rule on the spot.
Feeds refresh several times a day, so you can monitor cash flow in near real time. For extra protection, switch on multi-factor authentication and restrict Banking access to users who genuinely need it.
2. Create Your First Invoice or Expense
With bank feeds live, you'll want an invoice out the door to see the loop in action. Head to + New → Invoice, choose a customer, add products or services, and email the branded PDF directly from QuickBooks. When a client pays, QuickBooks can suggest a match between the deposit arriving via your bank feed and the open invoice, but you must review and approve the match to ensure accuracy.
Recording an out-of-pocket expense is just as simple: select + New → Expense, snap a receipt with the mobile app, and let QuickBooks attach it to the transaction for audit-ready documentation.
3. Enable Automations
Now that data flows in, automate the busywork. Create bank-rule logic like "if Payee contains Adobe, categorize as Software Subscriptions." Schedule recurring invoices for retainers or rent, and toggle automatic reminder emails so customers never forget a due date. For deeper workflows, tools such as Method CRM plug into QuickBooks to fire off payment acknowledgments or escalate overdue accounts.
Use Case: Retail Bakery Syncing Revenue
Maria's neighborhood bakery processes every sale through Square. She links her business checking account to QuickBooks and adds a rule that tags Square deposits as "Retail Sales." Each morning the prior day's batch import lands, automatically classifying revenue while separating Square's fees as merchant expenses. What used to take thirty minutes of manual entry before the ovens even cooled now happens while she's prepping the next batch of croissants.
The result is cleaner reports and more time for the things that actually smell like success.
What Mistakes Should You Avoid During QuickBooks Setup?
Small missteps during the first hour of setup can distort every report you run afterward. Understanding these common pitfalls helps you avoid costly corrections down the road.
What's the Best Way to Move Forward After Setup?
Your QuickBooks workspace is ready. Now focus on building consistent habits that prevent small issues from becoming major headaches.
Review transactions weekly through bank feeds. Confirm each import, split ambiguous charges, and fix incorrect categorizations. These five-minute check-ins prevent hour-long cleanups later.
Refine your automations in the Rules panel every few weeks. QuickBooks learns from your corrections, but you can accelerate the process by creating explicit expense rules or setting up recurring invoices for regular clients. Your vendor list and payment terms will change as your business grows.
Schedule monthly financial reviews. Run Profit & Loss and Cash Flow statements, compare actuals to budget, and restructure any categories that have become unwieldy.
When you need warehouse-scale analytics or multi-system dashboards, connect QuickBooks to your data stack with Airbyte's QuickBooks source connector. Authenticate your account, select the entities you want (customers, invoices, journal entries), and sync them to your chosen destination alongside data from 600+ other connectors. Try Airbyte to set up your first QuickBooks sync in minutes.
Frequently Asked Questions
How long does it take to set up QuickBooks?
Most users complete the basic setup in 30 minutes to an hour. Connecting bank feeds and customizing your chart of accounts may add another hour, but you can start invoicing immediately after the initial wizard.
Can I change my QuickBooks plan later?
Yes, you can upgrade or downgrade your QuickBooks Online plan at any time. Upgrading takes effect immediately, while downgrades apply at the end of your billing cycle.
Do I need an accountant to set up QuickBooks?
No, QuickBooks is designed for business owners without accounting backgrounds. The setup wizard guides you through each step, though consulting an accountant for your initial chart of accounts can save cleanup time later.
How do I fix duplicate transactions in QuickBooks?
Go to the Banking tab, find the duplicate entries, and delete the manually entered version. To prevent future duplicates, connect your bank feed before entering any transactions manually.

.webp)
![How to Setup Quickbooks in 3 Easy Steps? [With Use Cases]](https://cdn.prod.website-files.com/687b2d16145b3601a227c560/6929bebe068b81fb773e7cca_1764343182351-variation-2.png)