TL;DR
This can be done by building a data pipeline manually, usually a Python script (you can leverage a tool as Apache Airflow for this). This process can take more than a full week of development. Or it can be done in minutes on Airbyte in three easy steps:
- set up Delighted as a source connector (using Auth, or usually an API key)
- set up as a destination connector
- define which data you want to transfer and how frequently
You can choose to self-host the pipeline using Airbyte Open Source or have it managed for you with Airbyte Cloud.
This tutorial’s purpose is to show you how.
What is Delighted
Delighted assists businesses connect with their customers learning, improving, and delighting.It is well known for delivering some of the most innovative functionality for customer experience management. Delighted is completely the self-serve experience management platform of choice for the worldwide top brands. It helps to collect and analyze survey feedback through Delighted. Get set up in minutes, no technical knowledge needed. Delight helps to build long-lasting relationships and deliver great service experience.
Prerequisites
- A Delighted account to transfer your customer data automatically from.
- A account.
- An active Airbyte Cloud account, or you can also choose to use Airbyte Open Source locally. You can follow the instructions to set up Airbyte on your system using docker-compose.
Airbyte is an open-source data integration platform that consolidates and streamlines the process of extracting and loading data from multiple data sources to data warehouses. It offers pre-built connectors, including Delighted and , for seamless data migration.
When using Airbyte to move data from Delighted to , it extracts data from Delighted using the source connector, converts it into a format can ingest using the provided schema, and then loads it into via the destination connector. This allows businesses to leverage their Delighted data for advanced analytics and insights within , simplifying the ETL process and saving significant time and resources.
Step 1: Set up Delighted as a source connector
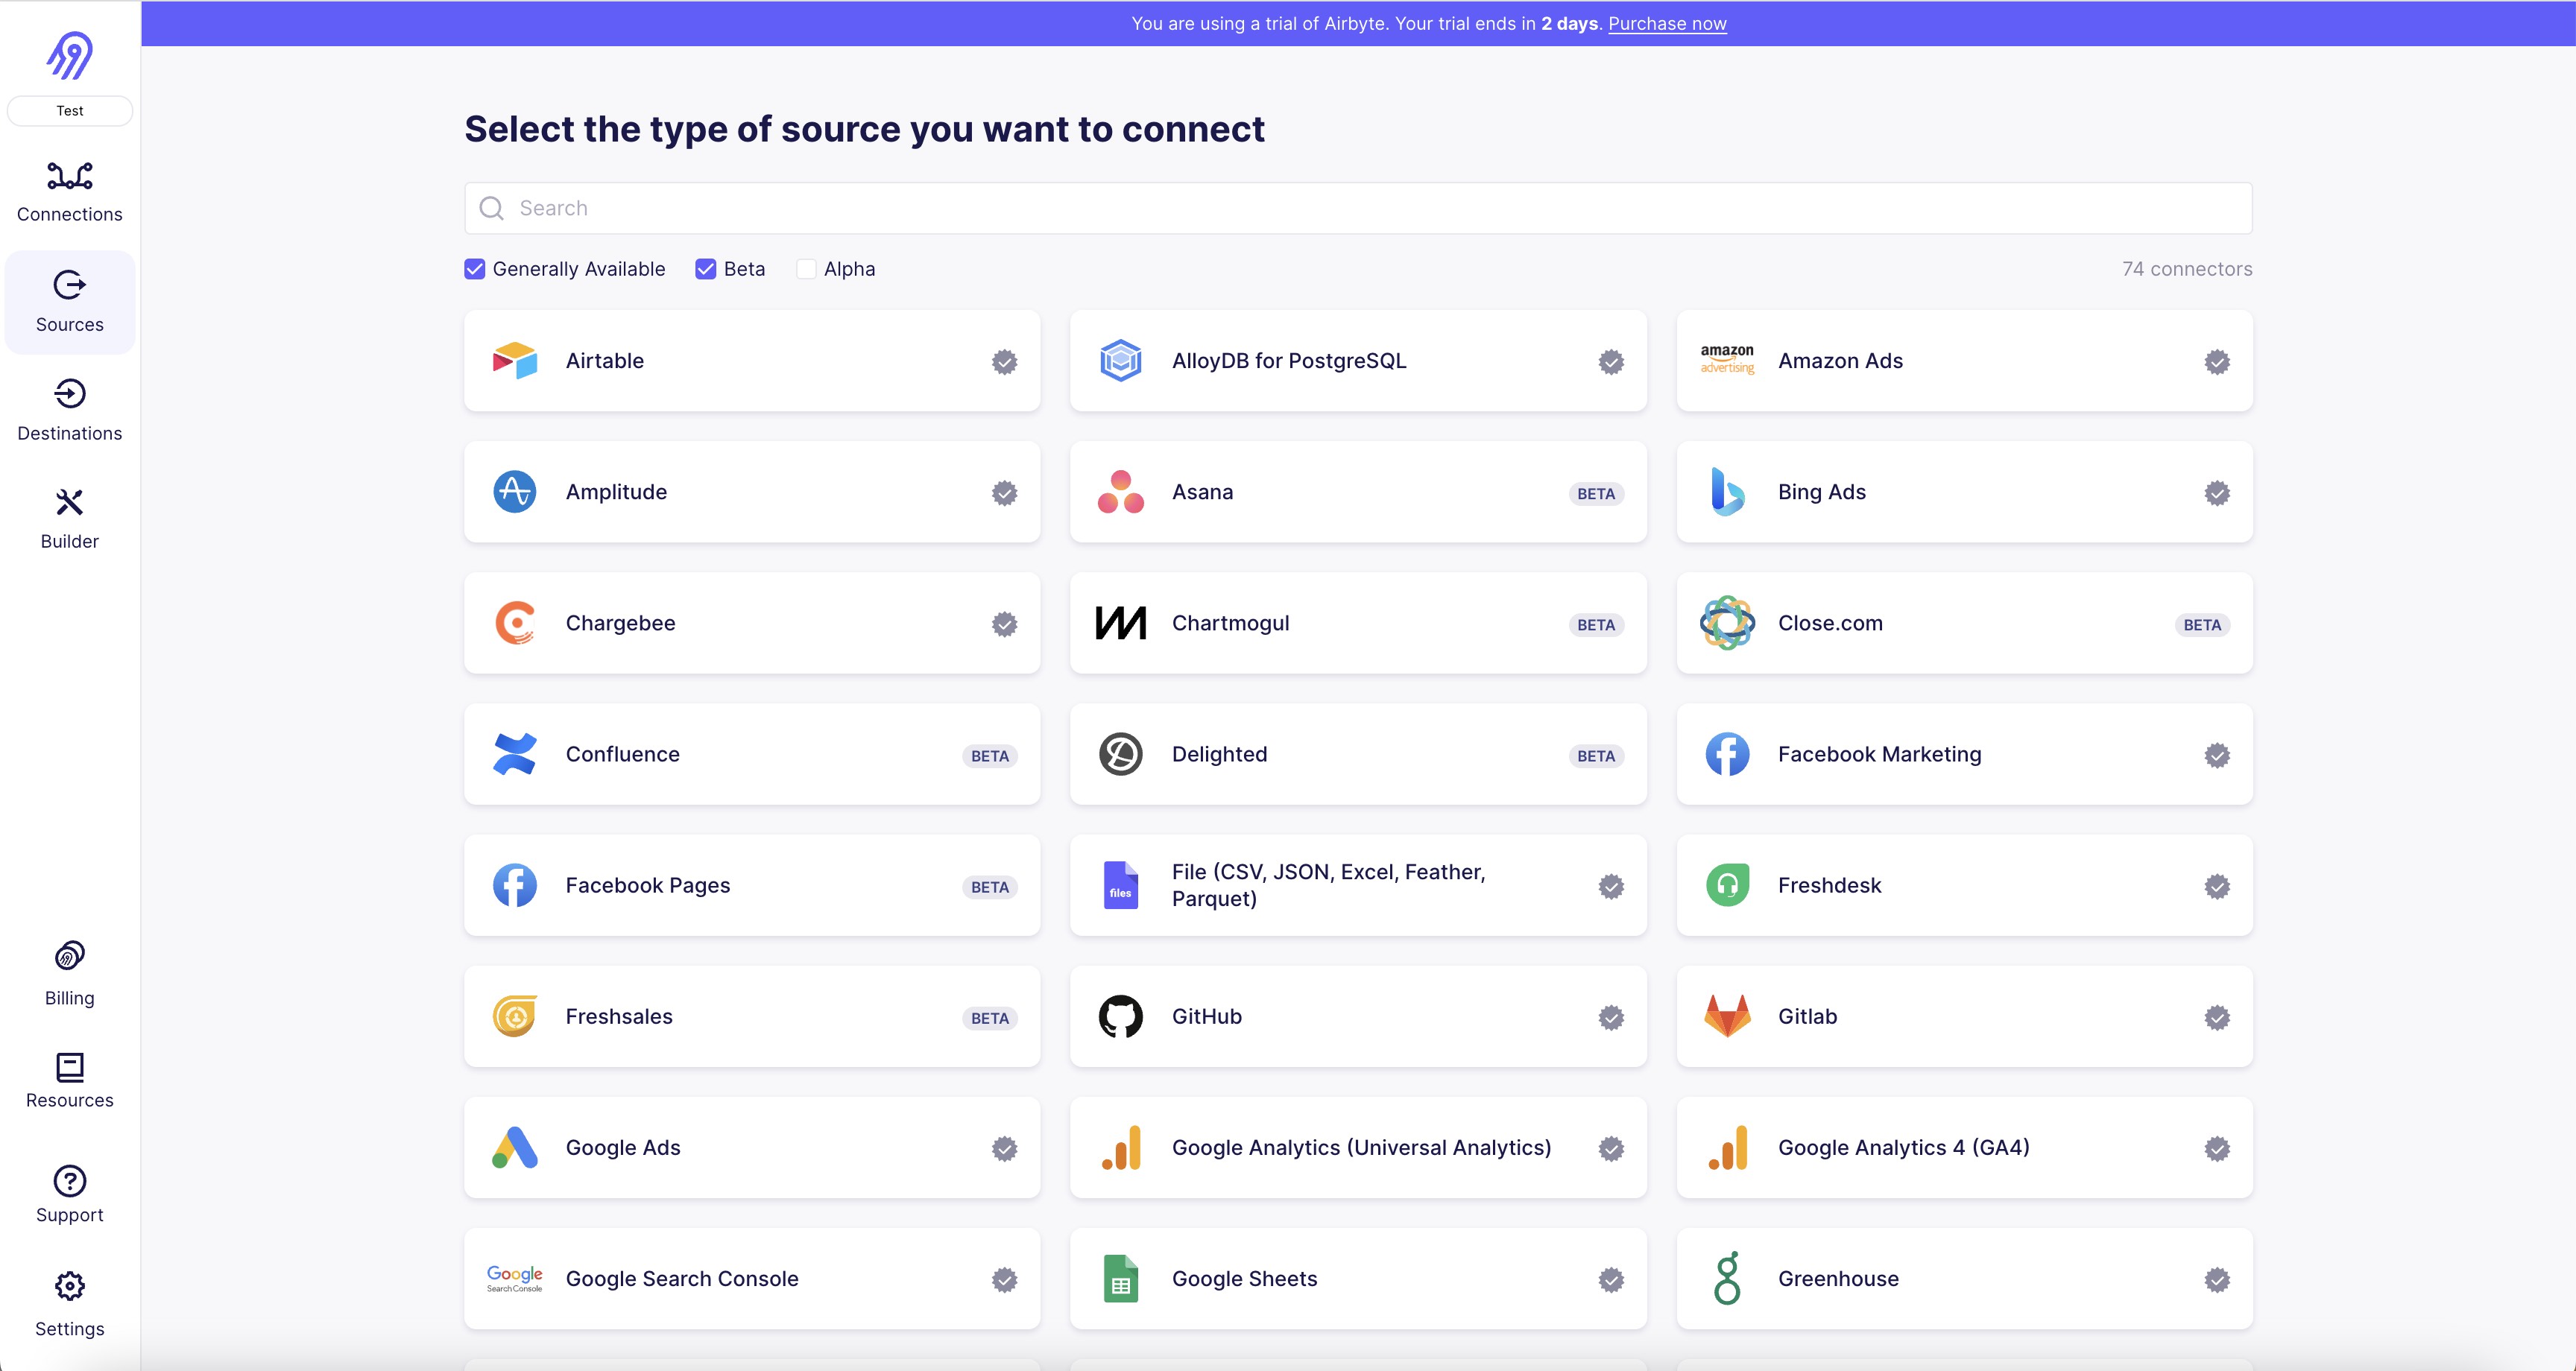
1. First, navigate to the Delighted source connector page on Airbyte.com.
2. Click on the "Create a new connection" button.
3. Enter a name for your connection and click "Next".
4. Enter your Delighted API key in the "API Key" field.
5. Select the data you want to sync by choosing the appropriate options in the "Sync Schema" section.
6. Click "Test" to ensure that your credentials are correct and that the connection is working properly.
7. If the test is successful, click "Create Connection" to save your settings.
8. You can now schedule your sync by clicking on the "Schedule" button and selecting the appropriate options.
9. Once you have scheduled your sync, click "Save" to finalize your settings.
10. Your Delighted source connector is now connected to Airbyte and ready to sync your data.
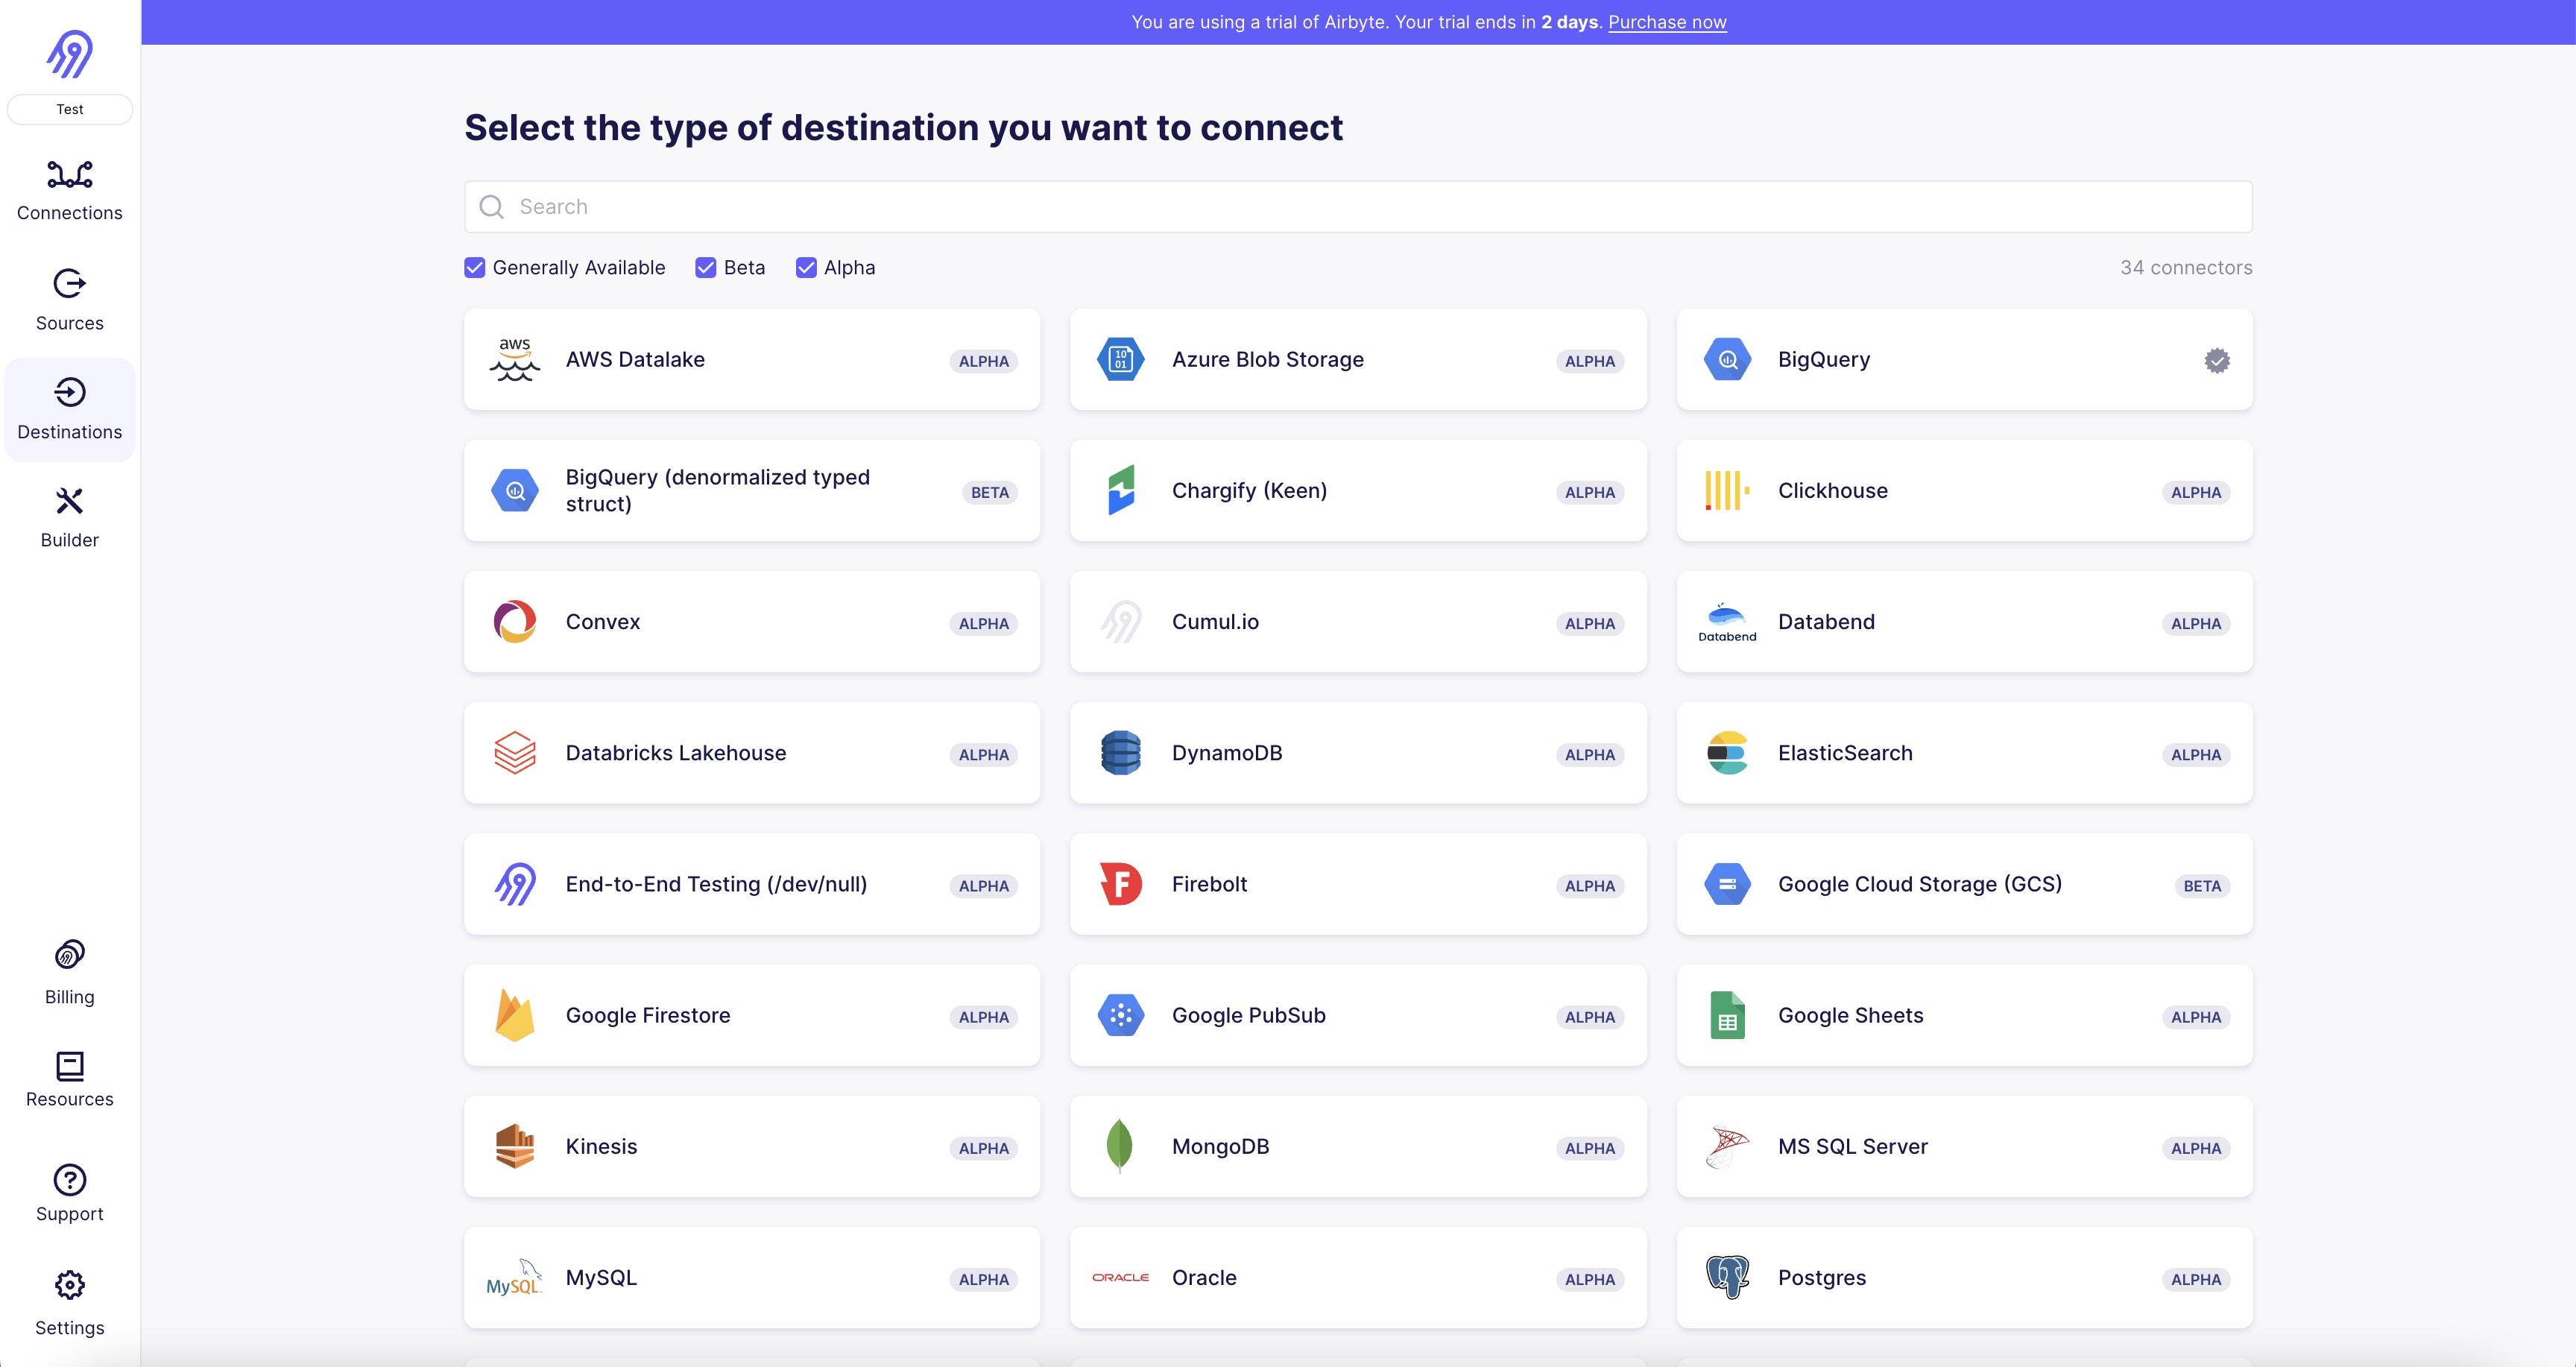
Step 2: Set up as a destination connector
Step 3: Set up a connection to sync your Delighted data to

Once you've successfully connected Delighted as a data source and as a destination in Airbyte, you can set up a data pipeline between them with the following steps:
- Create a new connection: On the Airbyte dashboard, navigate to the 'Connections' tab and click the '+ New Connection' button.
- Choose your source: Select Delighted from the dropdown list of your configured sources.
- Select your destination: Choose from the dropdown list of your configured destinations.
- Configure your sync: Define the frequency of your data syncs based on your business needs. Airbyte allows both manual and automatic scheduling for your data refreshes.
- Select the data to sync: Choose the specific Delighted objects you want to import data from towards . You can sync all data or select specific tables and fields.
- Select the sync mode for your streams: Choose between full refreshes or incremental syncs (with deduplication if you want), and this for all streams or at the stream level. Incremental is only available for streams that have a primary cursor.
- Test your connection: Click the 'Test Connection' button to make sure that your setup works. If the connection test is successful, save your configuration.
- Start the sync: If the test passes, click 'Set Up Connection'. Airbyte will start moving data from Delighted to according to your settings.
Remember, Airbyte keeps your data in sync at the frequency you determine, ensuring your data warehouse is always up-to-date with your Delighted data.
Use Cases to transfer your Delighted data to
Integrating data from Delighted to provides several benefits. Here are a few use cases:
- Advanced Analytics: ’s powerful data processing capabilities enable you to perform complex queries and data analysis on your Delighted data, extracting insights that wouldn't be possible within Delighted alone.
- Data Consolidation: If you're using multiple other sources along with Delighted, syncing to allows you to centralize your data for a holistic view of your operations, and to set up a change data capture process so you never have any discrepancies in your data again.
- Historical Data Analysis: Delighted has limits on historical data. Syncing data to allows for long-term data retention and analysis of historical trends over time.
- Data Security and Compliance: provides robust data security features. Syncing Delighted data to ensures your data is secured and allows for advanced data governance and compliance management.
- Scalability: can handle large volumes of data without affecting performance, providing an ideal solution for growing businesses with expanding Delighted data.
- Data Science and Machine Learning: By having Delighted data in , you can apply machine learning models to your data for predictive analytics, customer segmentation, and more.
- Reporting and Visualization: While Delighted provides reporting tools, data visualization tools like Tableau, PowerBI, Looker (Google Data Studio) can connect to , providing more advanced business intelligence options. If you have a Delighted table that needs to be converted to a table, Airbyte can do that automatically.
Wrapping Up
To summarize, this tutorial has shown you how to:
- Configure a Delighted account as an Airbyte data source connector.
- Configure as a data destination connector.
- Create an Airbyte data pipeline that will automatically be moving data directly from Delighted to after you set a schedule
With Airbyte, creating data pipelines take minutes, and the data integration possibilities are endless. Airbyte supports the largest catalog of API tools, databases, and files, among other sources. Airbyte's connectors are open-source, so you can add any custom objects to the connector, or even build a new connector from scratch without any local dev environment or any data engineer within 10 minutes with the no-code connector builder.
We look forward to seeing you make use of it! We invite you to join the conversation on our community Slack Channel, or sign up for our newsletter. You should also check out other Airbyte tutorials, and Airbyte’s content hub!
What should you do next?
Hope you enjoyed the reading. Here are the 3 ways we can help you in your data journey:

Easily address your data movement needs with Airbyte Cloud
Take the first step towards extensible data movement infrastructure that will give a ton of time back to your data team.
Get started with Airbyte for free
Talk to a data infrastructure expert
Get a free consultation with an Airbyte expert to significantly improve your data movement infrastructure.
Talk to sales
Improve your data infrastructure knowledge
Subscribe to our monthly newsletter and get the community’s new enlightening content along with Airbyte’s progress in their mission to solve data integration once and for all.
Subscribe to newsletterRelated Syncs with Delighted
