Agent Engine Public Beta is now live!
A guide on how to create a Python Destination (DuckDB). Code snippets linked to a single PR.
Summarize this article with:
This article is a walk-through on creating an Airbyte destination with the DuckDB destination as an example. Besides the Building a Python Destination from our docs, this tutorial will walk you through with a dedicated example and a PR you can follow along and hopefully fill some gaps with more hands-on samples.
Before we begin writing the destination connector, you might ask: "Why are we creating a DuckDB destination?" DuckDB is an in-process SQL OLAP database management system with deep support for SQL. It is simple to use as it's a single-file database, the same as SQLite but optimized for analytical workloads. It makes it perfect for local use cases such as building a personal DWH and testing new features locally.
On top, DuckDB is ultra-fast analytical with big data examples such as the NYC taxi example including a 10 Year, 1.5 Billion rows. All of it works speedily on a single laptop. Check out some impressive benchmarks.
Let's discuss concepts and prerequisites that are important to know beforehand.
Airbyte works with any source. We implemented a dedicated Airbyte Protocol and, with it, an Airbyte Message. I suggest looking through these to understand more about what we are about to implement.
We have different release stages (Alpha, Beta, and Generally Available). I suggest checking out Airbyte Connector Release Stages to find out more. Think about what programming language you want to write. Currently, we support Java or Python with additional developer kits and provided templates, so you don't need to start from scratch when starting your destination connector. Using Docker under the hood allows us to run any programming language. Still, it’s recommended to use the language that works best with the destination and is most performant. But sometimes you are also constrained by the available language you know. Still, we recommend using the above-mentioned language for the destination or the existing Connector Development Kit (CDK) for source connectors.
Some administrative checks to look for:
Every destination has its native programming language; try to implement that if possible. I chose Python for my DuckDB destination as I have the most experience in it, and Python works well with DuckDB. For sure not the fastest option.
As well, make sure you check the latest requirements. At the time of this tutorial, these are mine:
When we are clear on the language and the prerequisite, we can generate a brand-new destination. Check if no other Issue or Pull Request (PR) is created; if not, go ahead and create the issue first, following with the PR. I created #17256 for my DuckDB example.
When you are ready to start, check out the latest master branch from our GitHub repo and create a new local branch with `git checkout -b duckdb-destination` (or any other way you manage the GitHub workflow). I use my duckdb throughout my tutorial as an example.
The first important step is to scaffold all needed files and functions with the existing shell script `generate.sh`. This way, the ReadMe, functions and all important files are generated for us, and we can focus on the most critical part, implementing the connector code.
When running the shell script, it will ask you the language.

I chose the Python Destination and added the name of the destination, duckdb. This will generate the folder `connectors/destination-duckdb` with the following files:
The most important files within the folder `destination_duckdb` with the `spec.json` and `destination.py`.
📝 Creating a PR and pushing it to GitHub: On this part, you could go ahead and create a PR on GitHub and push the first generated files. Even better, create a local commit and start adding your changes.
If you are using Python, set up an Environment to install all required packages and work within a dedicated environment. This is usually done with `venv` (there are also others such as pyenv, poetry, and many others). Below is the example with venv:
📝 Info: Virtual Env IDE Integration
If you want your IDE to auto-complete and resolve dependencies properly, point it at the python binary in `airbyte-integrations/connectors/destination-duckdb/.venv/bin/python`.
Make sure you set all relevant environment variables. I set these for this tutorial:
We can start implementing our destination logic now that we are all set up. It mostly boils down to two functions `check` and `write`.
Let's analyze these functions before we dive into implementing them in step 4.
The first check is executed when a user adds the destination with its credentials and configuration. Airbyte will run this function to check that the connection can be established and runs specific checks you can add here. Also, take note of the detailed description in the comments below.
The way we can achieve that is by checking the input `config` parameters and setting up a connection to the database. If all parameters are ok and the connection establishes, we return the `Status.SUCCEEDED`.
The write function reads the data passed from the source connector to our destination. You can see below in the function definition that we get a list of Airbyte Messages. This is important to know as Airbyte serialized data into JSON Messages, making it possible to convert any source to any destination.
We also get the ConfiguredAirbyteCatalog, which describes the schema of the messages and how it's persisted in the destination.
📝 Performance of database <-> database replications: While this is a super powerful feature, it can slow down some connections when the source and destination have structured tables, e.g., reading from a database and writing to a database/warehouse. Improving the speed is something we are working on, so stay tuned!
Let's implement the actual code and see how that works for writing our Airbyte Destination.
ℹ️ Follow my changes from DuckDB: You can see all the changes I did for the destination, but also including normalization in my PR # 🎉 New Destination: DuckDB #17494, or the destination folder that we just generated above in the master branch on destination-duckdb.
Besides the two mentioned functions above, we start with spec.json. Here we define what options are possible for this same connector.
For example, the supported Sync Modes we want to implement for this destination. The DuckDB should support `overwrite` and `append`. Other options are if we support Normalization and custom dbt. If you want to know more about these types, please check the Airbyte Docs; in this tutorial, I assume you know about these already.
It is important to define `required` parameters, e.g., for DuckDB, I need a `destination-path` to define the path for storing the file. Without this, there will be no connection. But you can also define optional parameters by adding them to `properties` without marking them as `required`, which I did for `schema` as I use `main` as a default.
See the full YAML `spec.json` for the DuckDB example:
The function check() in destination.py is the easier of both. In belows function `_get_destination_path` you see we check the `destination_path` that was inputted by the user, to check the magic folder location `/local/<path-i-want-to-store/destination.duckdb`. The path `/local` does not exist and will be automatically mapped to `/tmp/airbyte_local` on your local filesystem.
Therefore if this prefix hasn't been added by the user, essentially the destination will only be stored within the docker container. Instead of on the filesystem of the running machine, to be accessed locally either by duckdb-cli or an SQL editor such as DBeaver.
🚨 Important: Please ensure that Docker Desktop has access to `/tmp` (and `/private` on a MacOS, as `/tmp` has a symlink that points to `/private`. It will not work otherwise). You allow it with "File sharing" in `Settings -> Resources -> File sharing -> add the one or two above folder` and hit the "Apply & restart" button.
After we've checked the path was set correctly, we will set up a duckdb connection, important here to install and add duckdb to setup.py.
Id that connection was established, we sent the succeeded status, and the user will be able to go to the next step, to add either a source connector or configure the connection.
The write function is doing the hard work. I followed the sqlite destination as the approach with a single database file is very similar to DuckDB. I also recommend that you find a similar destination where you can follow along or get inspiration on how it can be done.
ℹ️ Again, make sure to check the docs Building a Python Destination for more details
First, we'll do the same again to check if the destination_path is still correct and establish a connection if so.
Later, we create the raw tables called `_airbyte_raw_` for each table we get from the source connector through the streams from `configured_catalog`. A stream is a group of related records (a table, API endpoint, files).
And then we insert the data with an SQL command `INSERT INTO` for each stream. Here we write the serialized JSON blob; thus, we call the tables raw tables.
In this example, we check which `message.type` each message. Depending on the type, we thread them differently. For instance, if the type is an AirbyteStateType, we execute the insert query and return the message. In the case of an RecordType which contains the actual data, we add it to the buffer.
In the end, we insert any remaining messages:
As this is a fairly simple example as we work with a local file, it showcases how to write the main part of the destination function to consume data from Airbyte provided by the source connector, and write it to the destination.
📝 How `executemany` works: You can insert several rows using prepared statements that can be passed with an array of data: `con.executemany("INSERT INTO items VALUES (?, ?, ?)", [['chainsaw', 500, 10], ['iphone', 300, 2]] )`
Let's explore how you'd test the destination after implementing the connector's first version. There are three options you can choose from; we start with the native python way initially, which does not require any Docker or involvement of Airbyte itself yet.
We can mock the data we're receiving from the source connector and Airbyte with a simple JSON file, which serves as an example of data getting passed.
Having set up the virtual environment from step 2, we can activate this and install required PyPI packages (if not already) in `setup.py` which for my case is duckdb :
Now let's check if our connector is working by defining needed mock data stored in integration_tests/messages.jsonl and looks like this for my simple tests:
To start a test solely in Python without docker and without the platform of Airbyte you would start something like this.
📝 To run that successfully: This only works if I temporarily uncomment the function `_get_destination_path` as in `destination.py`. Because these functions ensure the path starts with `/local`, which does not exist on my local machine. But it is required later for running within docker to map the path correctly.
And you can check if the file has been successfully created:
In the next step, we use Docker and Gradle to test and build the destination. Gradle is the Java build tool to support building, testing unit and integration tests, and many other features we use in our repo.
Let's define the Dockerfile:
📝 Installing DuckDB PiPy in Dockerfile: There were some problems with installing DuckDB, that's why the duckdb is added manually here besides being part of `setup.py`. This might be corrected or removed in the future.
Now we build the docker images either with docker:
Or Gradle:
ℹ️ I'm using no-cache to ensure changes get applied, but that will take substantially longer to build. Consider removing that when you know, you won’t change critical parts.
Besides building and testing our implementations, we also write acceptance tests to try specific cases we know might go wrong, or we want to ensure certain behaviors also consist of the connector's evolution.
The better the tests, the more confident the connector does what it is supposed to be, and we can upgrade and add features with more confidence.
Unfortunately, we do not have acceptance tests yet for the Python Destination case. But we have unit and integration tests.
To test unit tests you can run:
And likewise with integration tests you can run:
📝 The outputs and results can be seen in the PR in the first comment under "Tests".
Building and running it including Airbyte means that our docker image will get kicked off by the Airbyte when a sync gets triggered. Instead of testing our destination only, we test end to end.
Then we build the whole airbyte platform:
and startup airbyte with dev:
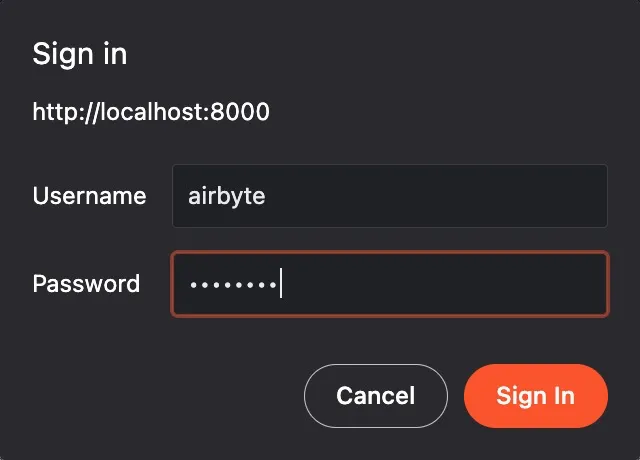
Going to localhost:8000 you should see a sign in pop up:
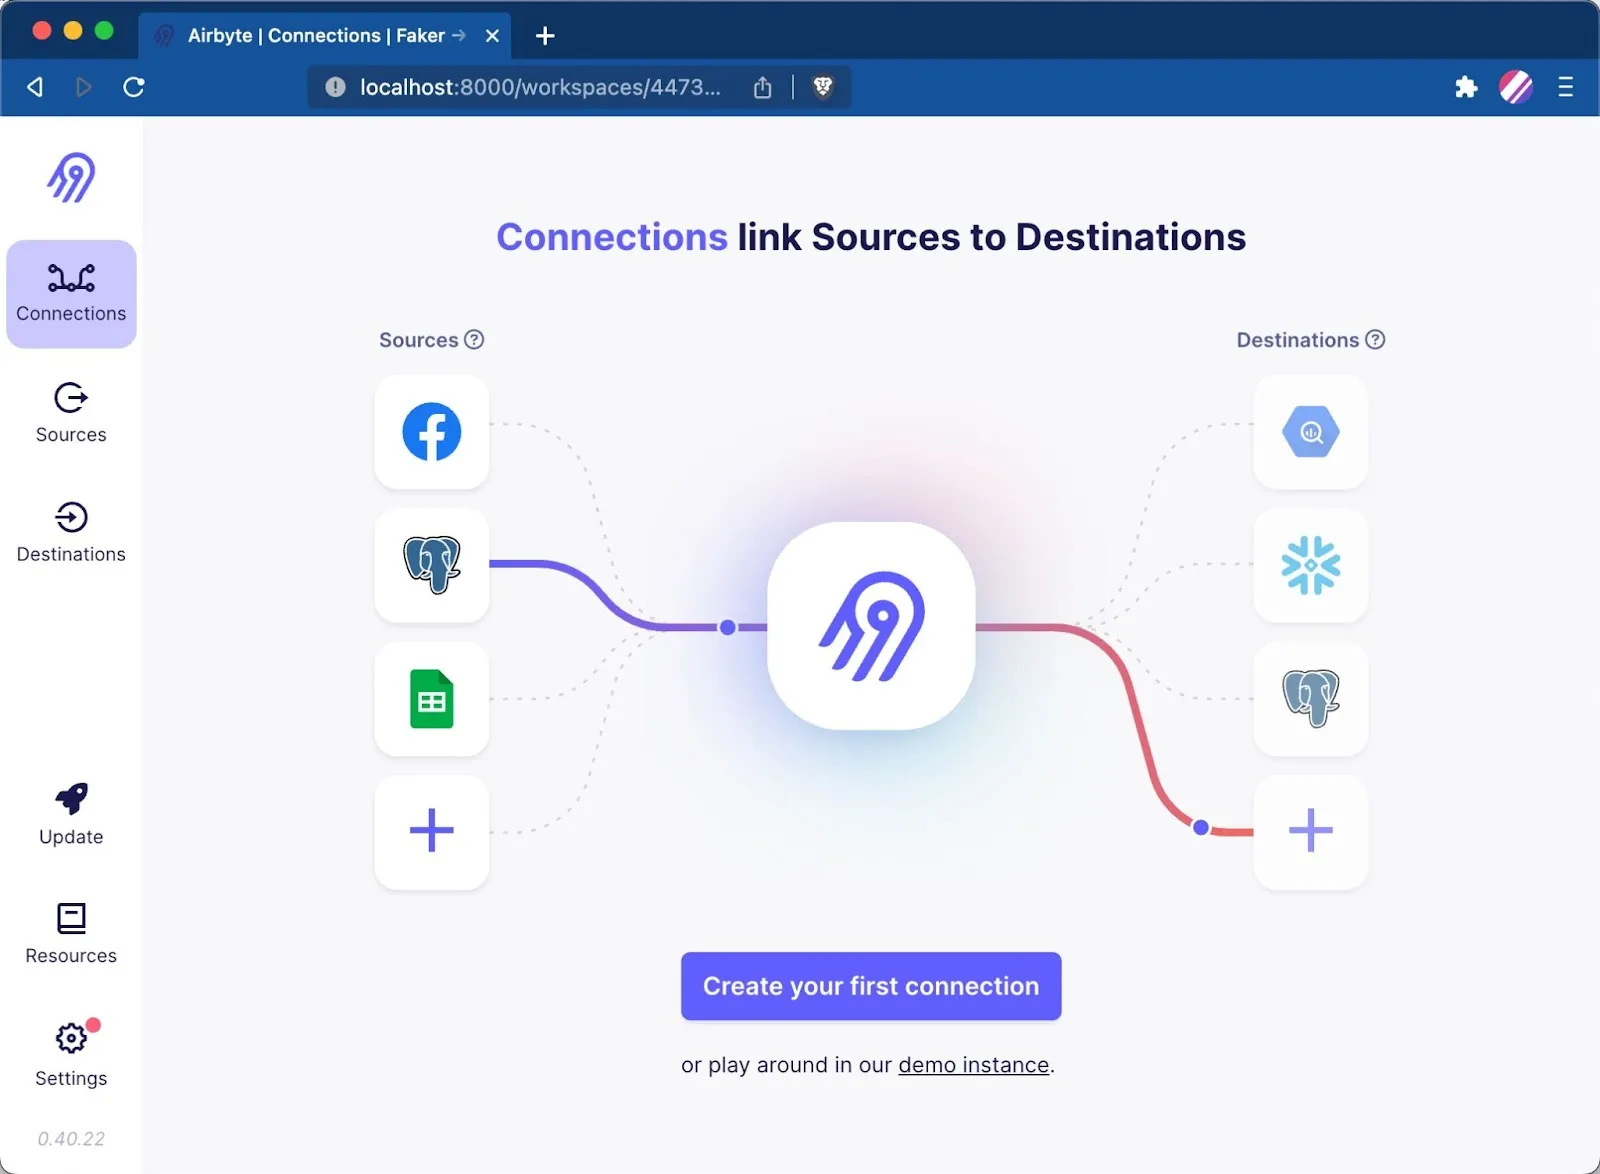
And after that seeing the front page of Airbyte.
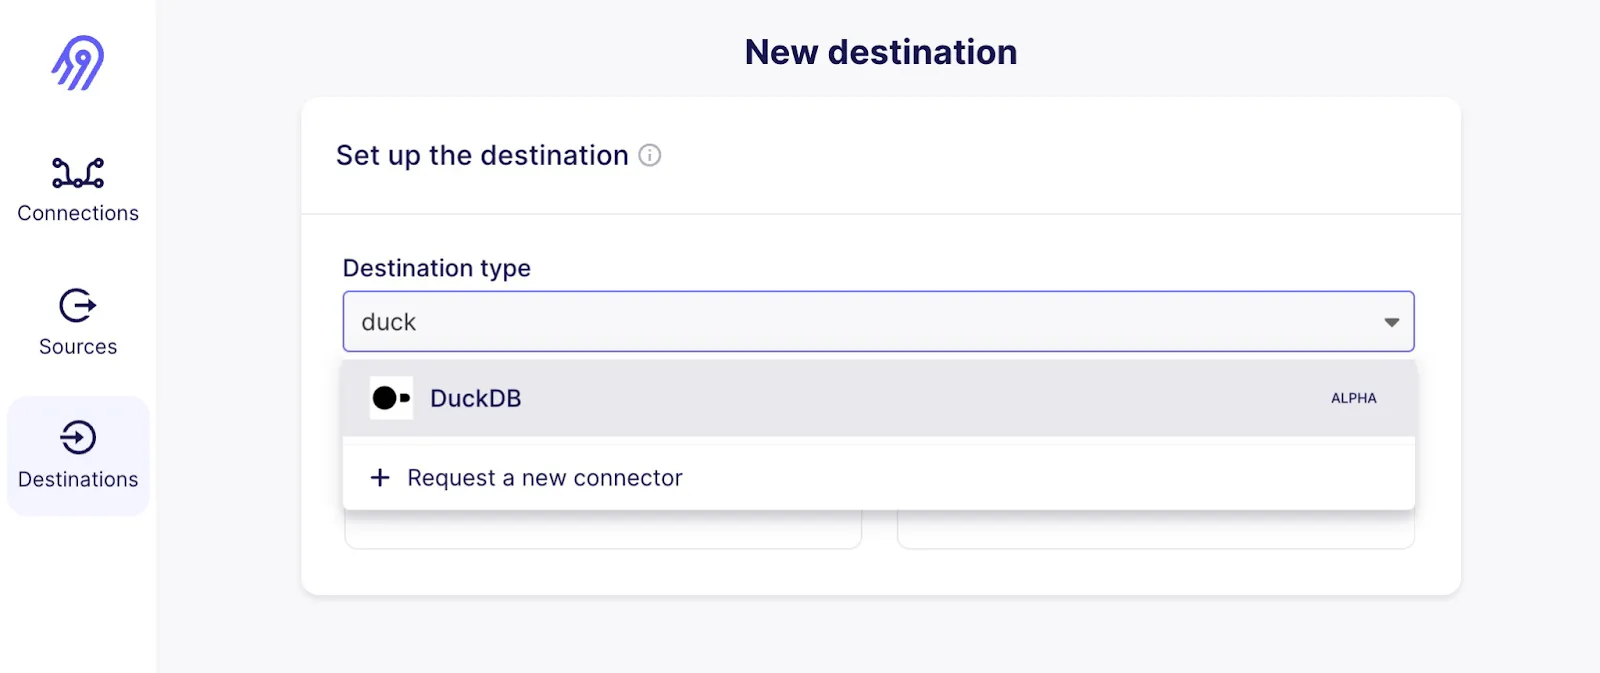
In the destinations you should see now our new connector pop up:
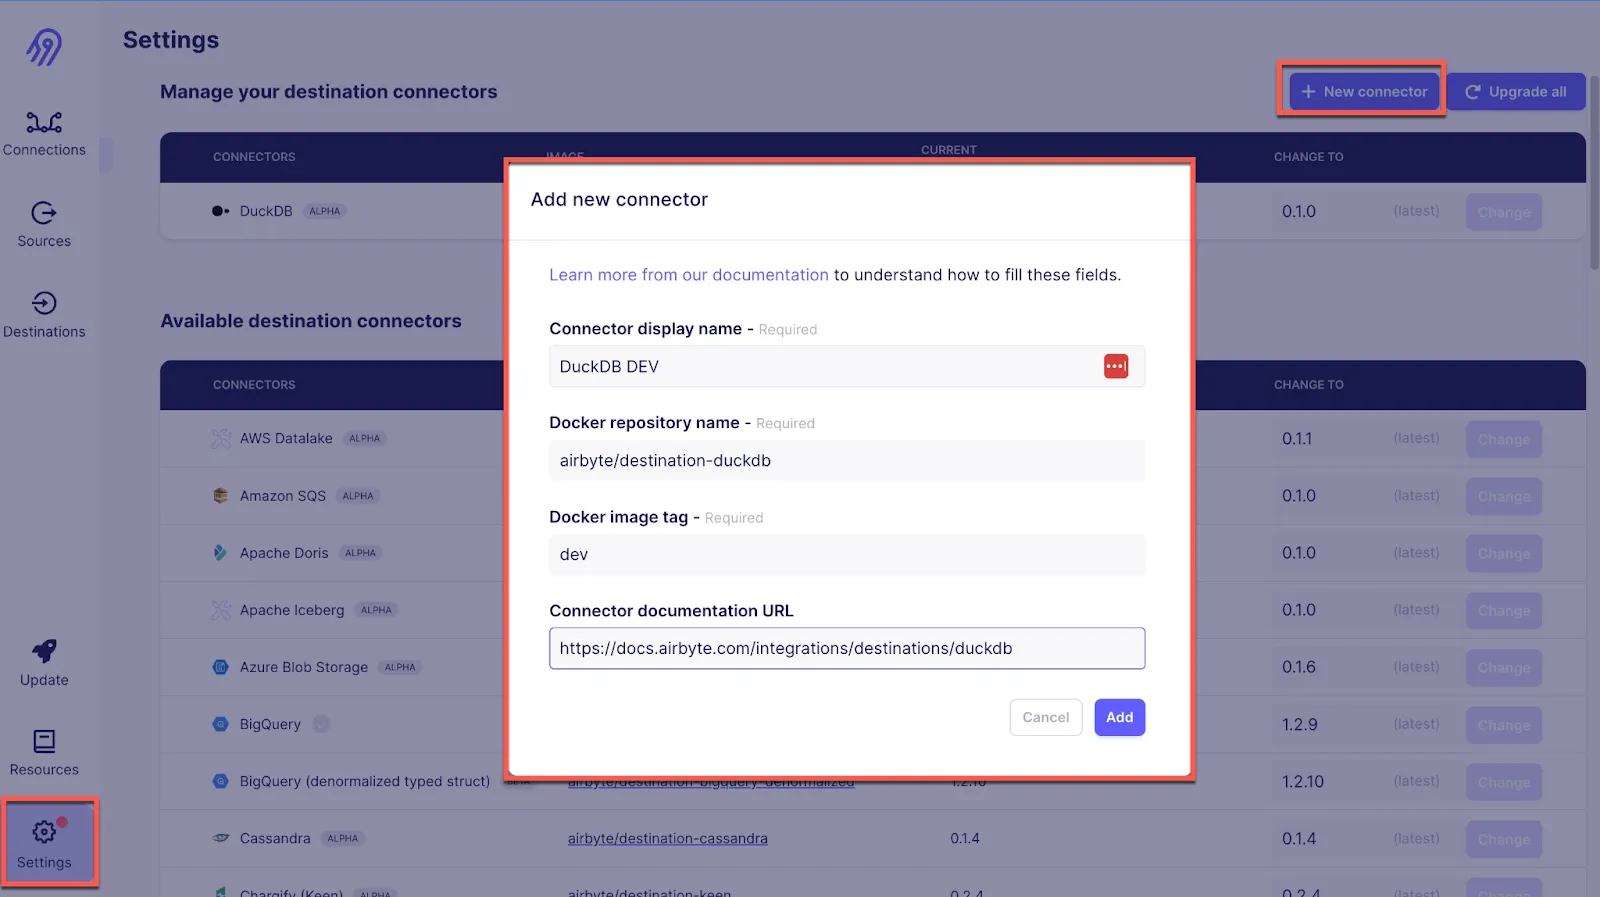
You can also add any image maunually by going to the `Settings -> Destinations -> New connector`:
If we now go ahead and create a sync (I used the simple Faker source) and mapped it to my new DuckDB destination.

If you run the sync and all works, you should see a `Succeeded` message and that the DuckDB database file is created at the defined path.
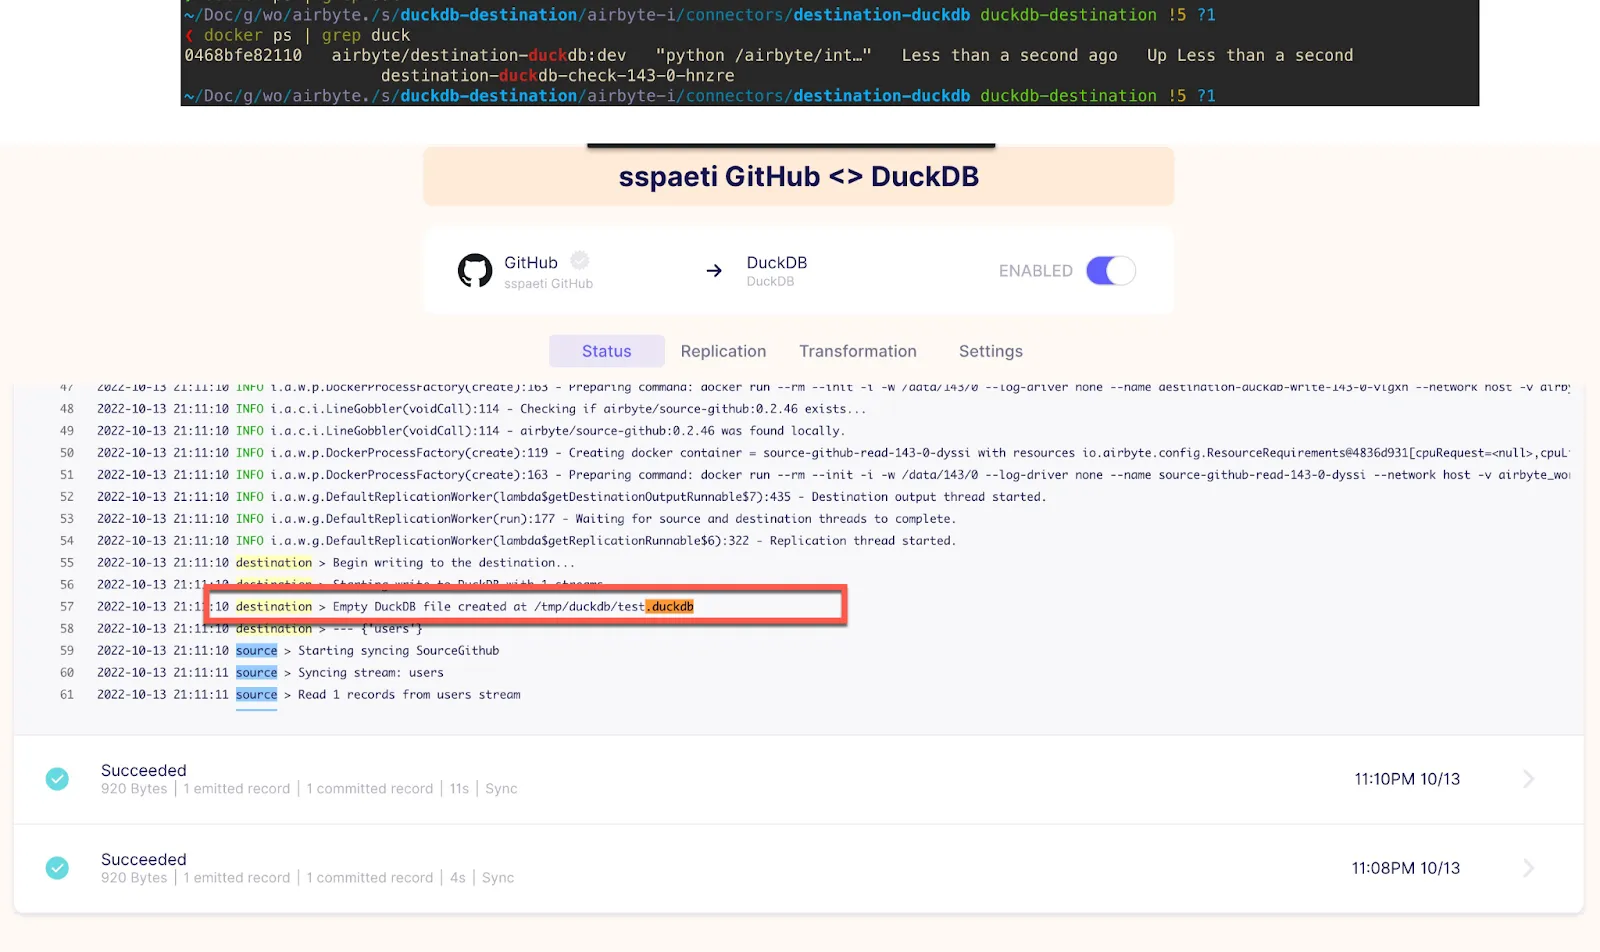
If you get any errors, please check the troubleshooting chapter after the conclusion.
If all tests are green and you are about to finish, make sure you update generated `docs/integrations/destinations/duckdb.md` for your connector. The skeleton is generated and you can add the missing pieces.
This is the place where you describe what you implemented and show less technical people, what your connector implementation contains, and what not.
Before you check all the checks running on GitHub and ask someone to review, make sure you format your code with Gradle like this:
In addition, you can activate Normalization for a destination. The Normalization is a lesser-known but powerful feature of Airbyte.
In addition, you can activate Normalization for a destination. The Normalization runs dbt as part of the Airbyte and normalizes the third normal form (3NF) to unnest "nested" JSON into tables and columns essentially. Imagen data from GitHub API are transformed into tabular tables related to Foreign Keys.
🚨 This is a big task and normally isn't done outside of Airbyte: Normalization needs a lot of experience with Airbyte and also how dbt works. Also, check Basic Normalization and Adding Normalization to a Connector in our docs to learn more about it.
As this goes beyond the scope of this simple tutorial, let's do a separate one. But still, you can see all the code changes necessary for DuckDB in the PR under Files changed and see what had to be done.
But to activate Normalization, you need to spec.json and turn on `supportsNormalization` and `supportDBT` by setting them to `true`. With the newest version, this has been moved to destination_definitions.yaml and destination_specs.yaml.
`supportsNormalization` is a boolean that indicates if this connector supports basic normalization via DBT. If true, `supportsDBT` must also be true.
`supportsDBT` is a boolean that indicates whether this destination is compatible with DBT. If set to true, the user can define custom DBT transformations that run on this destination after each successful sync. This must be true if `supportsNormalization` is set to `true`.
To build the docker image and the Gradle command, in case you want to test it for DuckDB, you can run:
And the same for running the integration tests either locally with PyTest:
Or with Gradle from the root folder:
Don't worry if that was too fast; it wasn't the idea that you understand each step for Normalization at this point. If you want to implement Normalization for your destination, don't hesitate to reach out to us so that we can support you with it.
Congratulations, and thank you, you managed to write your first destination and contribute to a big open-source project. After you have done everything, it’s time to wait for a code review and correct things that can be improved or need correction.
In case you had trouble or found yourself in a position of help, I left a chapter below to troubleshoot some of the common errors I encountered while developing the DuckDB. Also, be aware that you can always ask us in the GitHub issue/PR itself, ask on slack in the airbyte-help channel, or search and ask in our Forum.
Suppose you want to know more about how Airbyte synchronizes data between a source (API, DB, file, etc.…) to a destination (DB, warehouse, cloud storage, etc.); we have an in-depth article about How we scale workflow orchestration with Temporal which goes into details of how Airbyte internally orchestrates the different activities.
Sometimes, you get stuck in a strange state. You may have docker volumes that were not removed or created, or the image needs to have what you expect. If that happens, it's a good thing to restart Airbyte from scratch.
Note that this will reset and delete existing syncs, configured sources, or destinations. Make sure to save them with Octavia CLI or save users and configurations in a separate place so you can manually add them again.
To fully reset Airbyte, you must delete the docker volumes associated with Airbyte.
This is where data is stored. Assuming that you are running Airbyte by running `docker-compose up`, then what you need to do is:
More on On Deploying | Airbyte Documentation.
If that happens, you can temporarily change `destination_definitions.yaml` from `0.1.0` to `dev`:

Most probably, you will get the next error right after `:airbyte-config:specs:generateSeedConnectorSpecs`, which is expected, see in the next chapter.
This error is expected as we didn't upload the image to the docker hub yet:
If you have an M1 or other problems, see Developing Locally | Airbyte Documentation.
As mentioned in the article, make sure that you run above with:
Please make sure that Docker Desktop has access to `/tmp` (and `/private` on a MacOS, as `/tmp` has a symlink that points to `/private`. It will not work otherwise). You allow it with "File sharing" in `Settings -> Resources -> File sharing -> add the one or two above folder` and hit the "Apply & restart" button.
More details on troubleshooting with copying data and code out of the running container can be found in Demo Hour: Debugging Normalization. Even though that's about the normalization part of Airbyte, it can still be helpful to understand more.
Download our free guide and discover the best approach for your needs, whether it's building your ELT solution in-house or opting for Airbyte Open Source or Airbyte Cloud.
