Learn how to move all your data to a data lake and connect your data lake with the Dremio lakehouse platform.
Published on Aug 12, 2022
Summarize this article with:

Cloud data lakes represent the primary destination for growing volumes and varieties of customer and operational data. A wide range of technical and non-technical data consumers require access to that data for analytic use cases, including business intelligence (BI) and reporting.
Cloud data lakes create two major challenges for data teams:
Those two challenges create bottlenecks, where data teams spend their time building and maintaining many complex ETL pipelines and data copies, and data access requests often take weeks or even months to fulfill.
Dremio and Airbyte reduce the complexity of data architectures and make it easy to build and access a cloud data lake for analytics.
Airbyte makes it easy to get data into the data lake with an open source platform that simplifies the Extract and Load processes of data integration. Easily build and manage data connectors to a wide range of data sources, and move that data into the data lake.
Dremio is the open data lakehouse platform that makes it as easy to get started with a lakehouse architecture as it is for a cloud data platform. It provides the data management, data governance, and data analytics capabilities typically associated with a data warehouse directly on data lake storage. Dremio provides ANSI-SQL functionality, query acceleration, and a semantic layer that centralizes data management and governance while expanding access to data to a wide range of technical and non-technical data consumers, all directly on the data lake, so data teams don’t have to move or copy data.
Dremio and Airbyte provide a number of advantages over other data architectures:
Getting started with Dremio and Airbyte is easy! Here’s a step-by-step guide to using Airbyte to get all your data into the Dremio Lakehouse platform.
You can create a Airbyte Cloud account to get started. Through its user interface (UI), Airbyte can connect to a wide variety of data sources among business applications and databases. From the Sources tab, select your data source from the drop down menu.
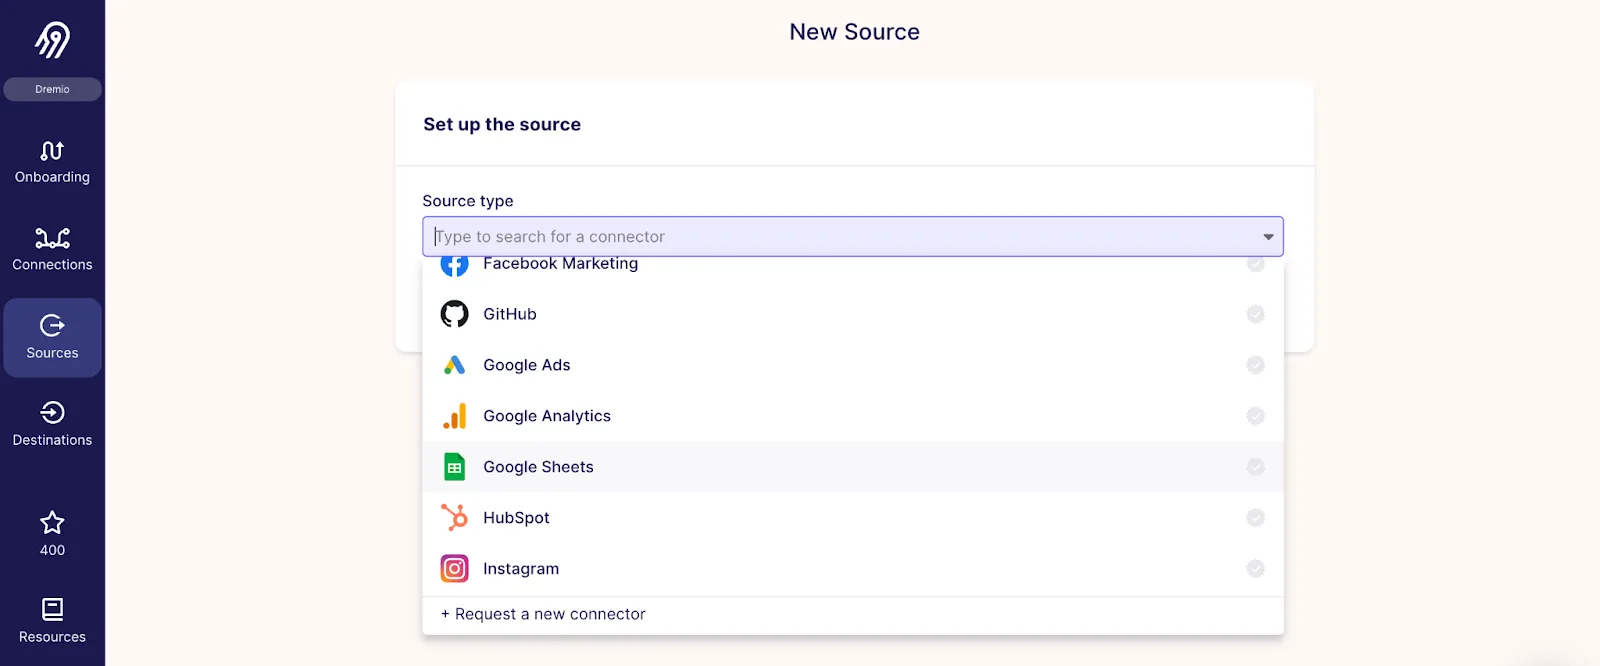
Once you have selected your data source, Airbyte will run you through a set-up guide to connect to your data source.
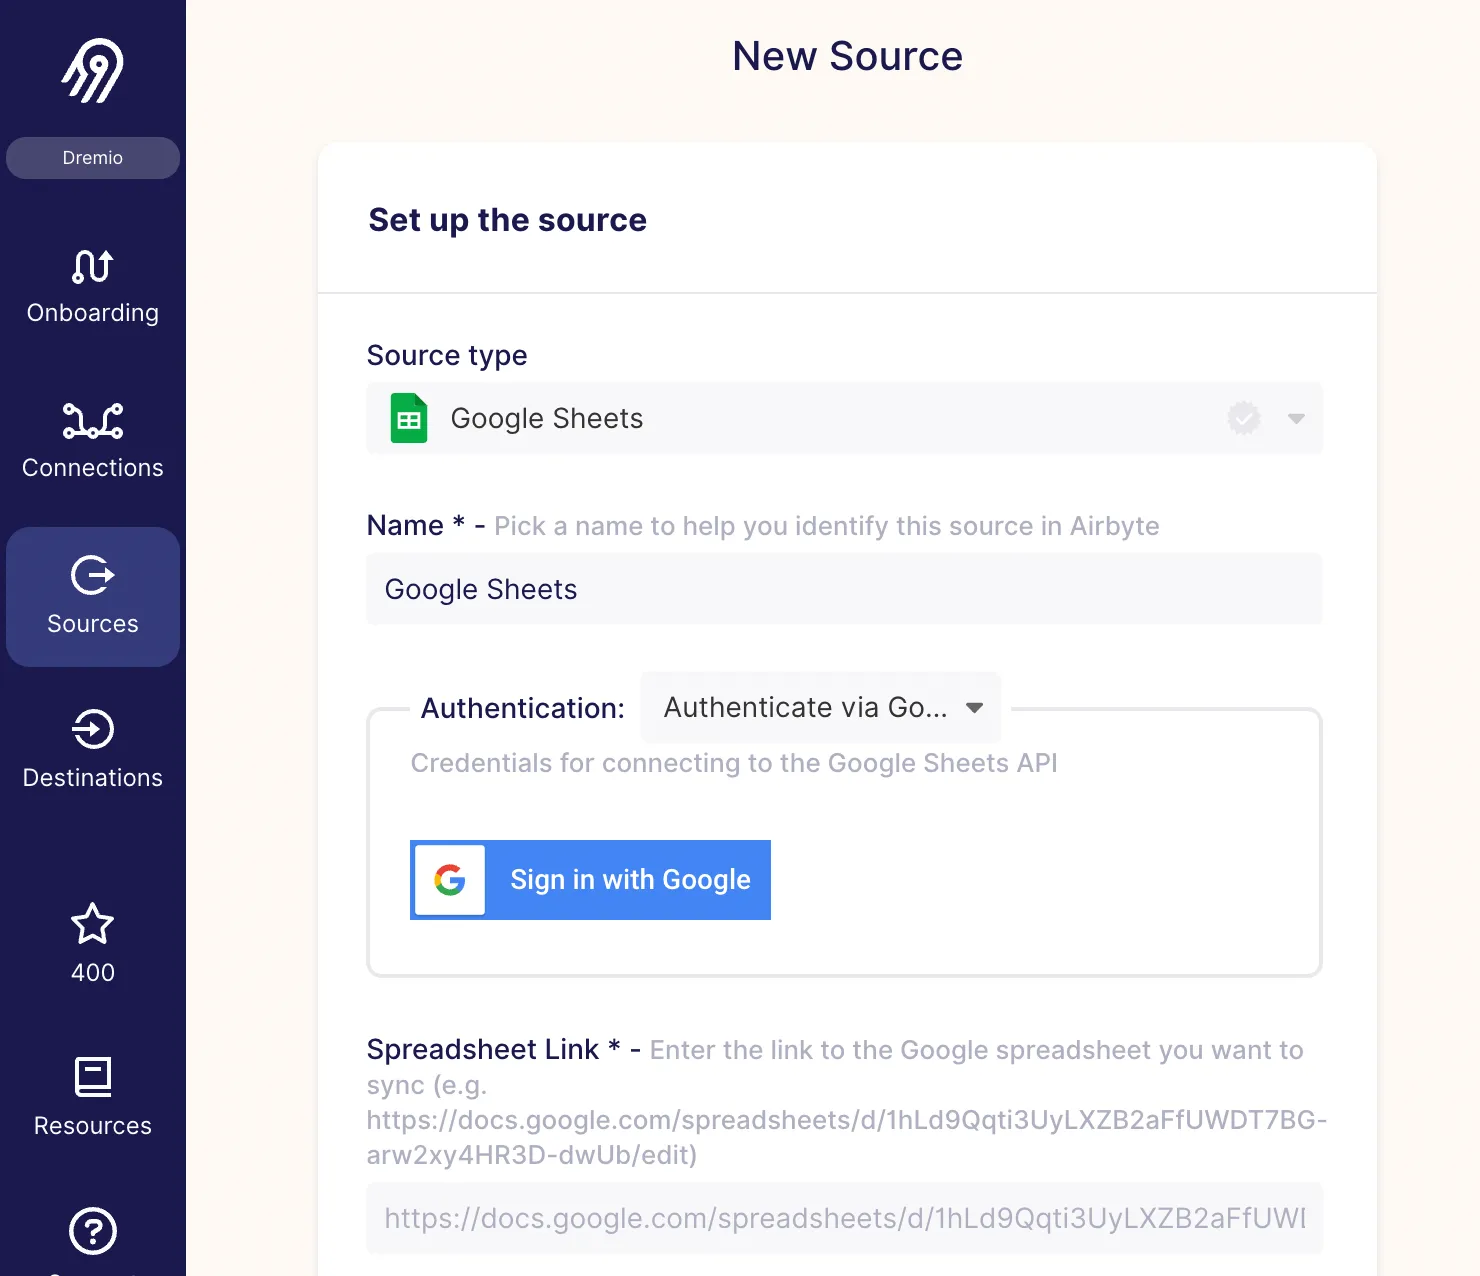
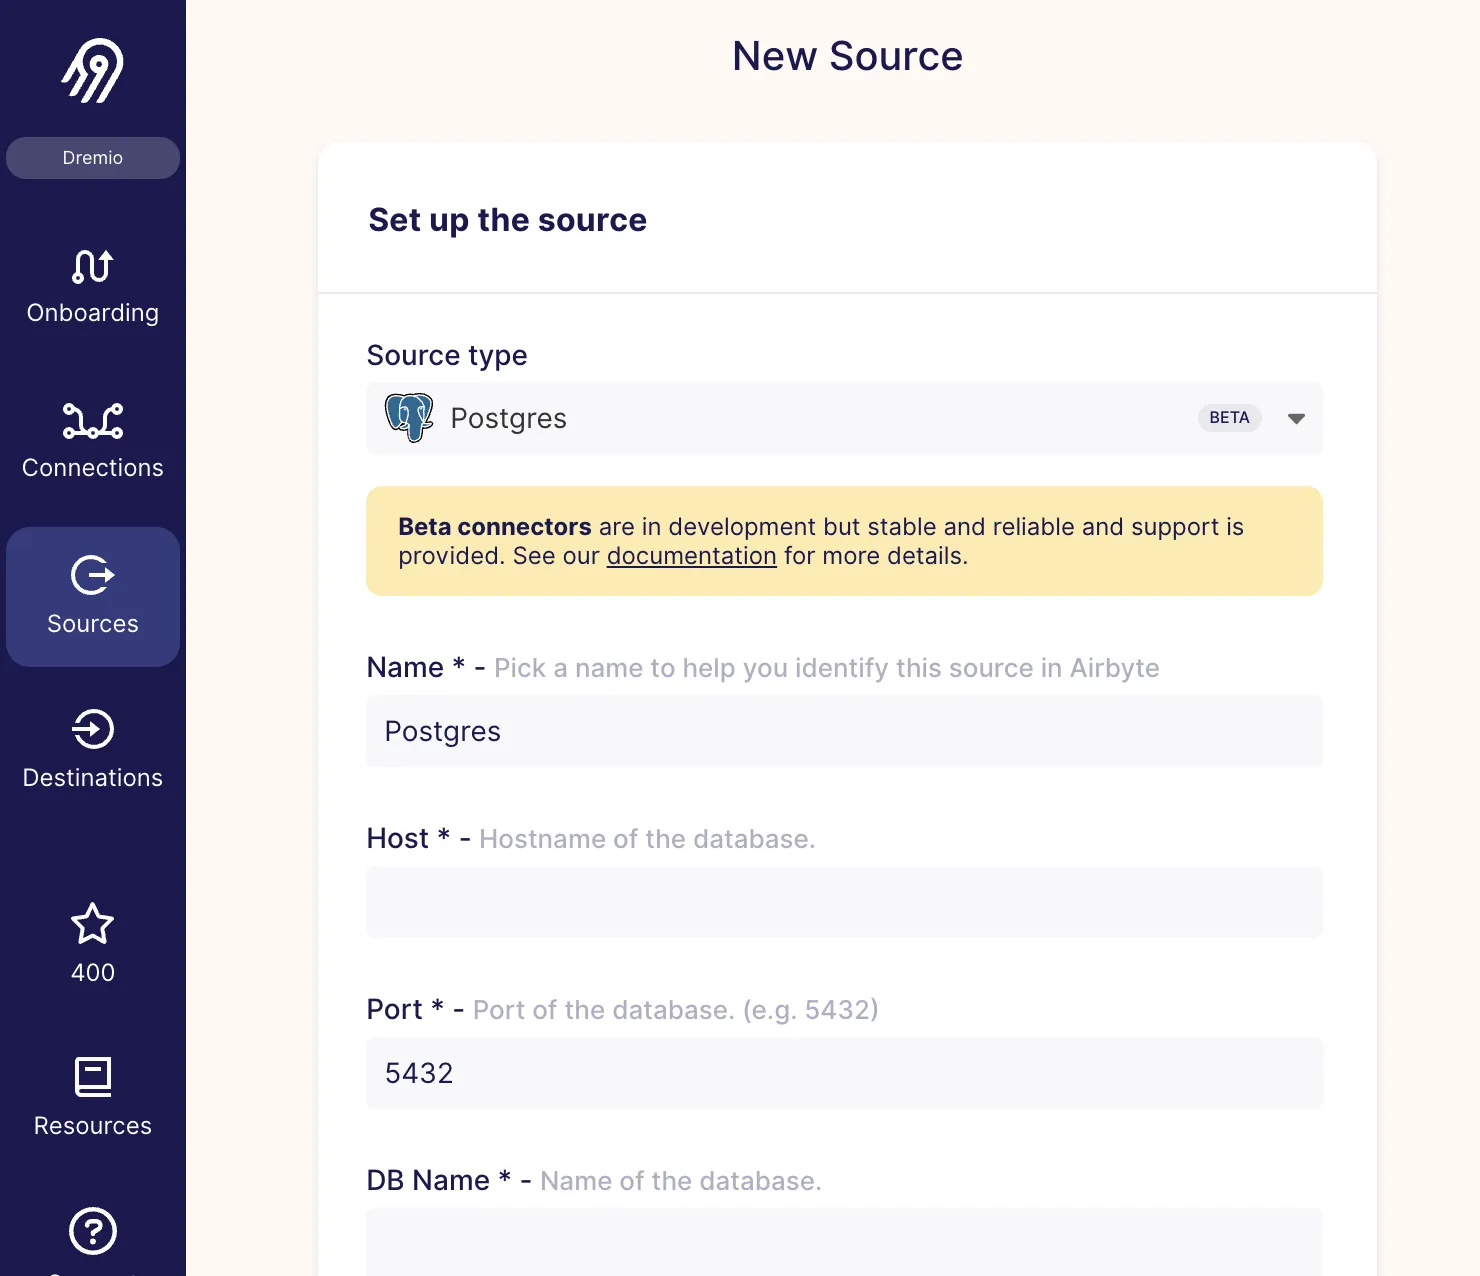
Once you have your source, the next step is to set a destination for Airbyte to connect and write the data to. Airbyte supports a large number of destinations, including cloud data lakes like Amazon S3, Google Cloud Storage (GCS) and Azure Data Lake Storage (ADLS).
From the Destinations tab, select your destination from the drop down menu.
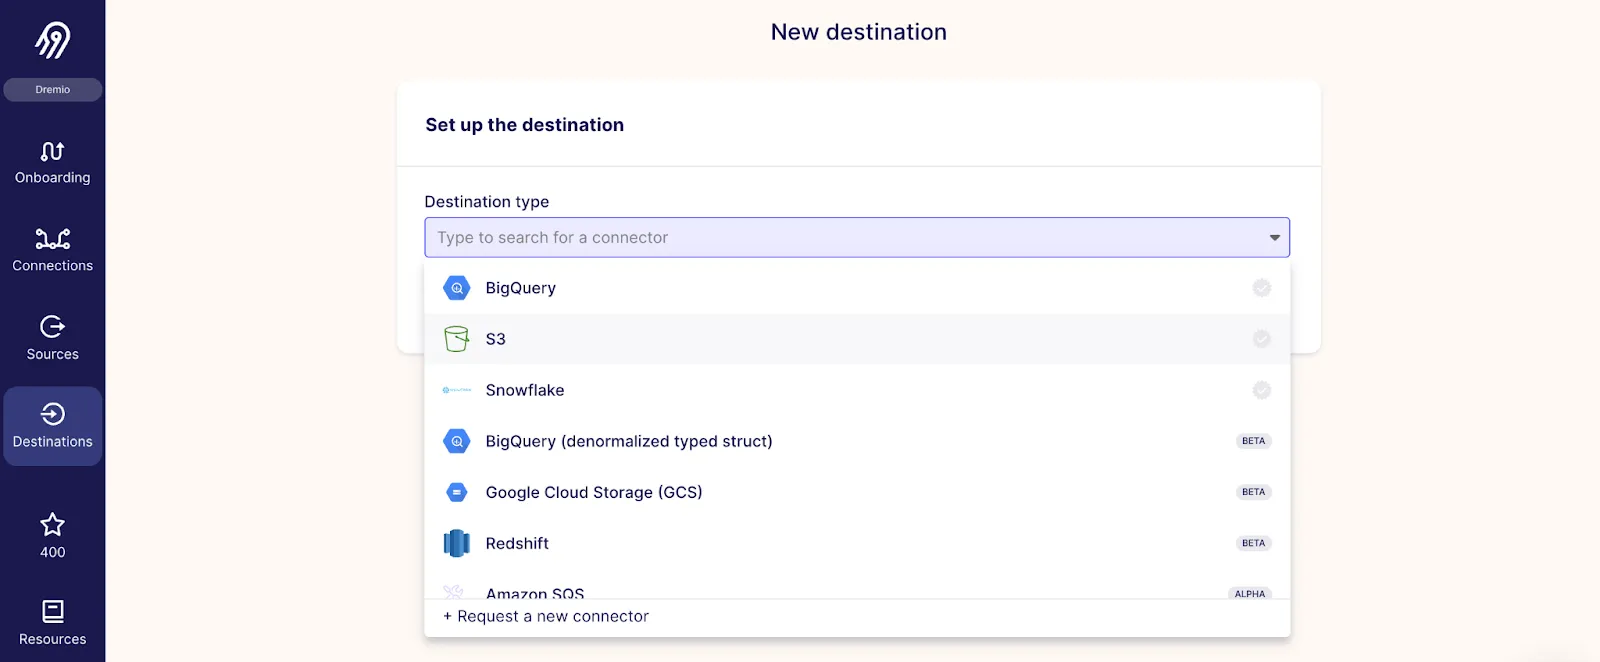
Select a cloud data lake destination; for example, Amazon S3.

Input your Amazon S3 authentication information for Airbyte to establish a connection. Reference the Airbyte documentation on how to set up your Amazon S3 destination.
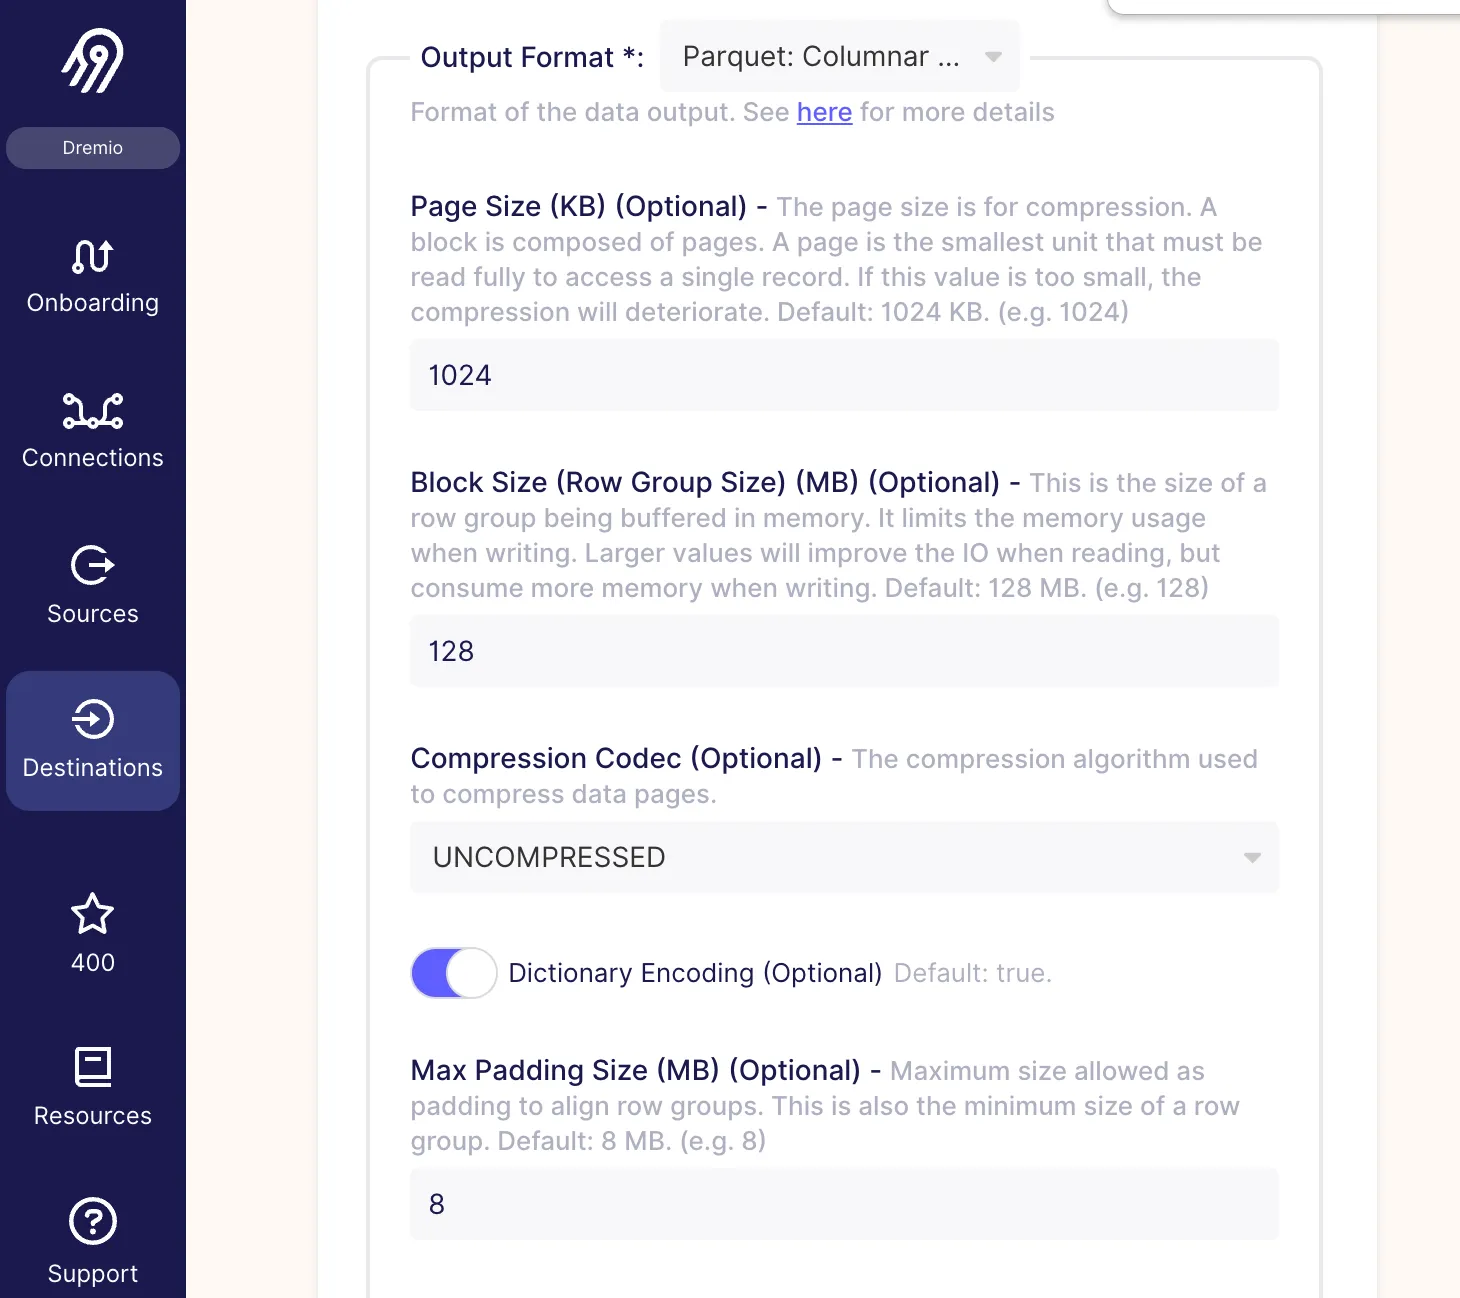
Note: When setting up your Amazon S3 destination, it is a Dremio best practice to select Parquet as your output format.
Download our free guide and discover the best approach for your needs, whether it's building your ELT solution in-house or opting for Airbyte Open Source or Airbyte Cloud.

From the Connections tab, create a new connection. Select your source from the source drop down menu and click Select an existing source.
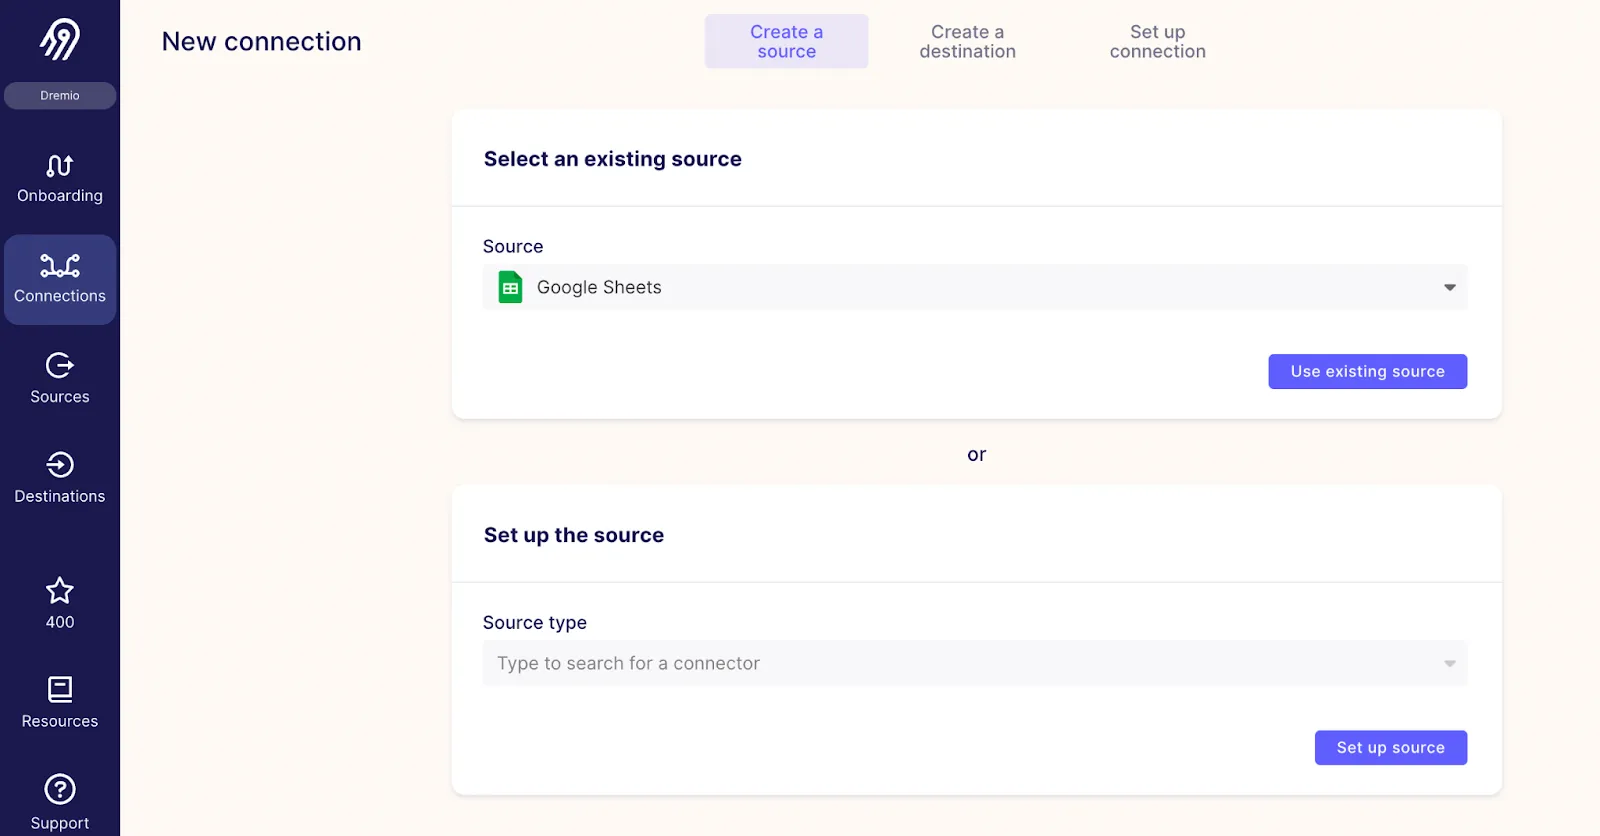
Next, select your destination from the destination drop down menu and click Select an existing destination.

Airbyte will set up the connection between your source and destination.

Once the connection has been established, you can set parameters like replication frequency and streams. You can also specify if you want Airbyte to append or overwrite the data.
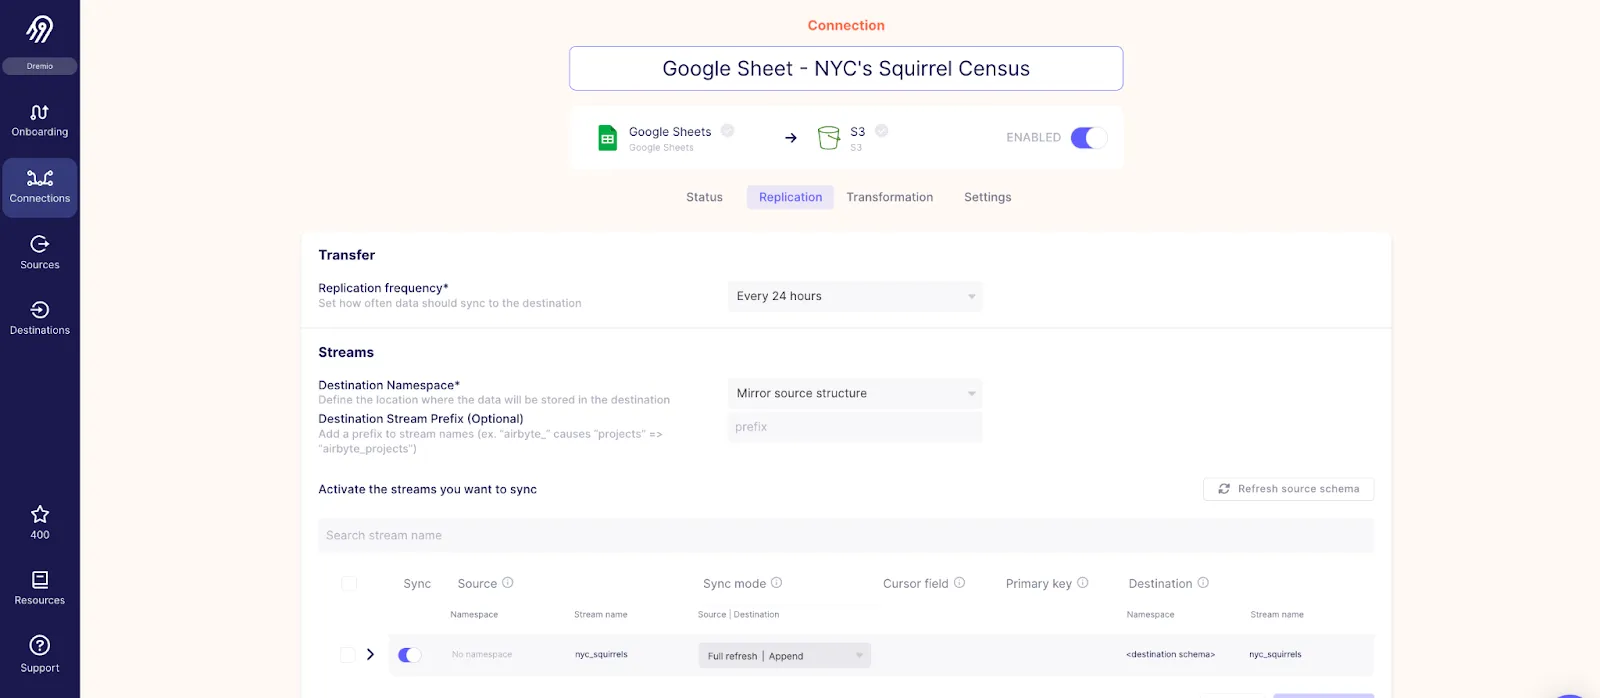
Once you have configured your connection, Airbyte will run the connection and write your data from your source to your cloud data lake.

If you have not connected Dremio to your Amazon S3 account, follow Dremio documentation to set up your connection.
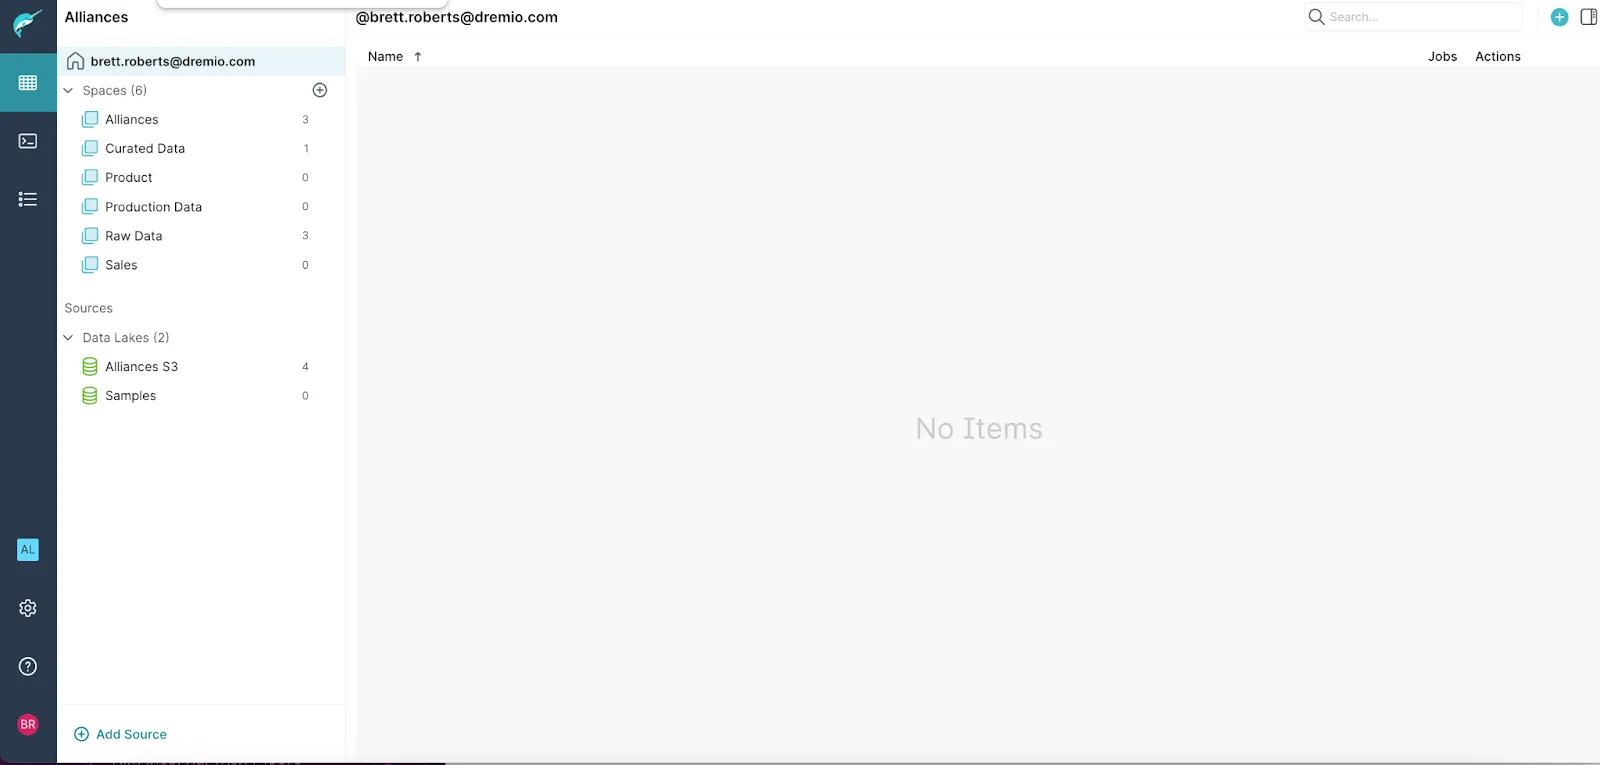

Once a connection with your Amazon S3 data lake has been established, you can promote your dataset to a Physical Dataset in Dremio. Physical Datasets (PDS) are entities that represent variously formatted data as tables. These entities are called physical datasets because they represent actual data. You can create a PDS from one data file or from a folder that contains data files.
Navigate to the parquet file(s) in the bucket you connected Airbyte to. Click the “Format File” icon on the right of your file(s).

Dremio will recognize this as a Parquet file, and it will create the PDS.
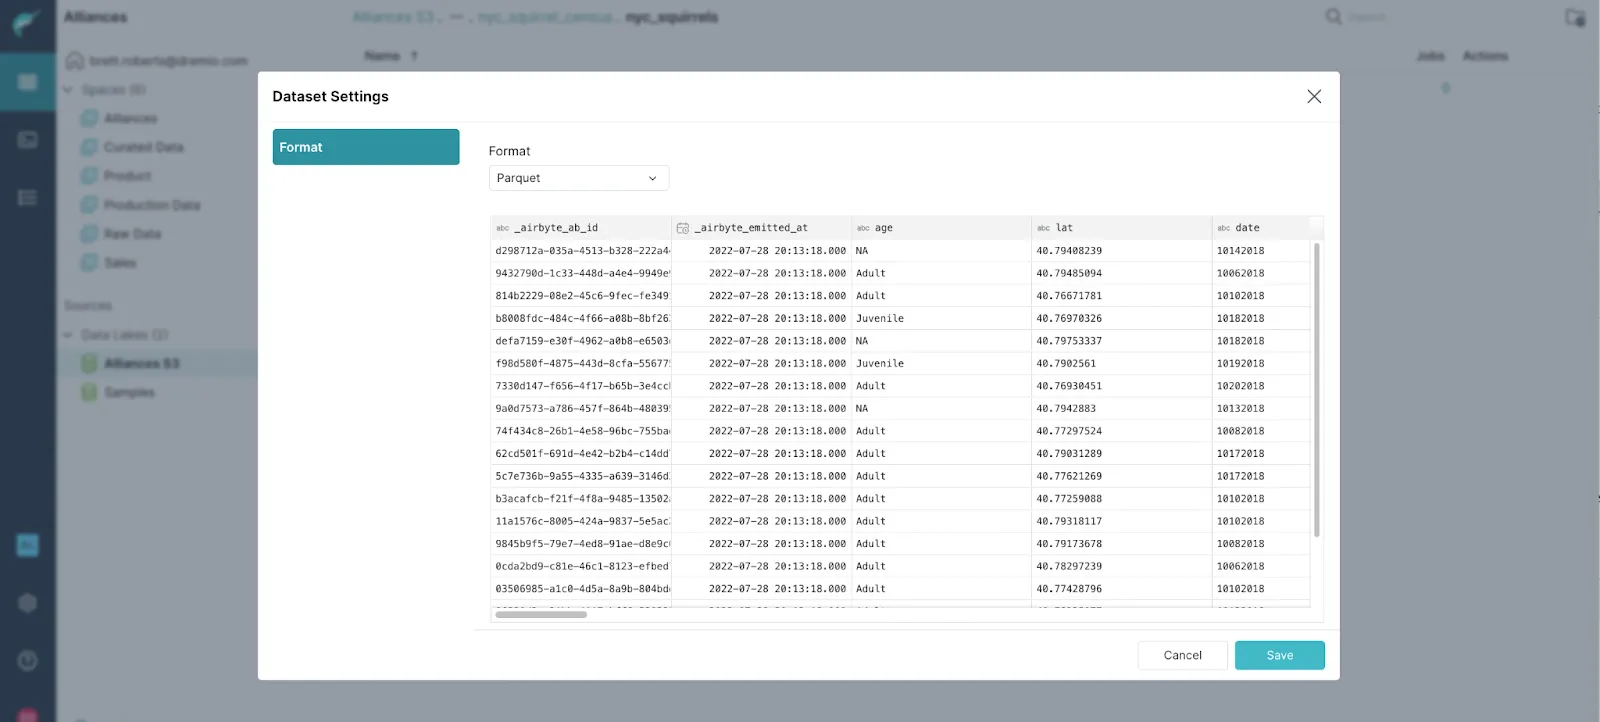
Click Save and Dremio will show a preview of the table.
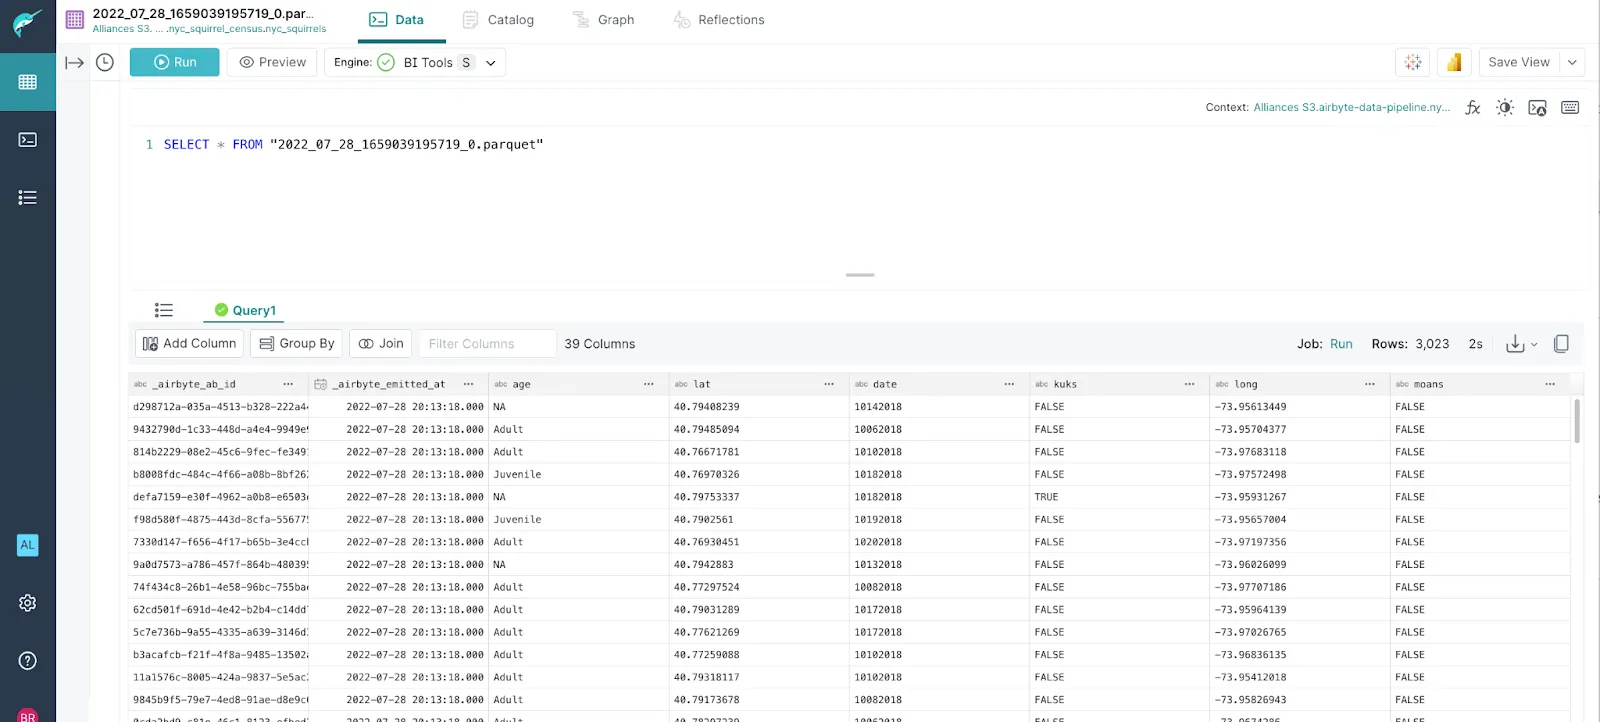
You can save this as a Virtual Dataset, also known as a View. Virtual datasets are not copies of data, so they use very little memory, and they always reflect the current state of the parent datasets they are derived from.

Now that you have a dataset in Dremio, you can connect to your BI or data science tools like Tableau, Power BI, Jupyter notebooks, and many more.
As you have seen in this tutorial, Dremio and Airbyte make it very easy and intuitive to get data from a variety of sources into the data lake, and start creating dashboards and visualizations. It takes just a few minutes to create new data sources with Airbyte, and once all your data is in the data lake, Dremio makes it easily available to data consumers for analytics.
Airbyte Cloud provides a free trial to get started centralizing your data into a data lake. If you’re ready to get started with an easy and open data lakehouse, you can sign up for your forever-free tier of Dremio Cloud. You can check out the getting Started with Dremio guide to learn more about the additional features and functionality of Dremio.
Download our free guide and discover the best approach for your needs, whether it's building your ELT solution in-house or opting for Airbyte Open Source or Airbyte Cloud.

Experience swift Postgres replication, effortlessly transferring data between databases in just 10 minutes.
Learn how to easily automate your LinkedIn Scraping with Airflow and Beautiful Soup.
Learn how to ingest and transform Github and Slack data with SQL and Python-based transformations.