Data integration as code; Creating Airbyte sources, destinations, or connections depending on external factors.
Summarize this article with:
I tried the new Dagster feature to configure the Airbyte with Python code. Why would you want to do that, and what is the difference between using Octavia CLI with the YAML configurations?
This feature allows for the dynamic creation of Airbyte sources, destinations, or connections depending on external factors such as changing API inputs, files that change (event-driven approach), or anything else that is not static.
I created a short demo where I scraped the Awesome Data Engineering List links with Beautiful Soup and ingested the stars from each GitHub repository to a Postgres database—seeing the trends for each. We could add any other excellent list and scrape all awesome lists from GitHub if we wanted to.
🧱 The code to all of here shown you find on the Open Data Stack project under dagster.
When to use this pythonic configuration? With our Octavia CLI, as explained in the version control Airbyte configurations article, you can import, edit, and apply Airbyte application configurations based on YAML files. These can be checked into git and automatically be used, as shown in the article.
What now if you are dependent on incoming metadata that can? If the configs are not hard coded, you'd need a script on top to generate the configurations dynamically. Dagster as a Python orchestrator implemented this, plus they created wrappers on top of the source and destination connectors.
For example, in my demo, I used the GithubSource, which provides all configurations that the Airbyte GitHub Source has to configure with Python, and the same for PostgresDestination. The AirbyteConnection sets configure both together as a connection in Airbyte.
These features open instrumental use cases for data integration as code. Imagine you need to provision Airbyte, have multi-tenancy requirements for teams or customers, or read from a dynamic API (imagine the Notion API where the content is nested into the databases and constantly evolves). Based on these configs, you can automatically apply new sync based on the latest status. Everything is versioned, which leads to changes with confidence.
So much for when to use it. Let's explore now how it all works.
Dagster offers the interfaces that we can define our Airbyte connections with Python and a command line tool called dagster-airbyte that allows two functions to check or apply the defined connections to the Airbyte instance.
As the name suggests, checking is verifying against the current live Airbyte instance vs. your pythonic configurations. Apply will delete an existing source, destination, and connection and re-apply based on your updated configs.
📝 Below, I will skip the step on setting up Airbyte and Postgres database; You can find that in the ReadMe or Postgres Replication Tutorial.
For my demo, I am scraping a GitHub repo that is evolving.
First, I define the airbyte instance in my dagster python code:
➡️ Make sure you set the environment variable <span class="text-style-code">AIRBYTE_PASSWORD</span> on your laptop. The default password is password. As well as create a token <span class="text-style-code">AIRBYTE_PERSONAL_GITHUB_TOKEN</span> for fetching the stargazers from the public repositories in the below code.
After we create our Airbyte source with:
The <span class="text-style-code">get_awesome_repo_list()</span> could be any arbitrary Python code. In this demo, this function does web scraping with Beautiful Soup from the awesome repo list. Note: I limited it to 10 items for this demo case.
And the destination with:
When we have both source and destination, we can merge them in an Airbyte connection where we specify the tables we sync with stream_config; in our demo case, we only need the table <span class="text-style-code">stargazers</span>. Other configurations can be set, such as Airbyte Sync Modes and Normalization.
As we defined the necessary Airbyte source, destination, and connection, we will apply it to the Airbyte instance with <span class="text-style-code">dagster-airbyte</span> as follow:
The output might look something like this:
After the <span class="text-style-code">check</span> identified the changes between our configurations in Python with the Airbyte instance, we can <span class="text-style-code">apply</span> these changes with the following:
The output might look something like this:
Let's look at the Airbyte UI before we apply anything.
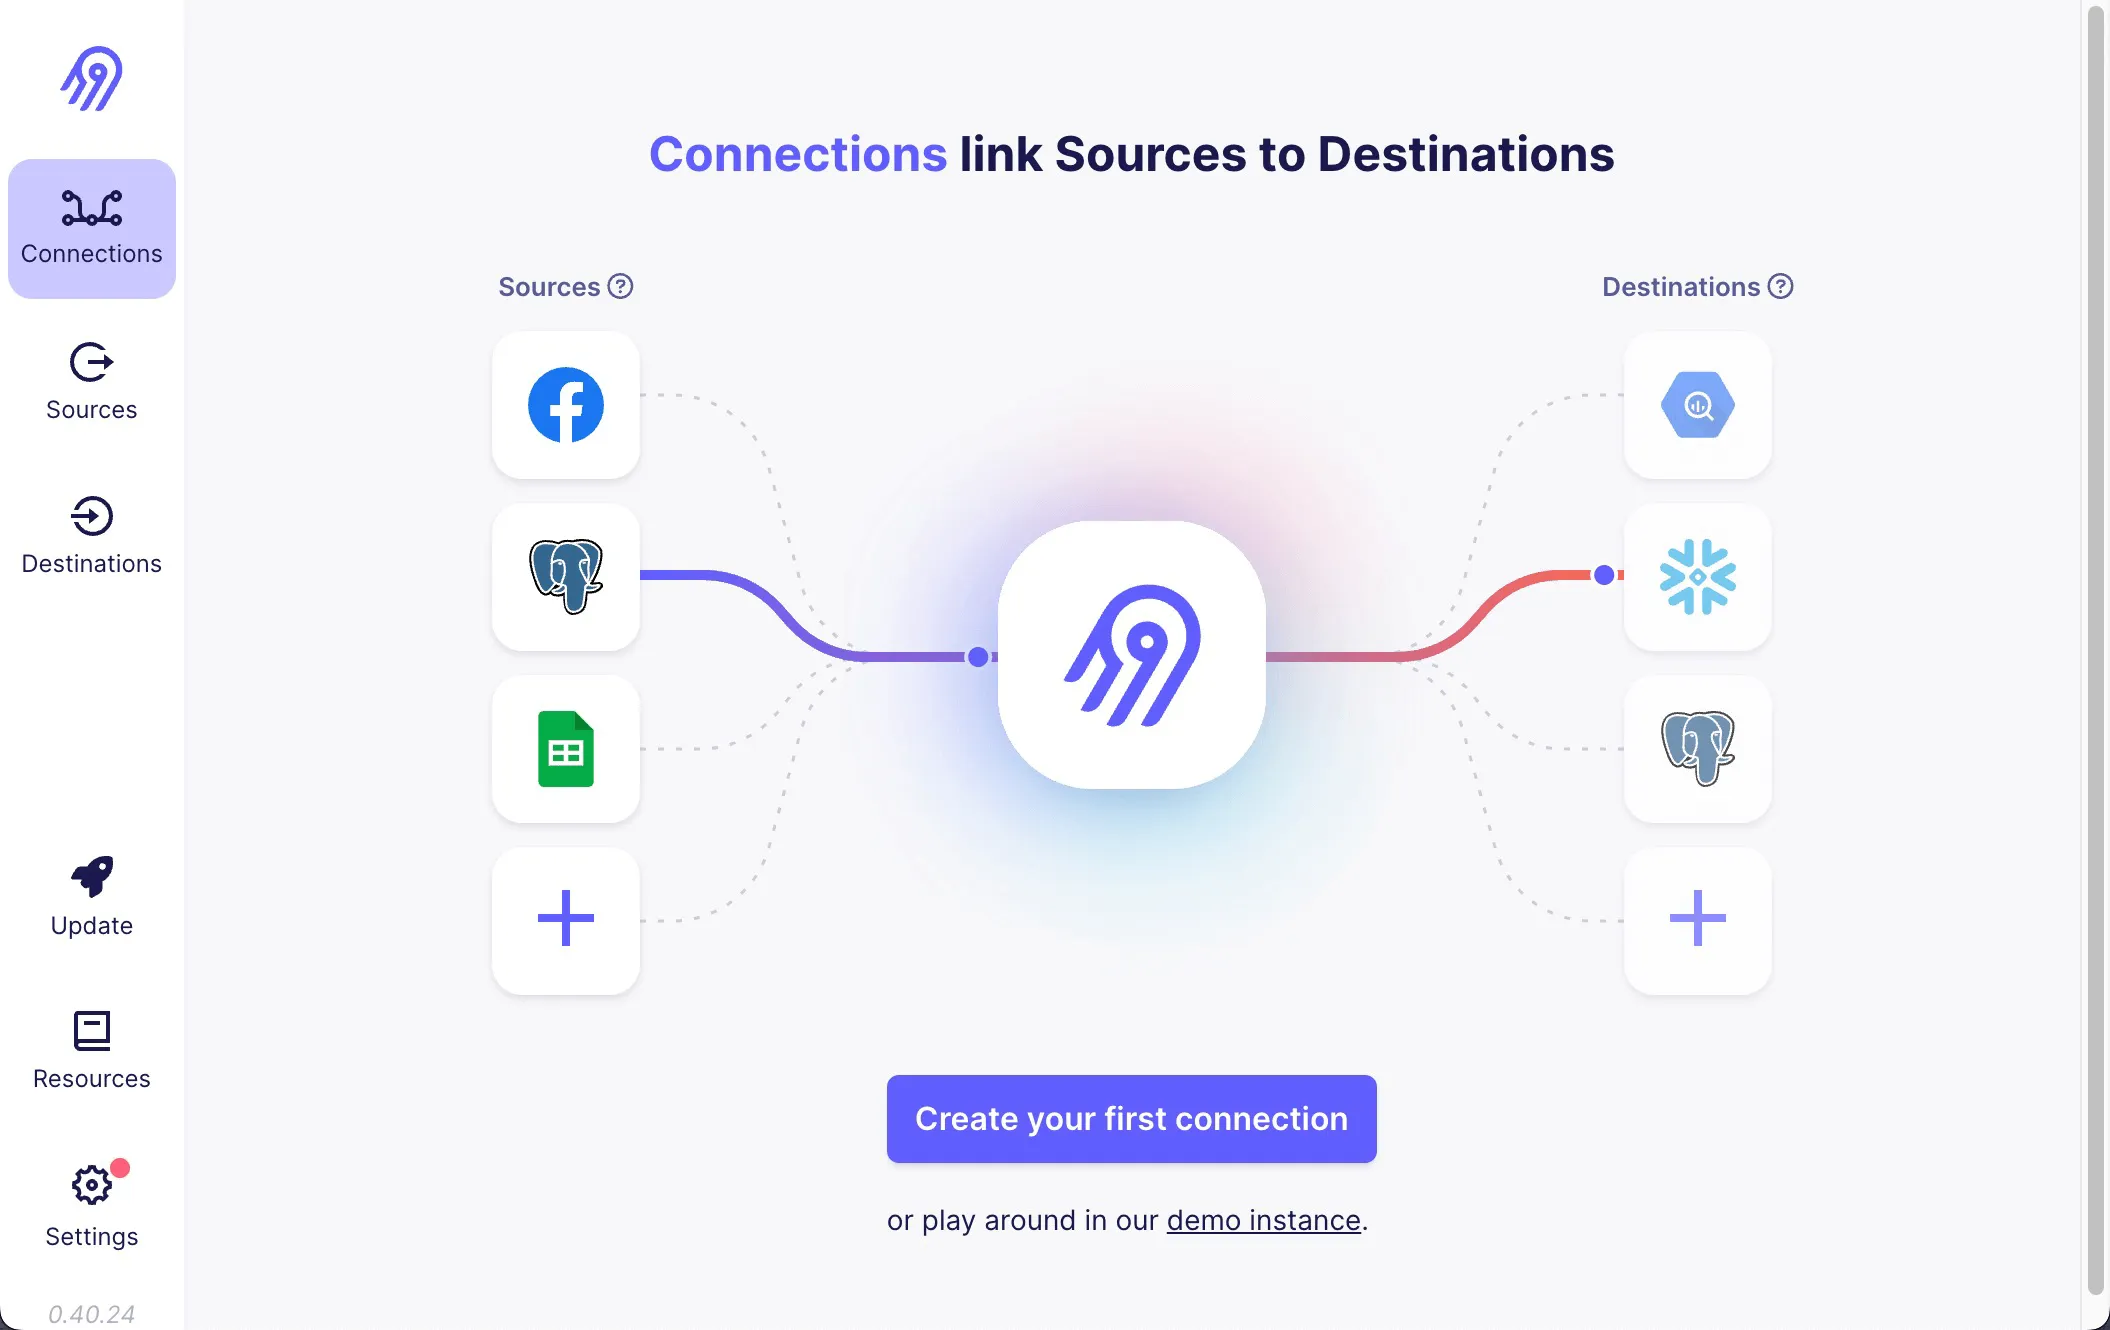
After applying the changes, <span class="text-style-code">fetch_stargazer</span> popped up with its corresponding GitHub source and Postgres destination.
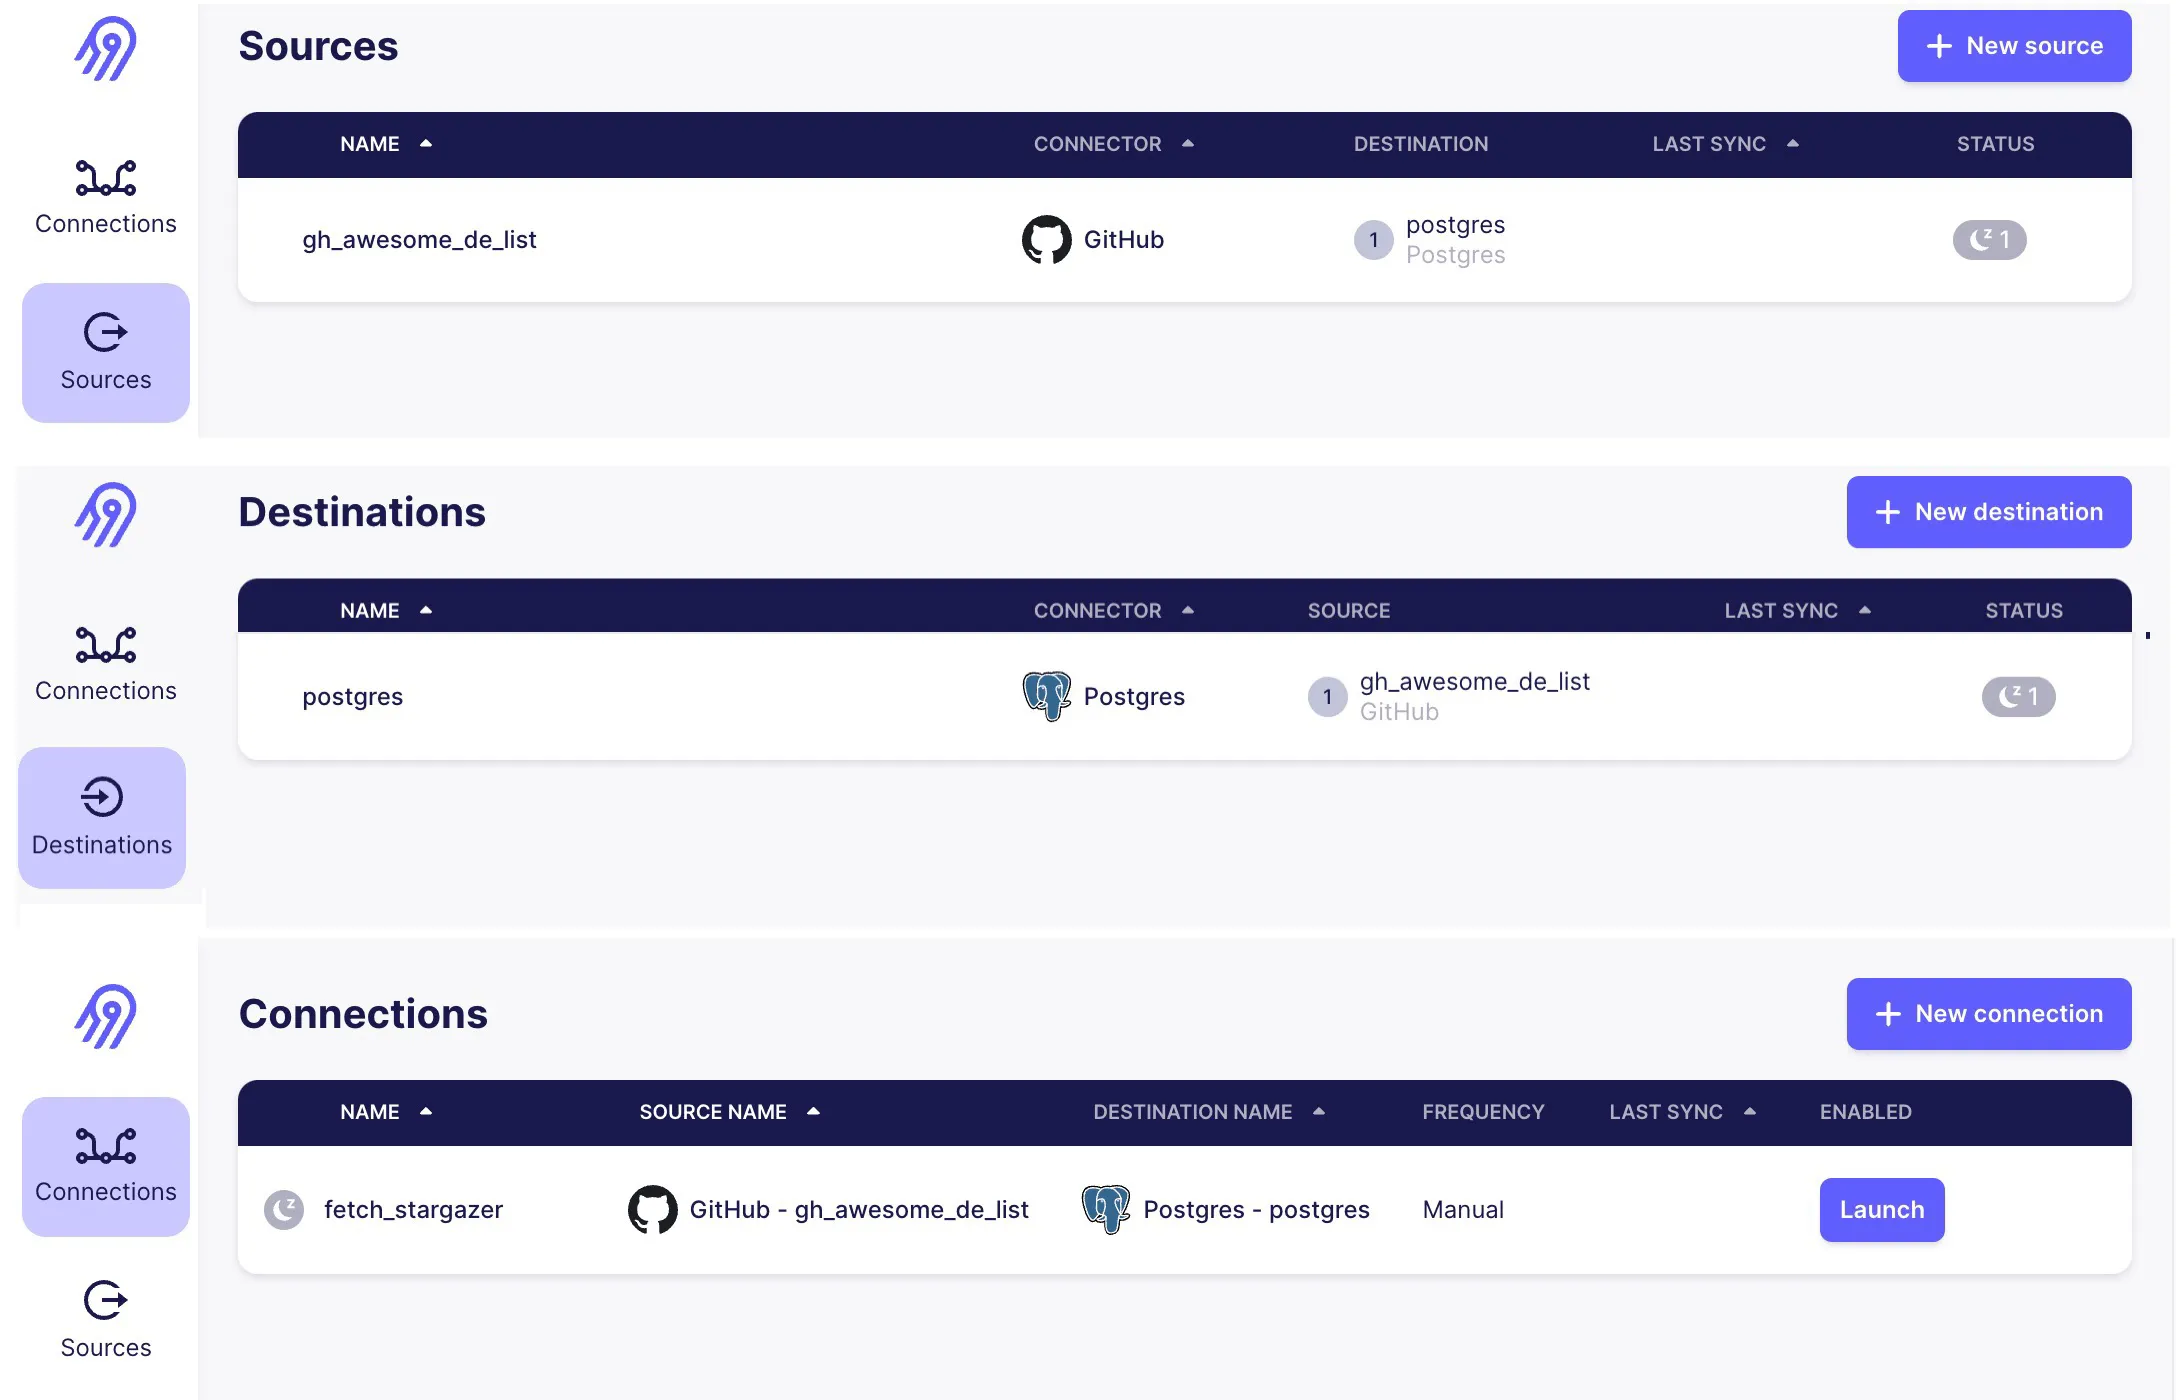
📝 This is equivalent to going into the Airbyte UI and setting up the source and destination with clicks.
Software-Defined Asset in Dagster treats each of our destination tables from Airbyte as a Data Product—enabling the control plane to see the latest status of each Data Asset and its valuable metadata.
We can set them up with a little bit of code in Dagster. As we created the Airbyte components with Dagster already, Dagster has all the information already:
The same we do for our dbt project that is under dbt_transformation. The dbt projects create a <span class="text-style-code">mart_gh_cumulative</span> view on top of our replicated GitHub tables, which we can visualize with Metabase later. But first, let's define the dbt assets simply by pointing them to the dbt folder:
When we start Dagster UI called Dagit with:
We should see the asset view.
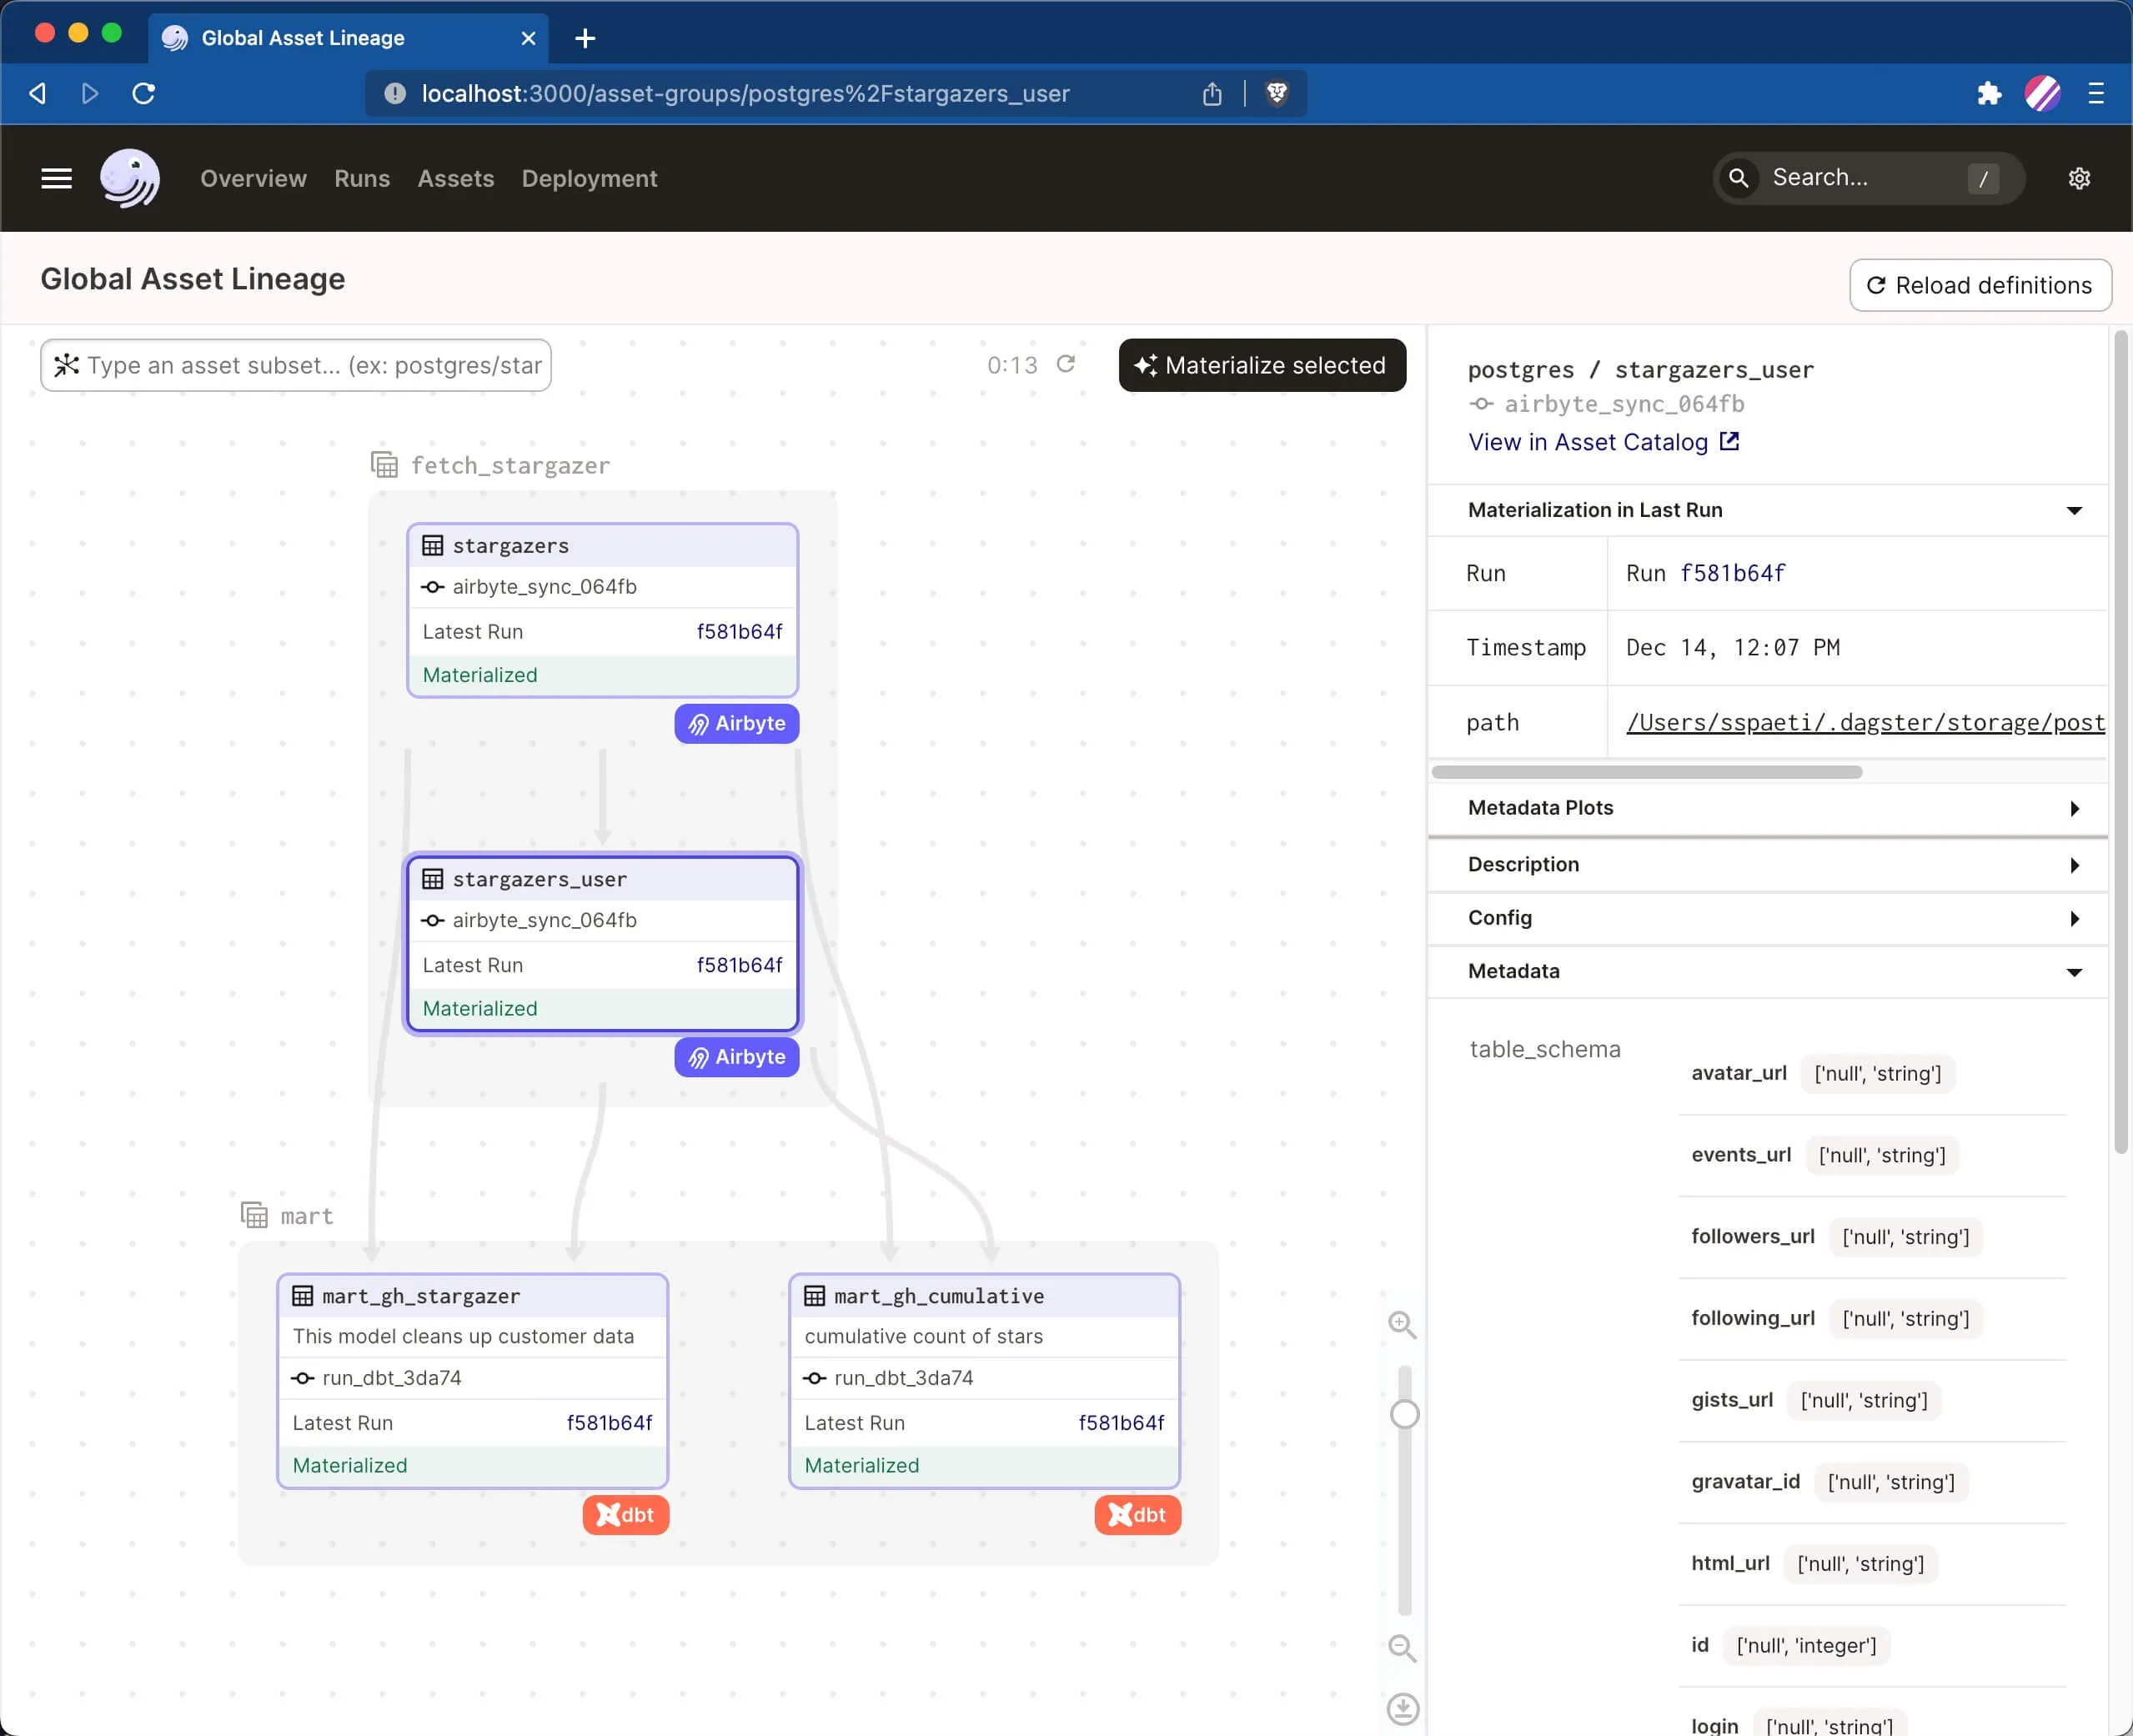
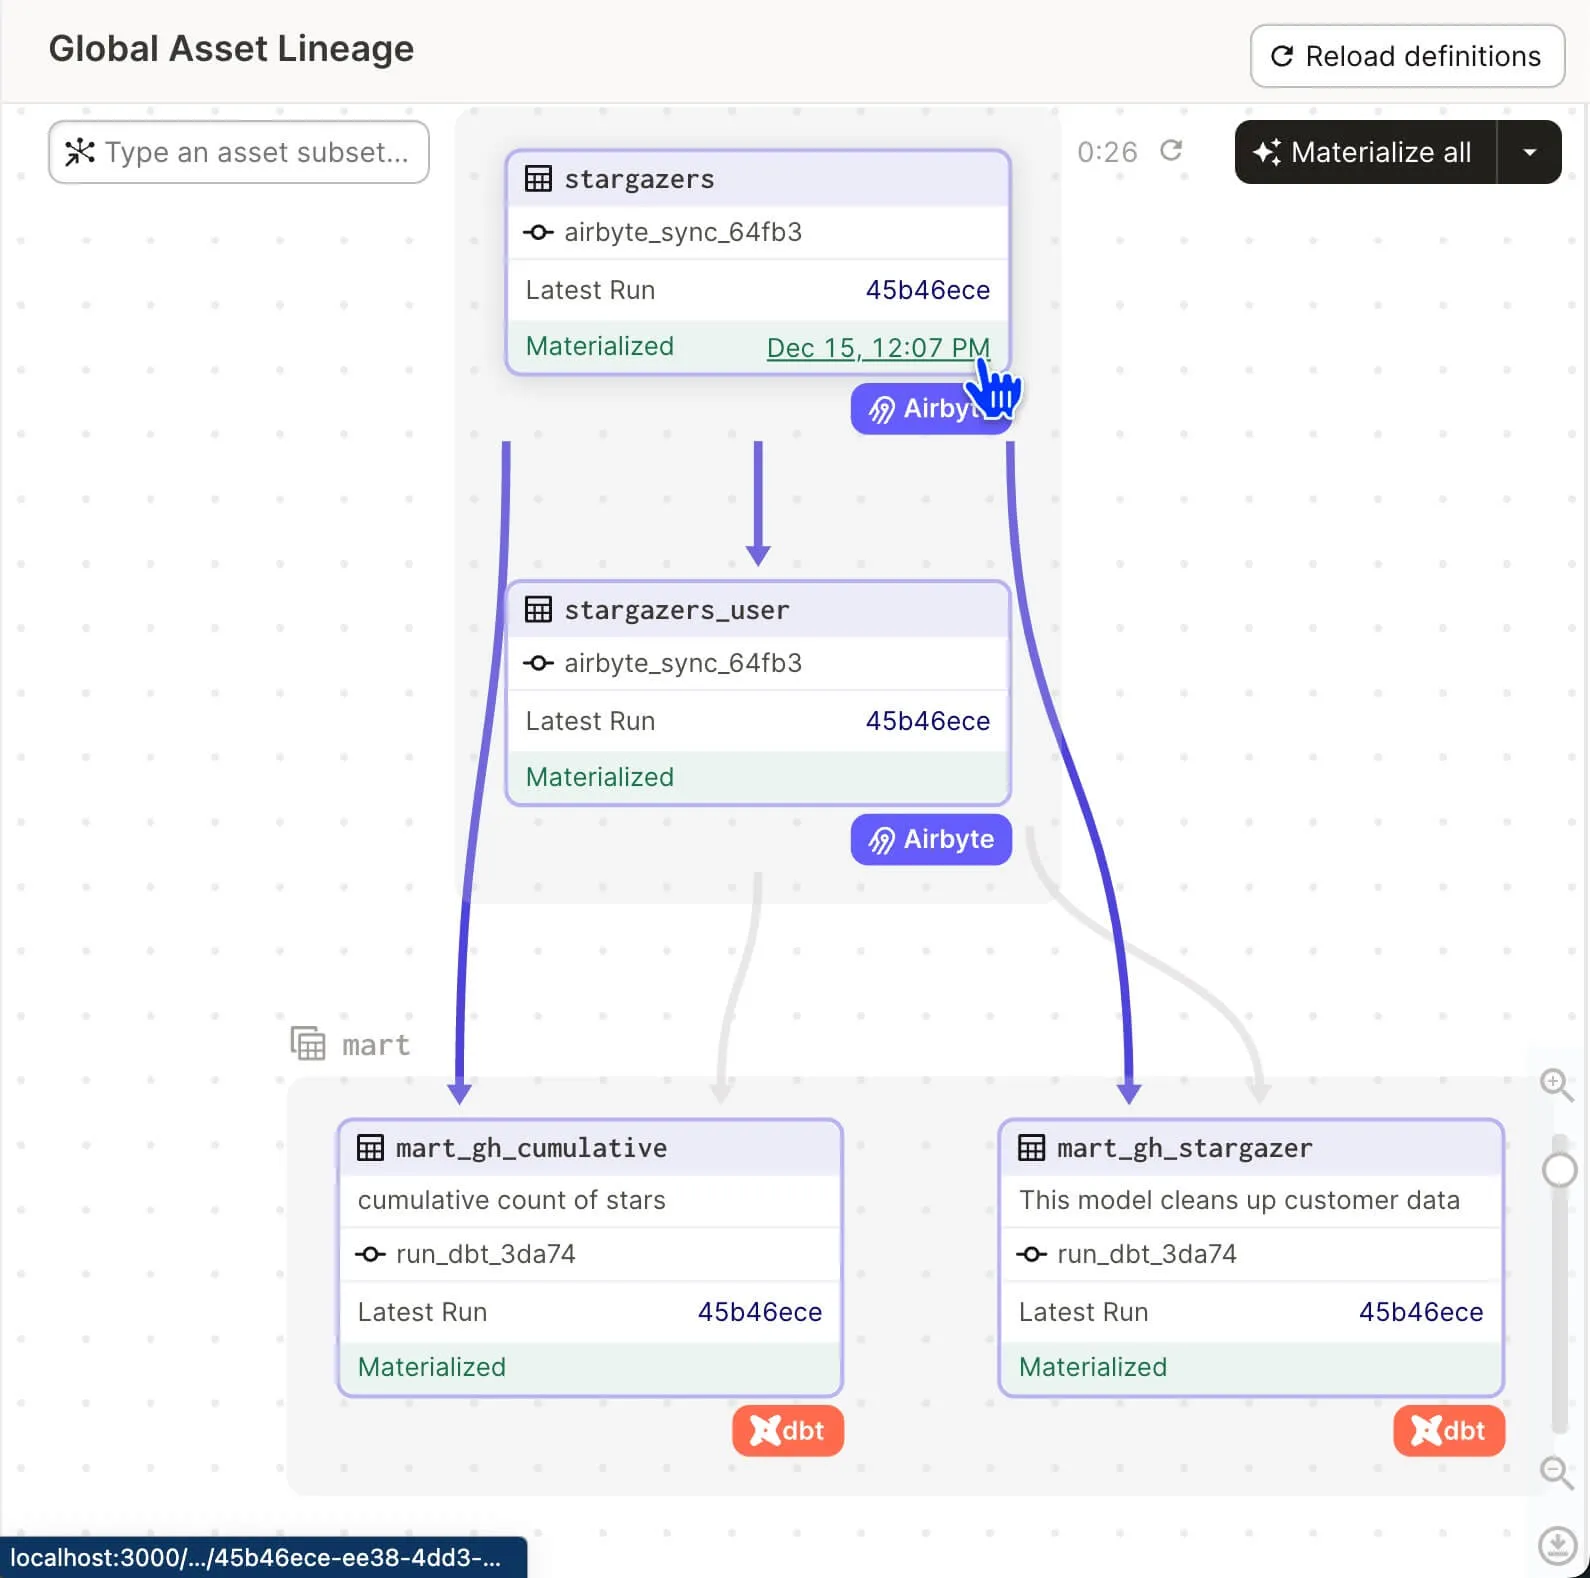
You see the Global Asset Lineage view in Dagster based on our generated Airbyte connection and dbt models creating views. On the right-hand side, you see the metadata that Dagster fetches, e.g., for Airbyte, the schema of each table, and for dbt, the generated SQL statement:
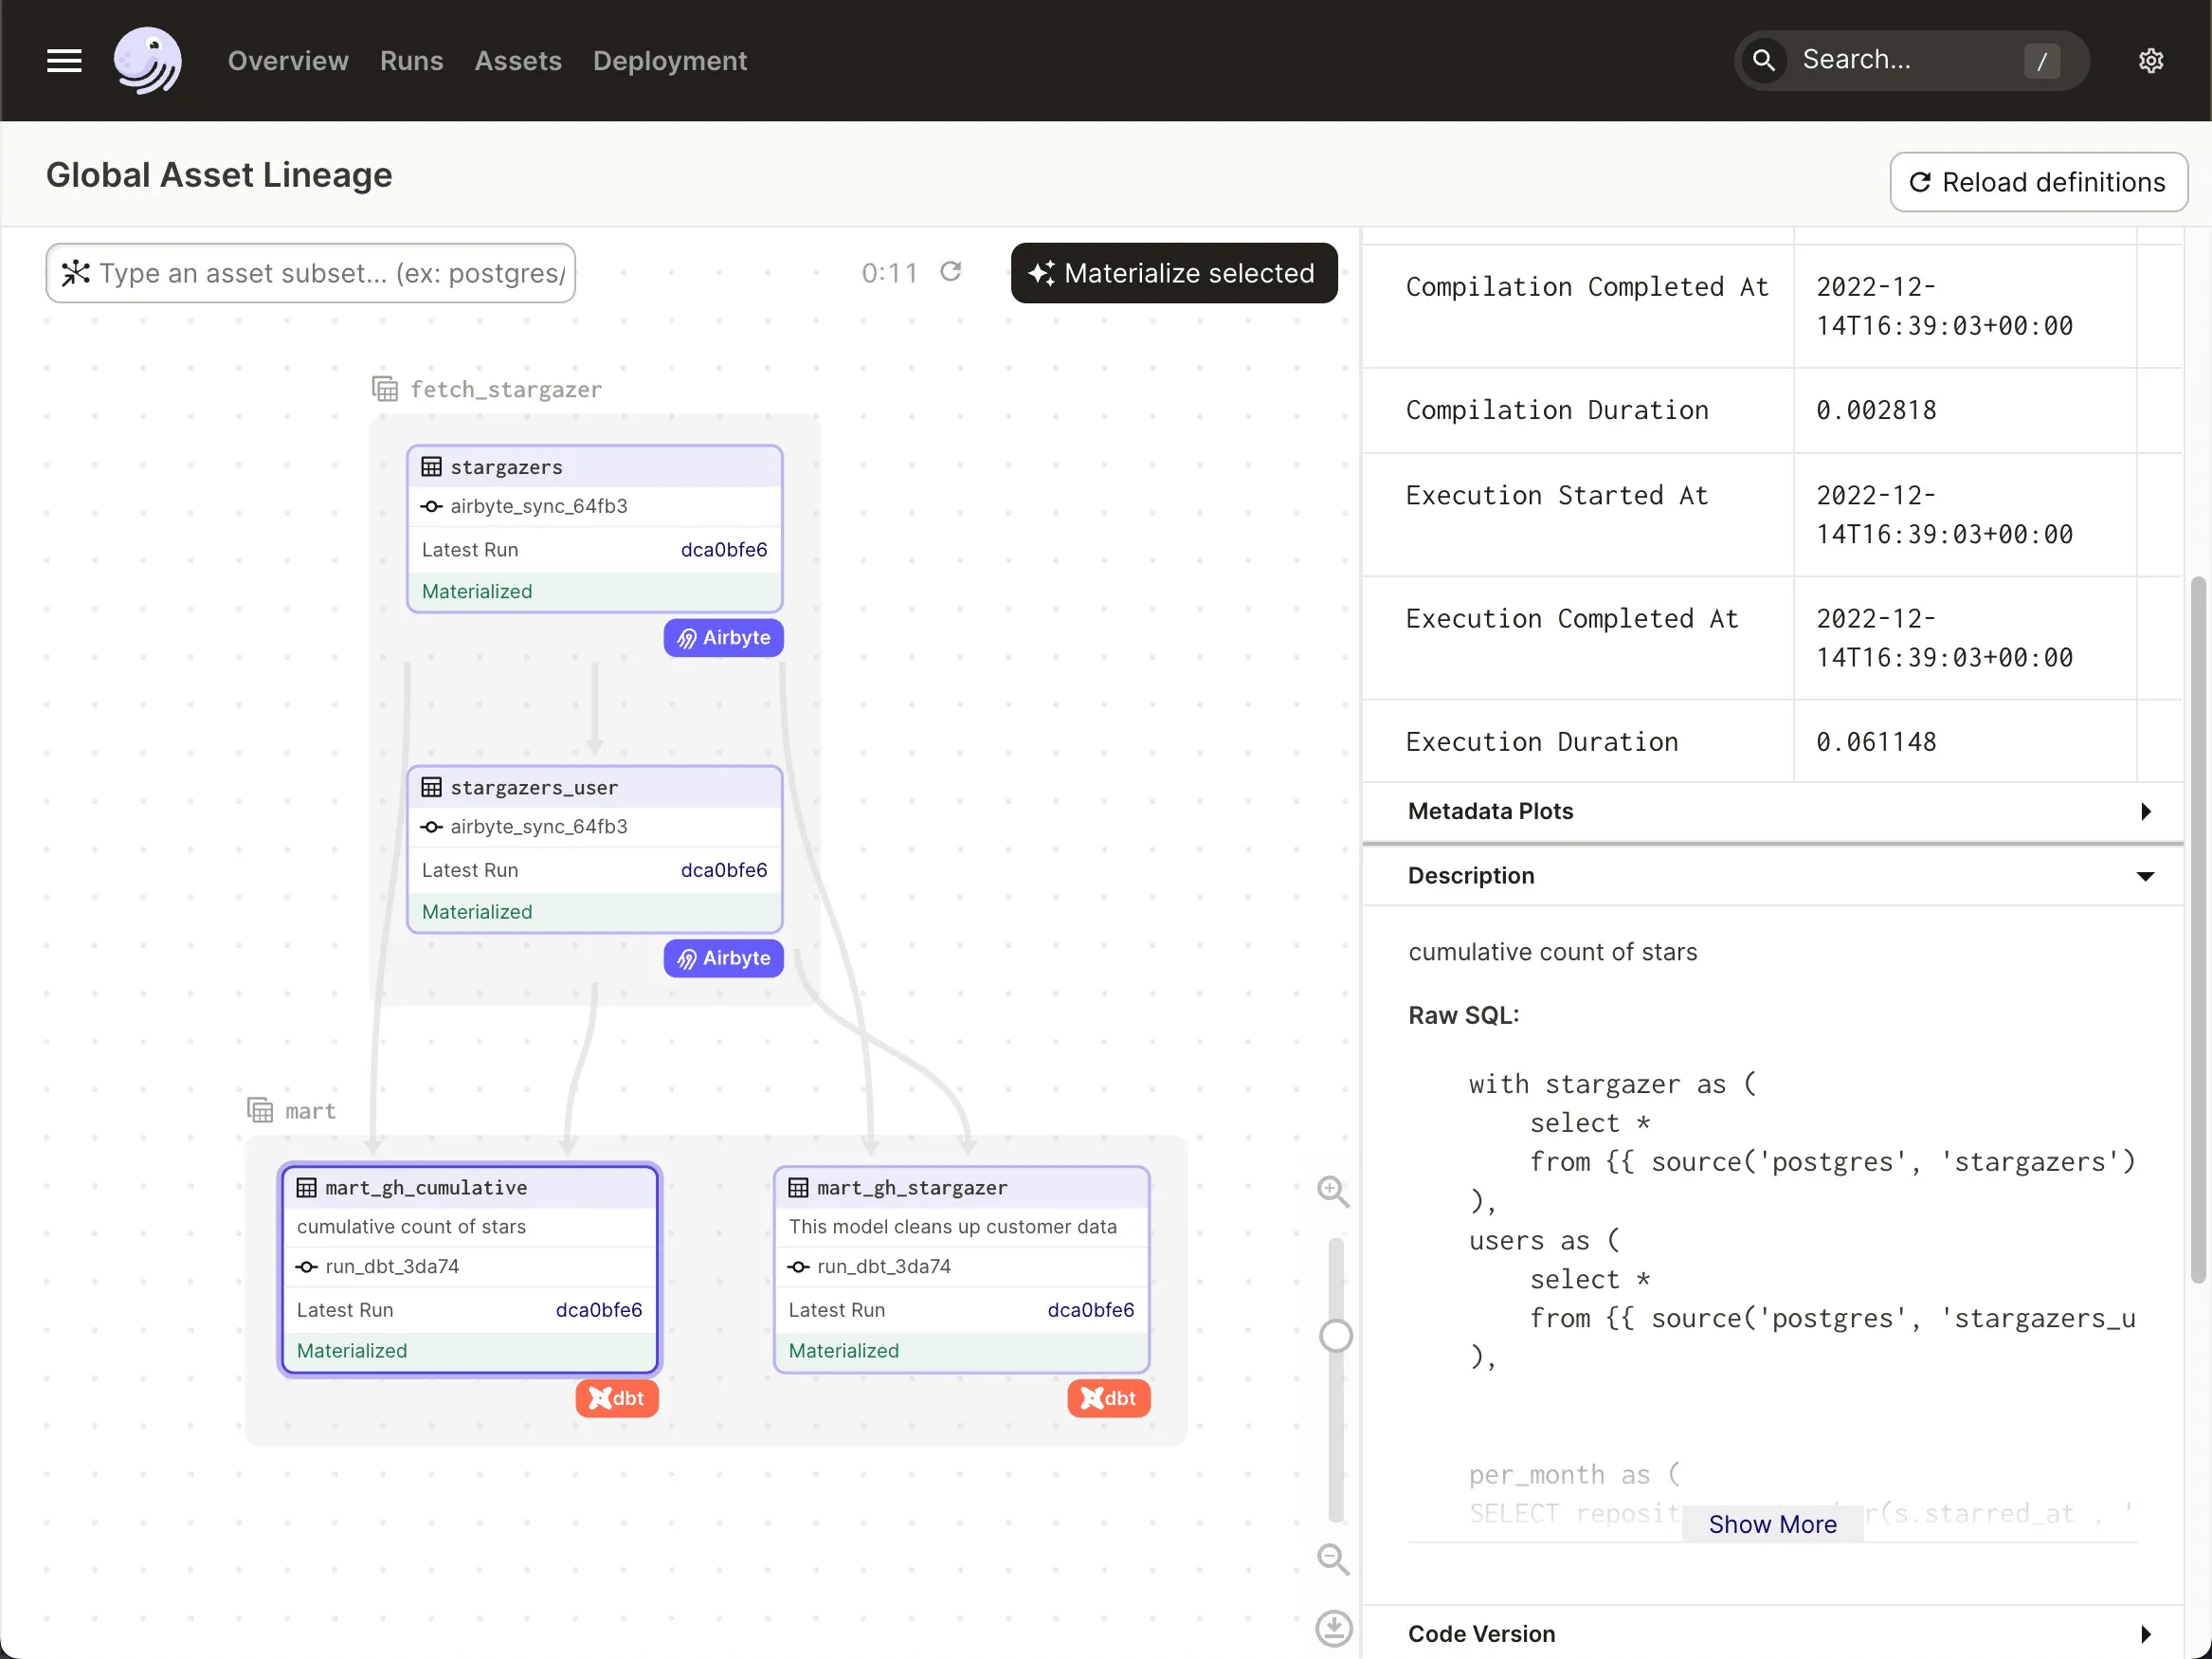
Next, we can run the assets defined.
If we now hit the button “Materialize all”, Dagster will run our sync, fetching the stargazer for all repositories from GitHub, which dynamically fetch what we defined in <span class="text-style-code">get_awesome_repo_list()</span>.
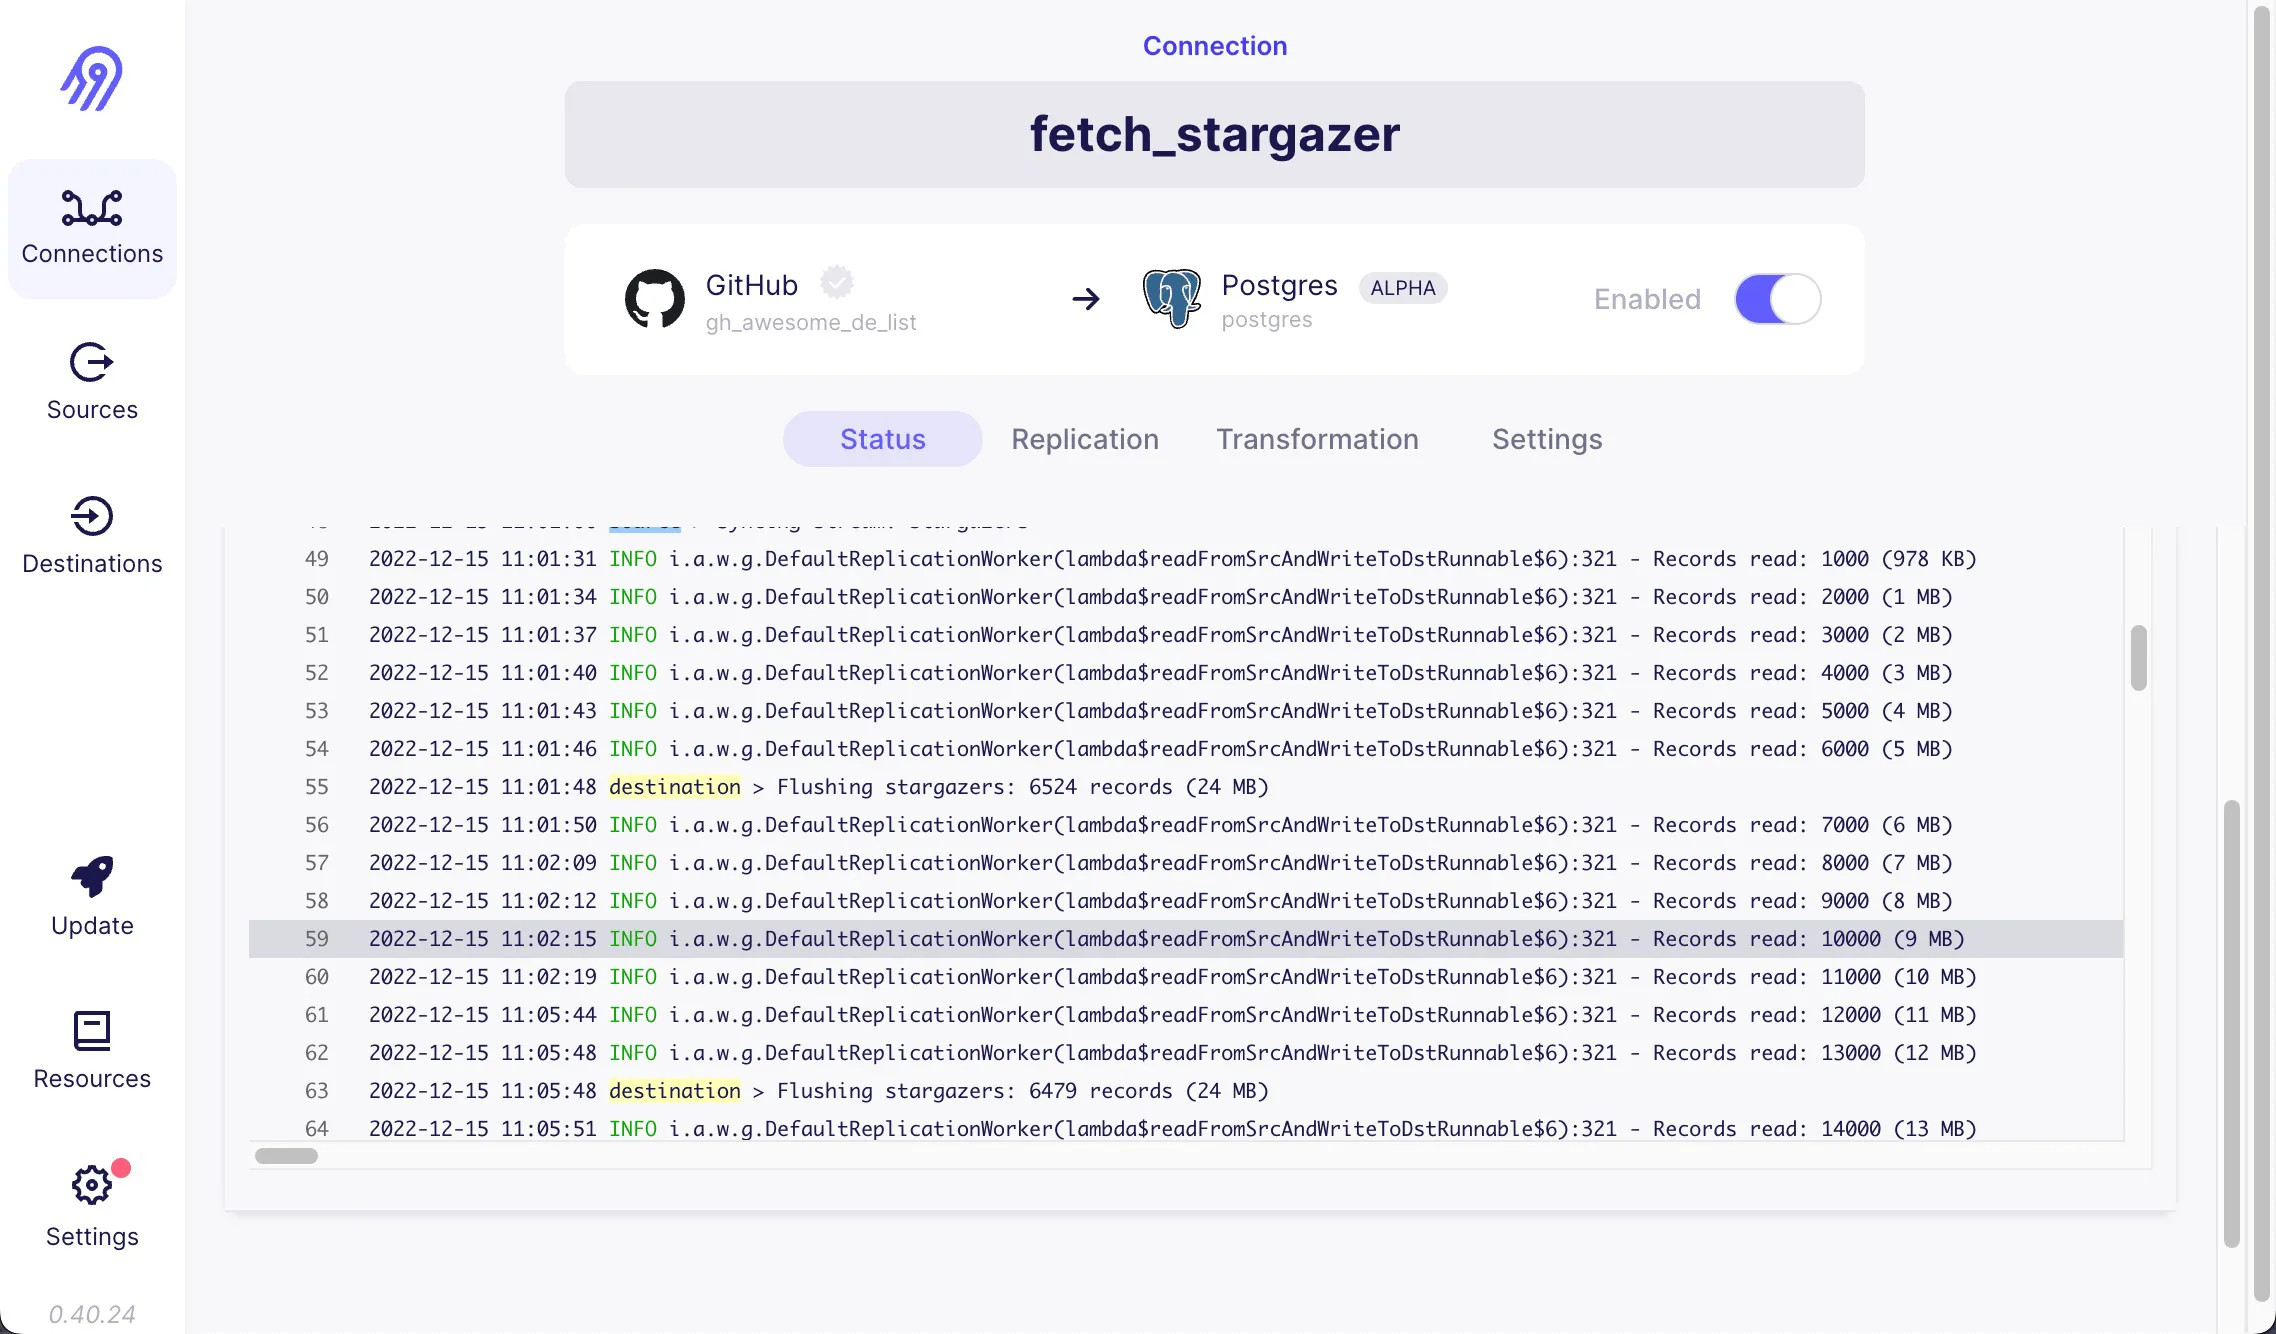
Suppose you head over to the Airbyte UI after materializing the Dagster assets. The log will look something like the one below. It will take a while due to the rate limit of GitHub.
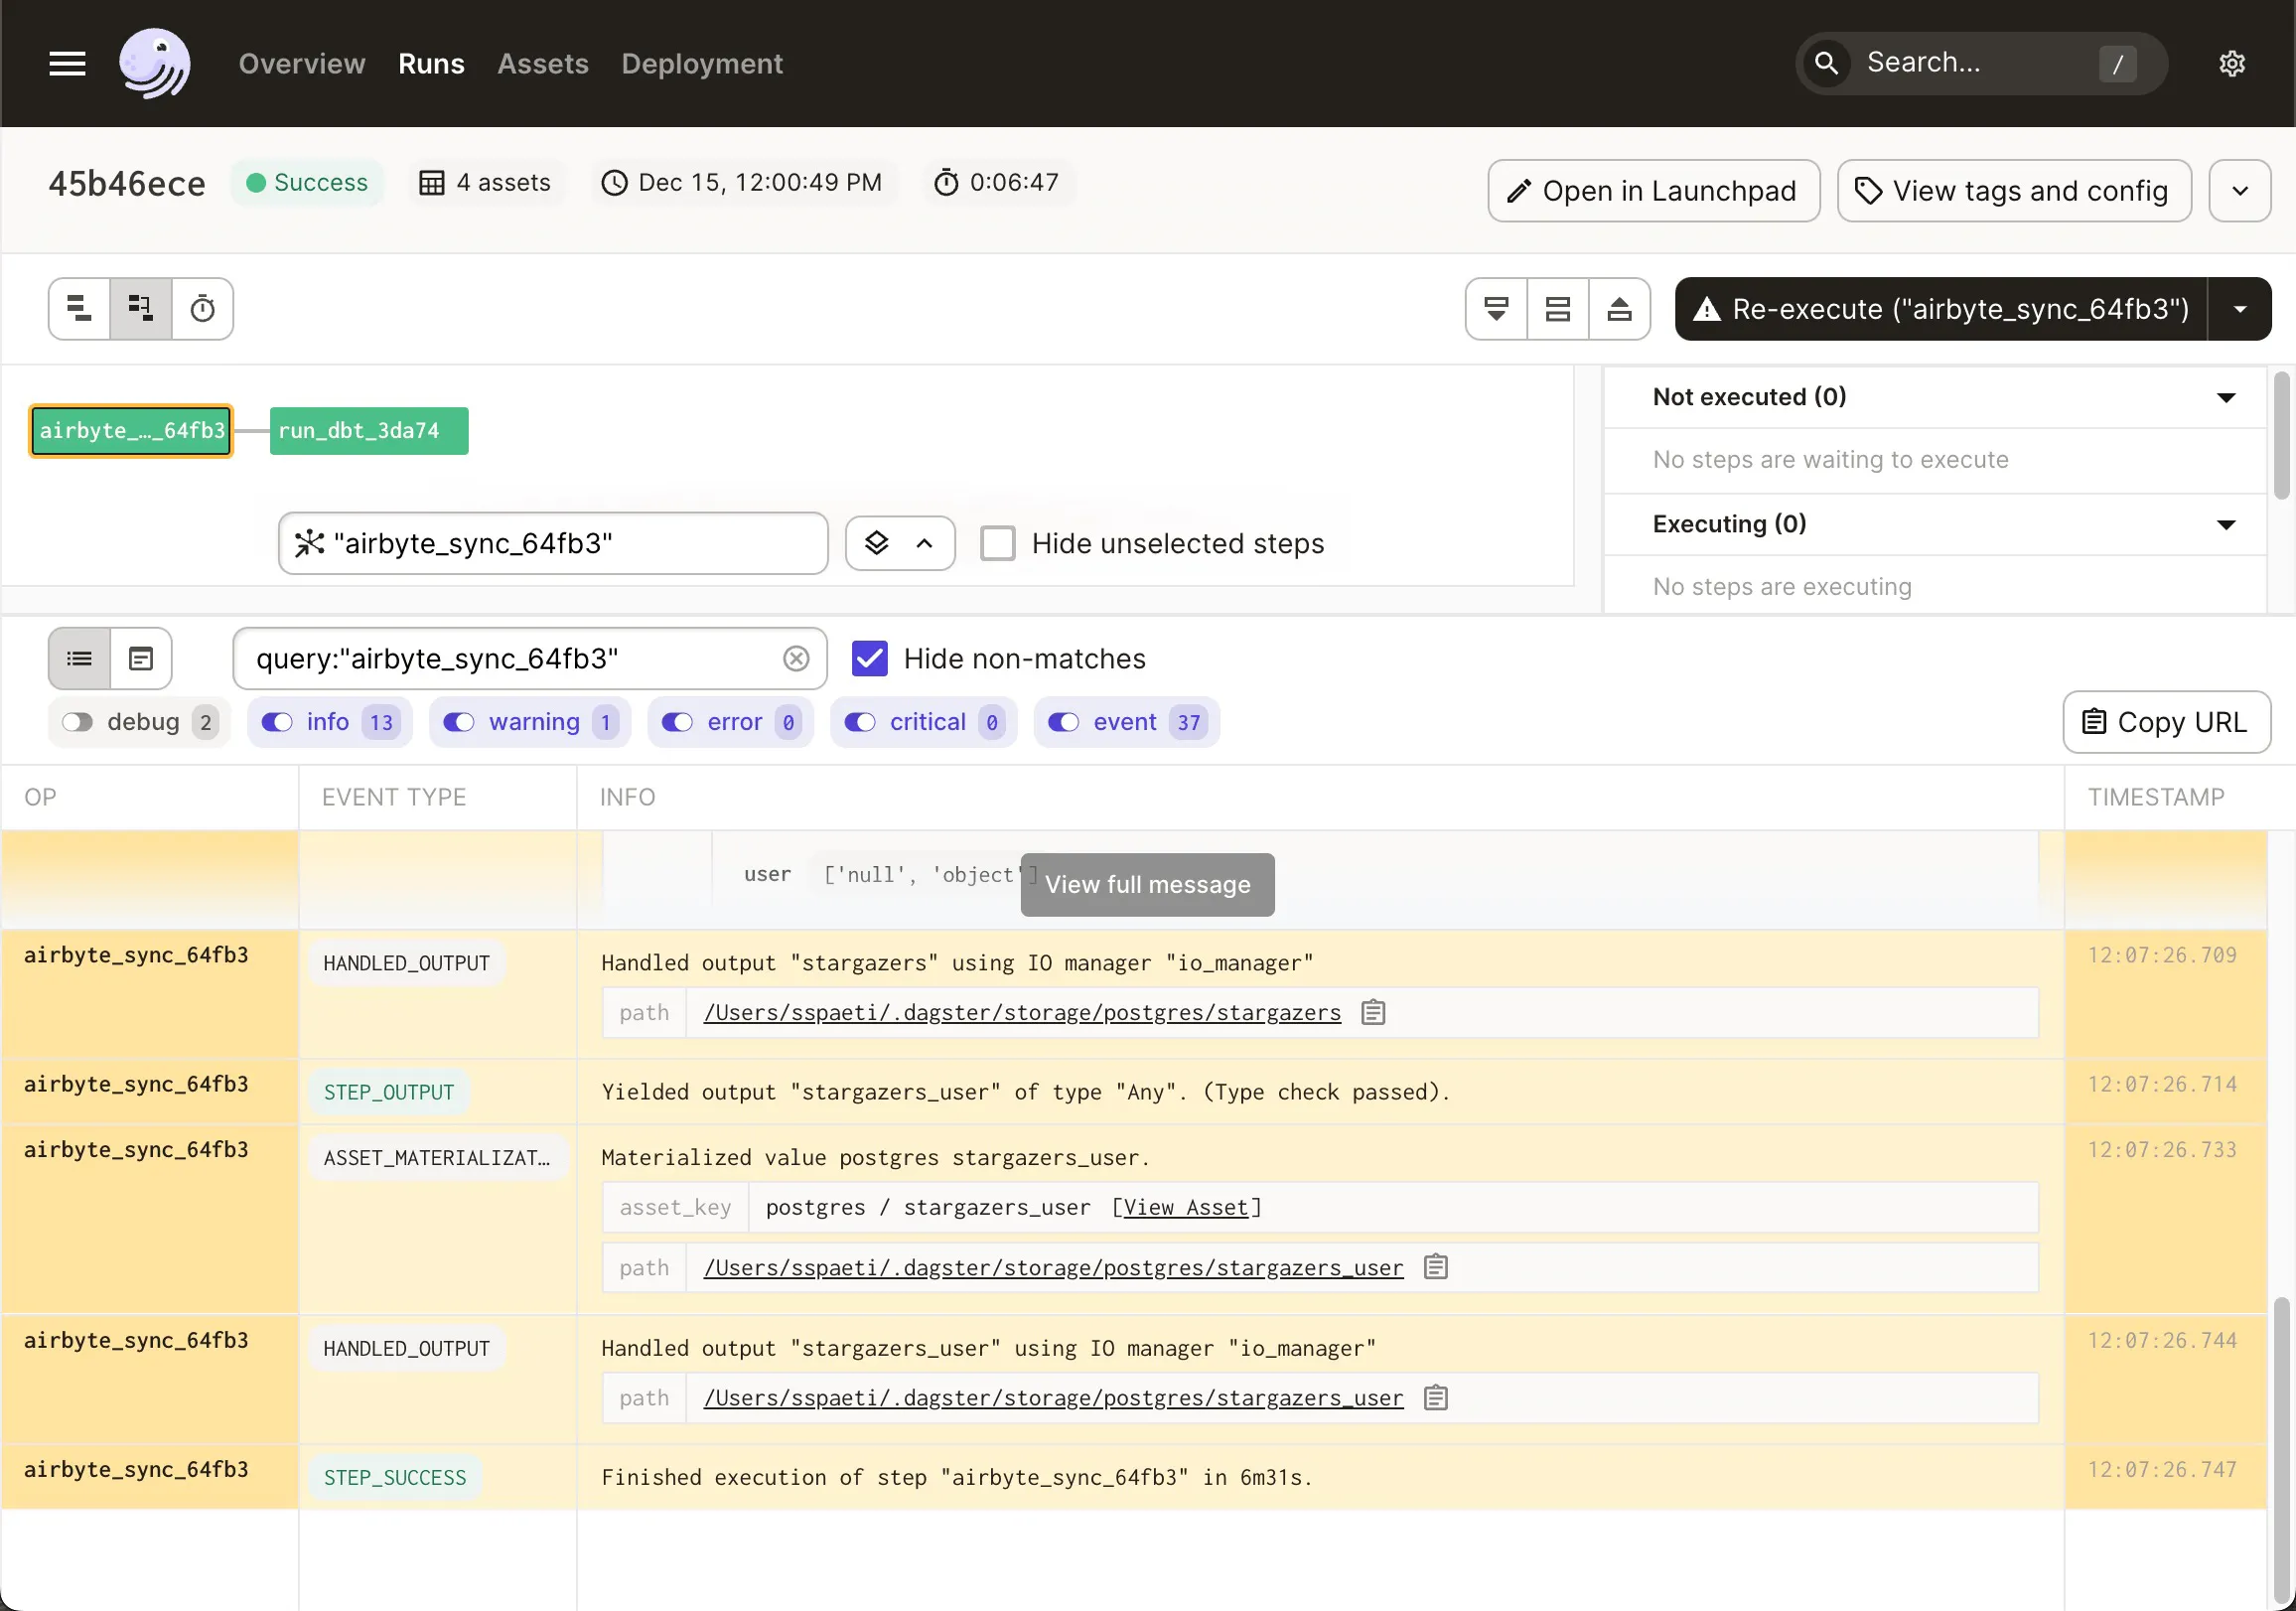
When finished, the dagster job will look like this:
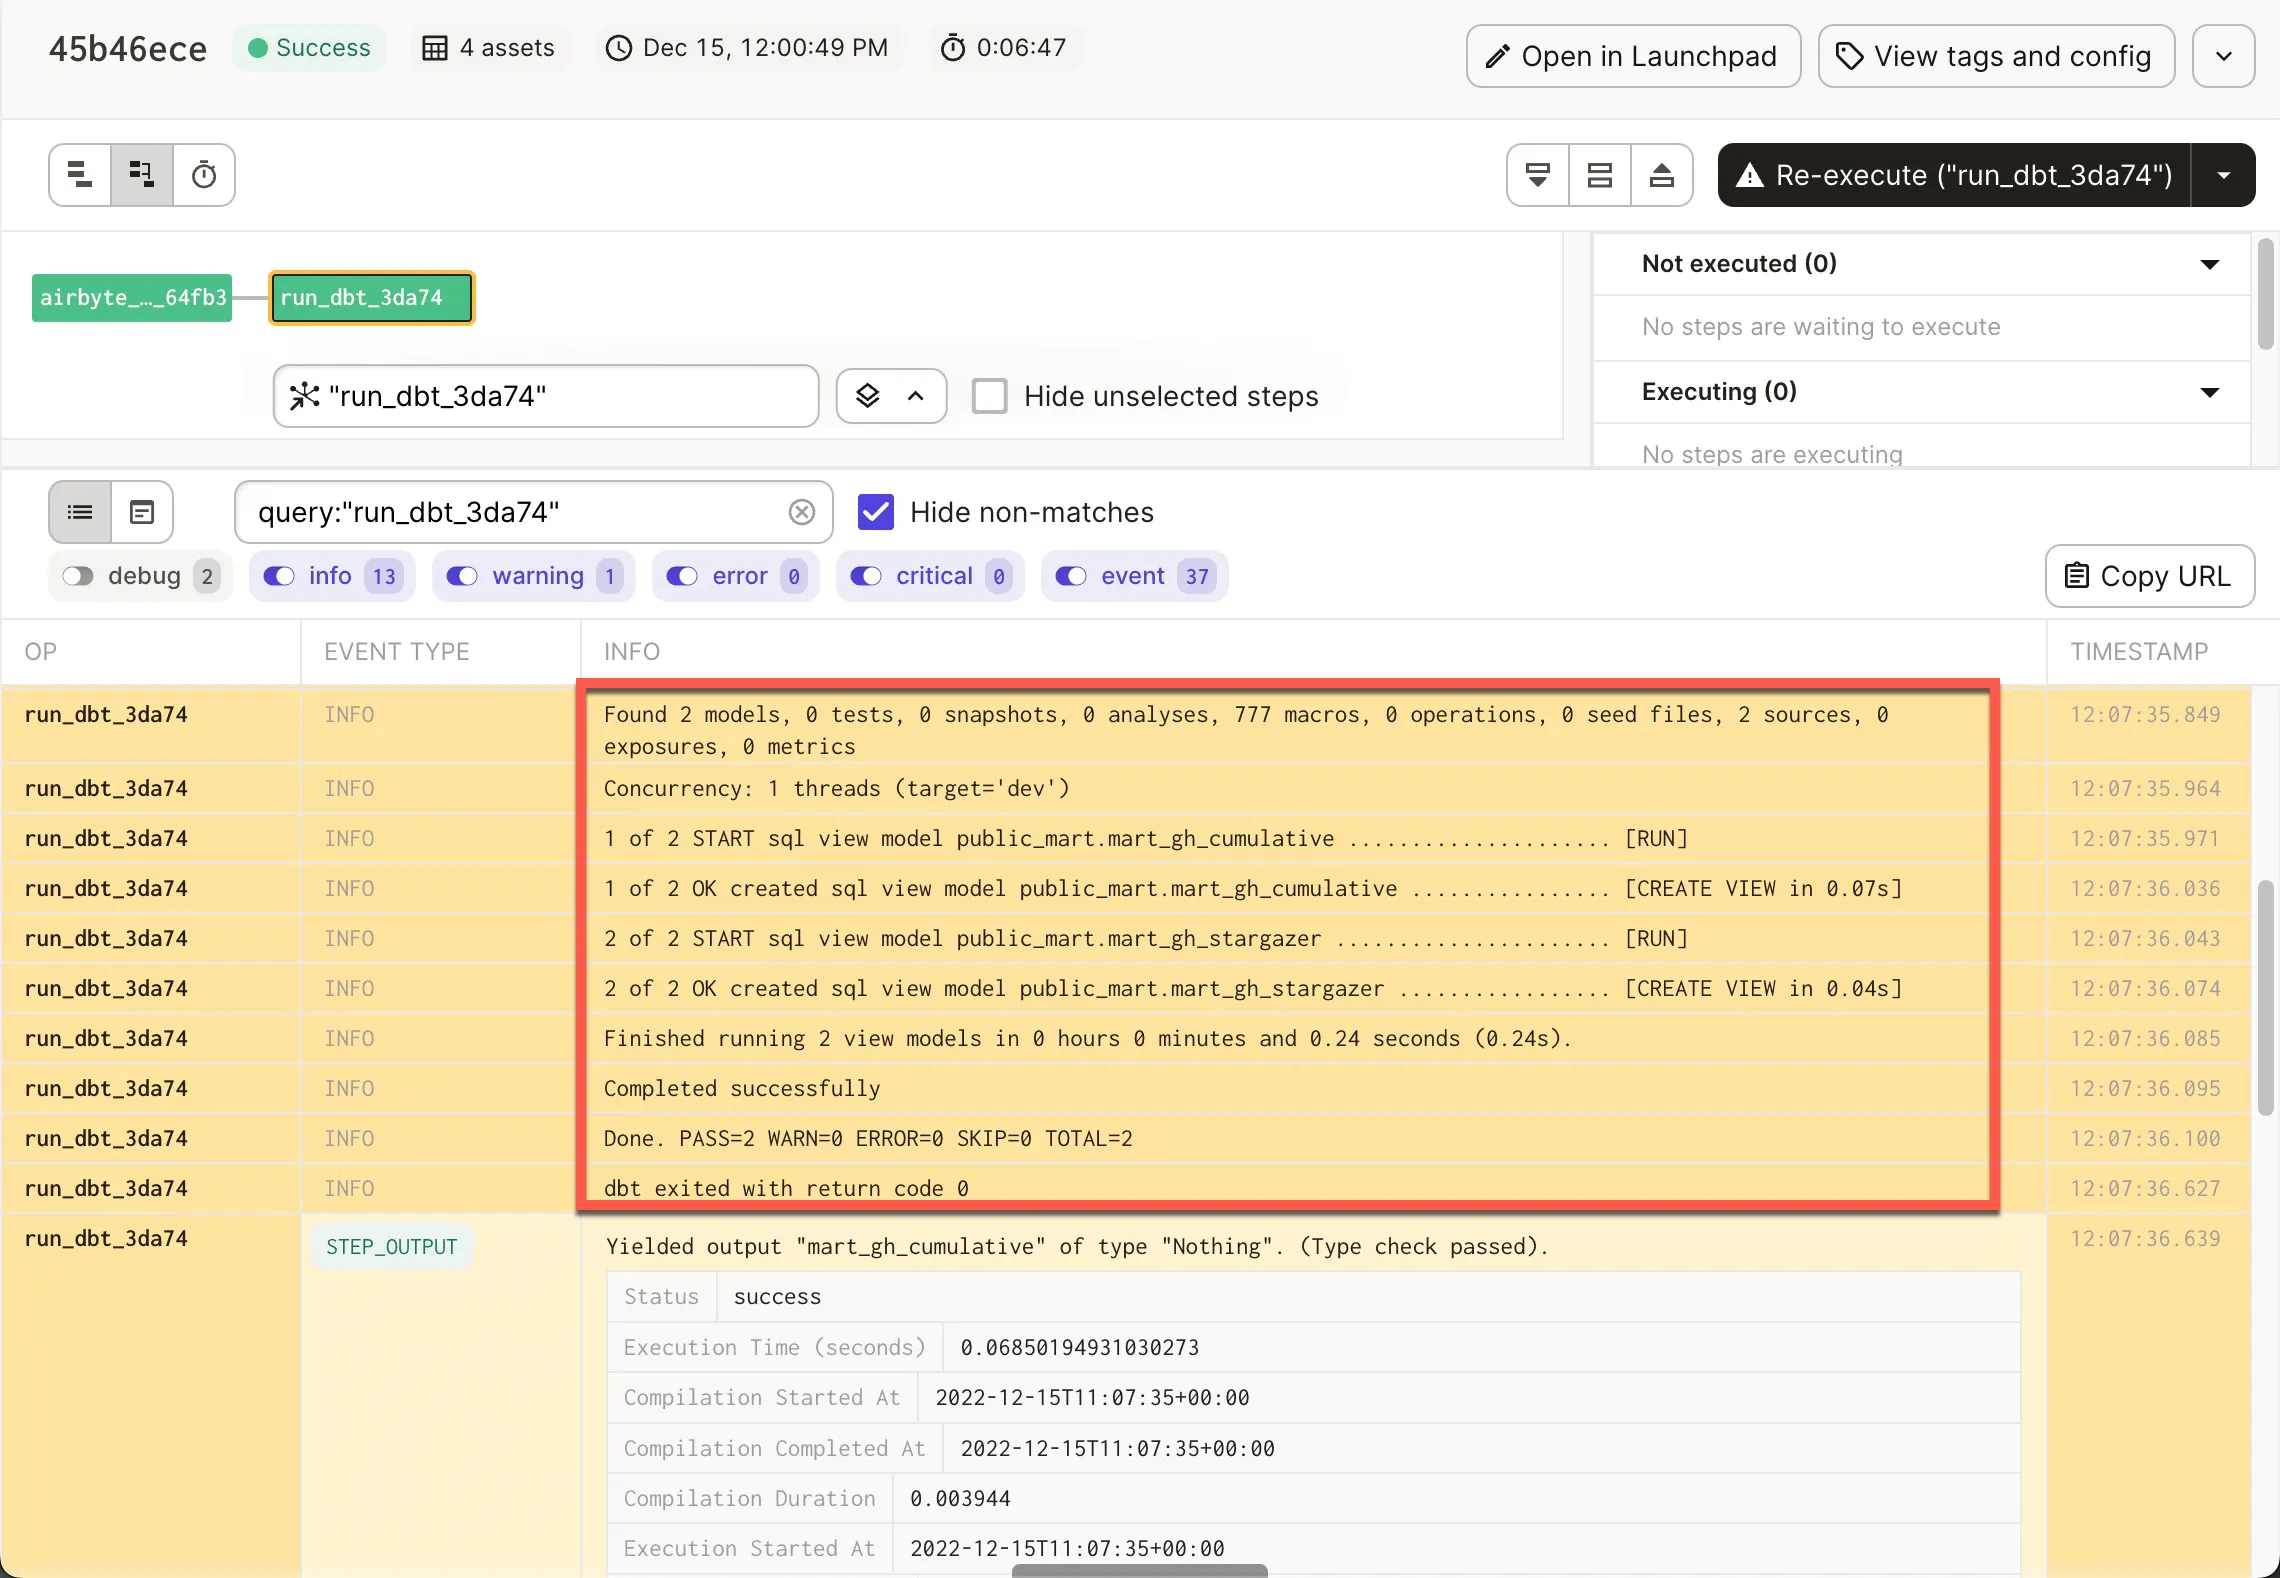
Including the <span class="text-style-code">dbt run</span> that Dagster triggered for us:
And more interestingly, the Global Asset Lineage with the latest run information:
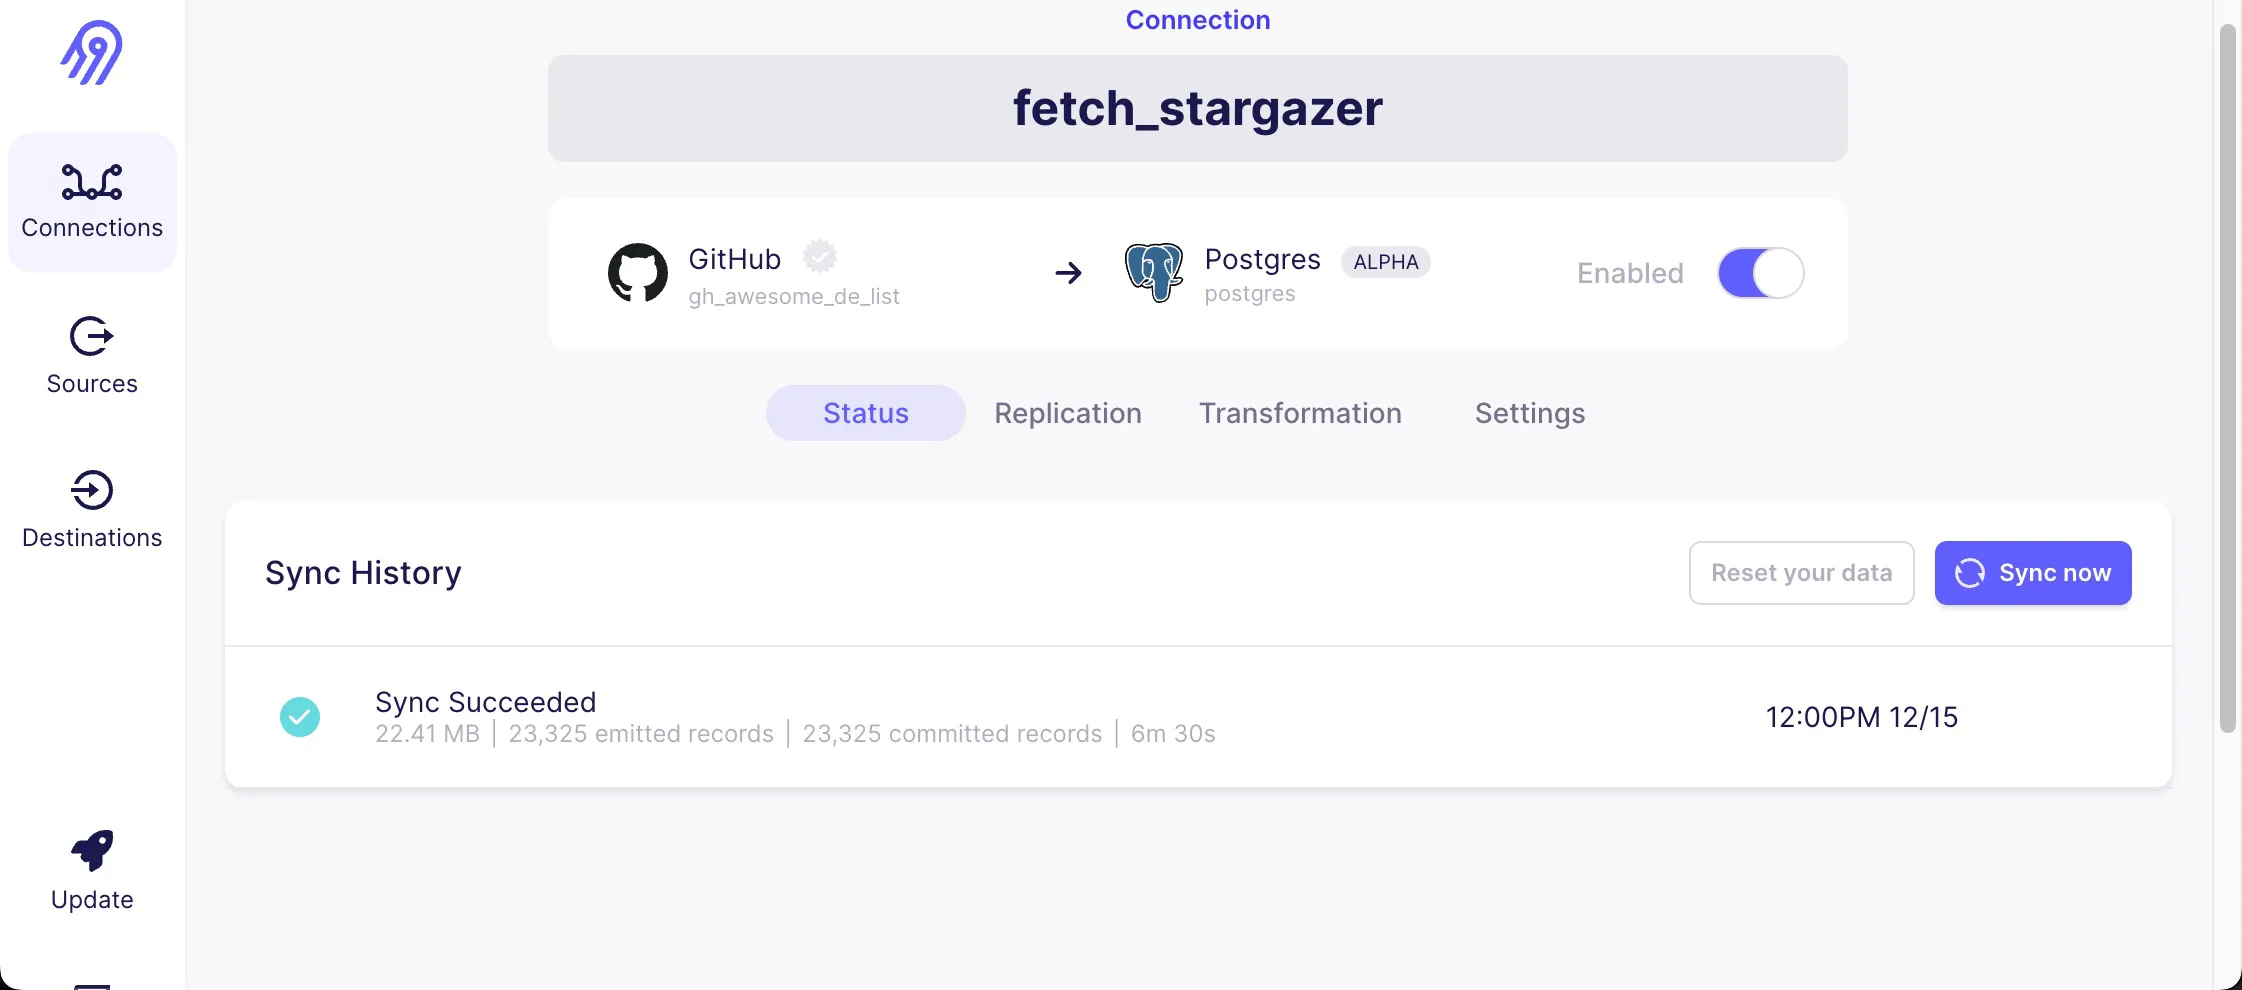
And finally, Airbyte UI finished successfully too as we can see below.
When we start Metabase as described in the Readme and head over to a straightforward dashboard, we can see the imported stars over the two-year timeline.
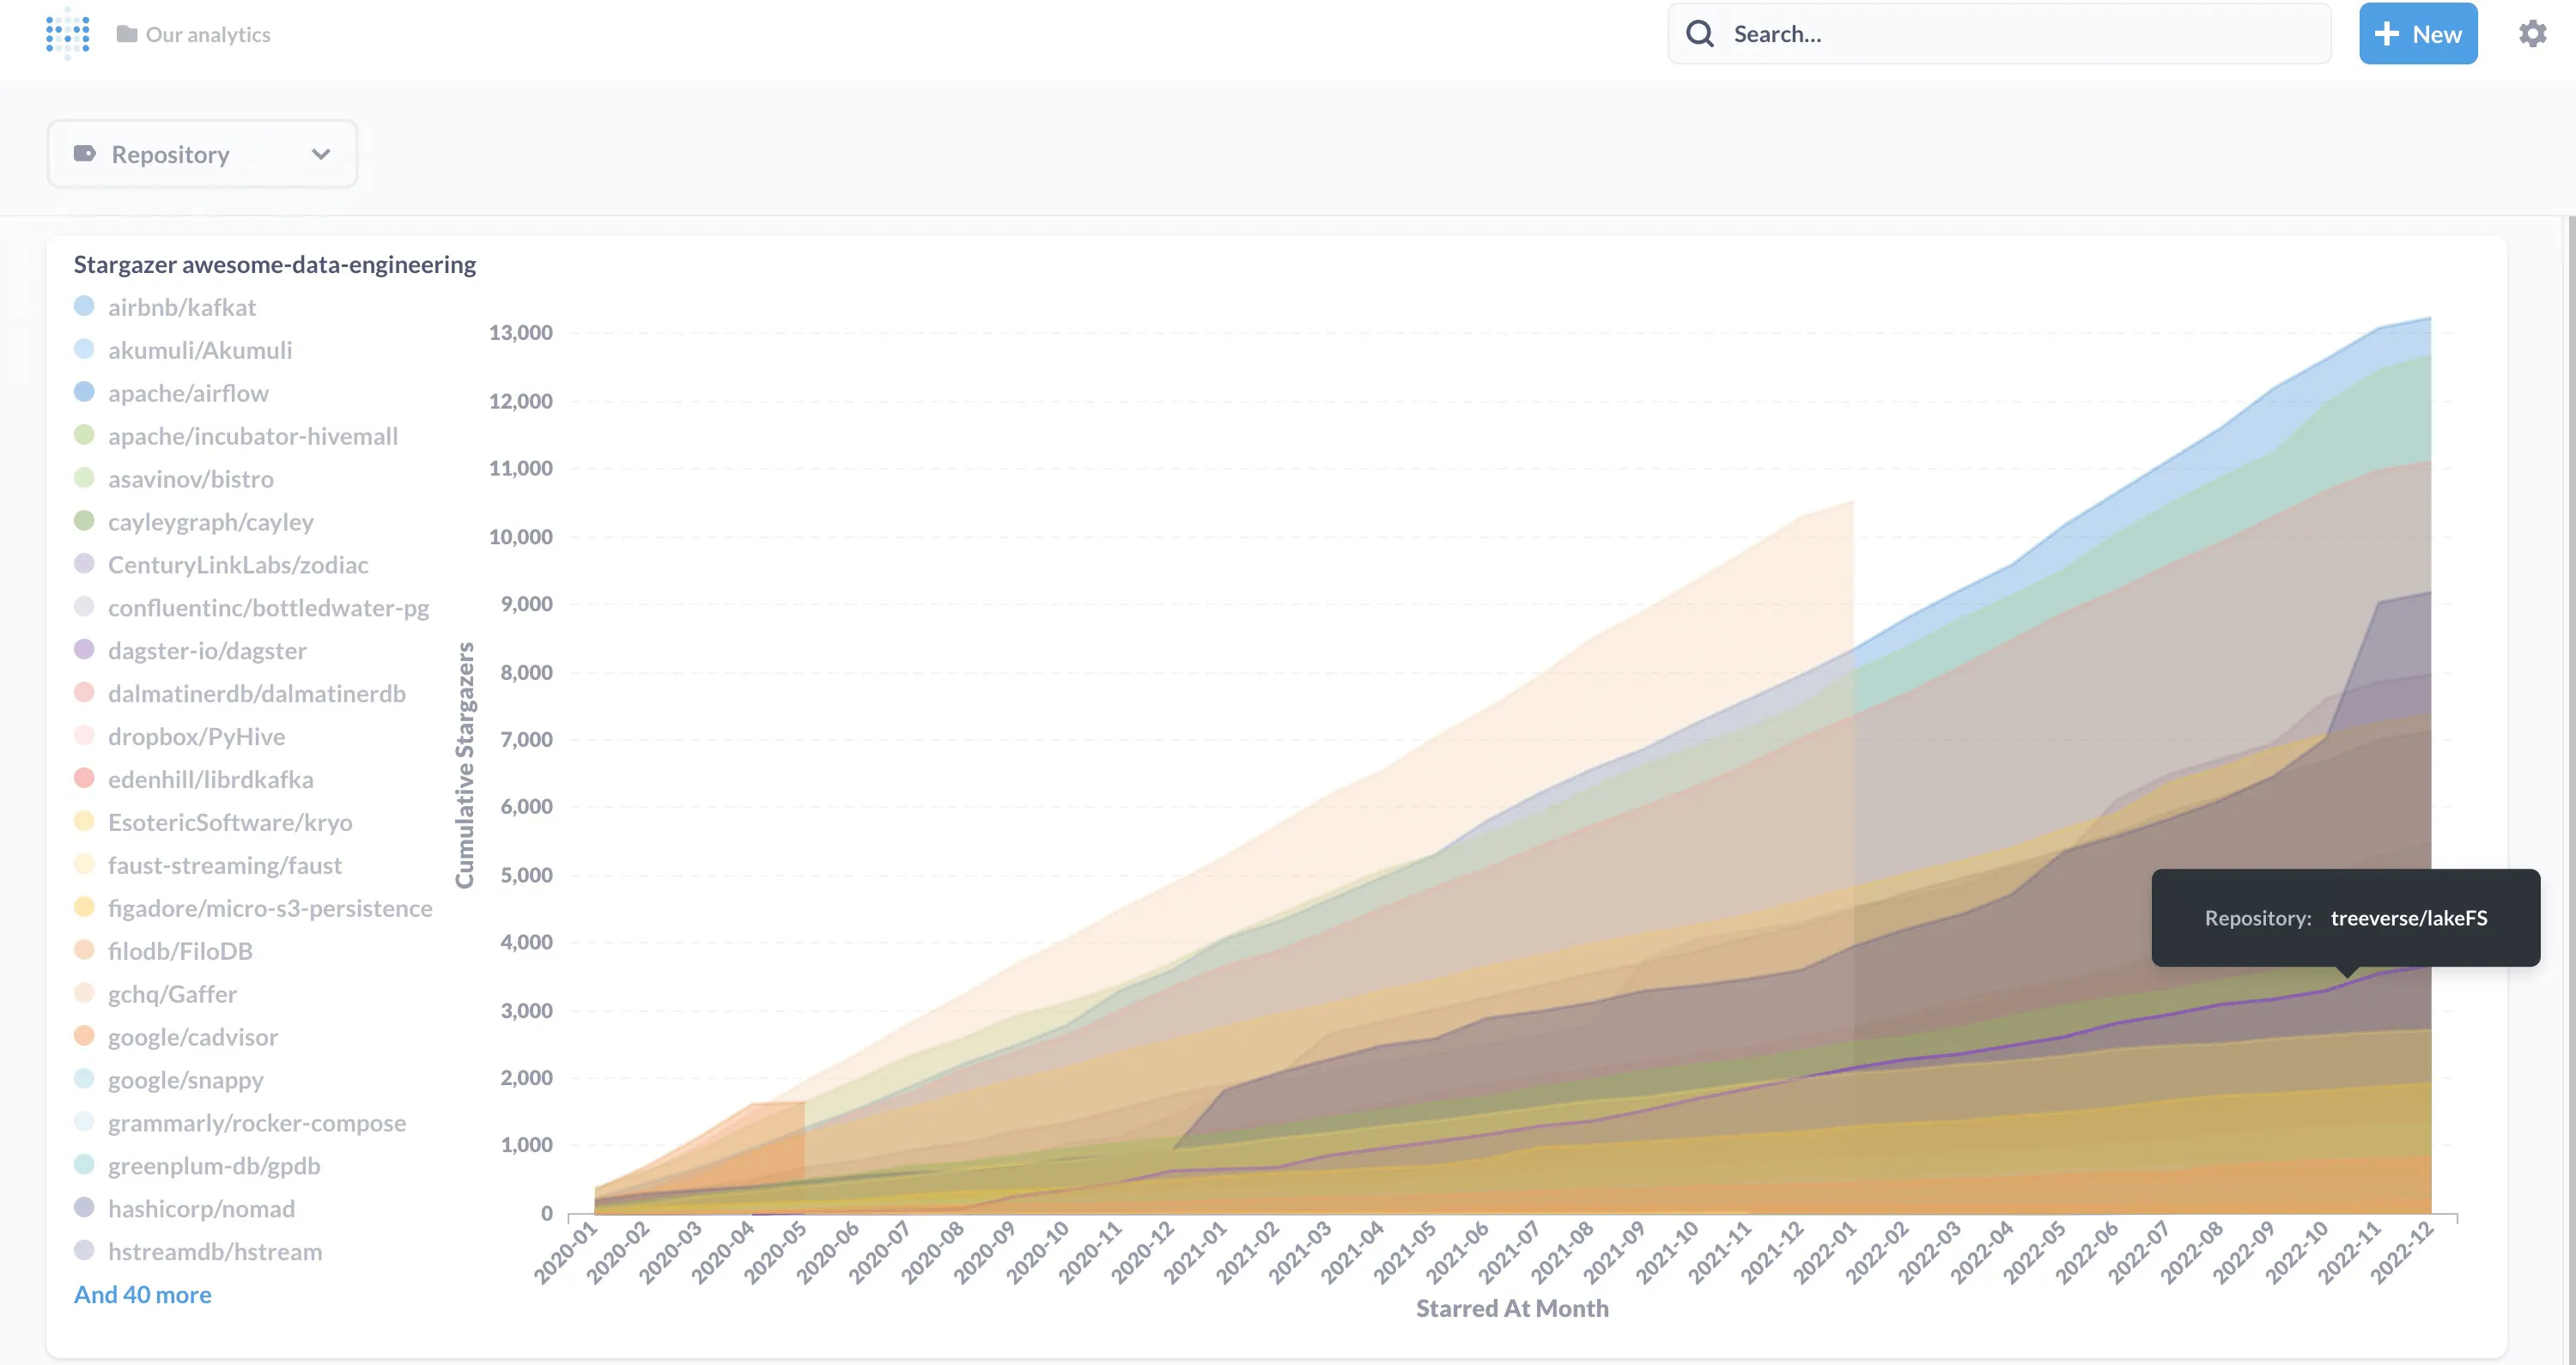
Metabase Dashboard that points to dbt view “mart_gh_cumulative”, which accumulates the stars per month over time.
📝 In the dashboard image, I replicated all 79 linked GitHub repos. For the sake of the demo and to avoid time-outs, I limited it to 10. But you can permanently remove that limitation.
We’ve seen how the new capabilities of Dagster can streamline traditional software engineering practices, such as testing and version control, to data integration with Airbyte.
The Pythonic definition of all Airbyte components opened the pandora box for more even-based use cases orchestrated by Dagster.
Ben from Dagster implemented a similar project using Data Integration as Code; check it out. I also thank Ben for his support while trialing these new experimental features myself.
Download our free guide and discover the best approach for your needs, whether it's building your ELT solution in-house or opting for Airbyte Open Source or Airbyte Cloud.
