Open-source data movement to
Open-source ETL from
Salesforce
to any destination


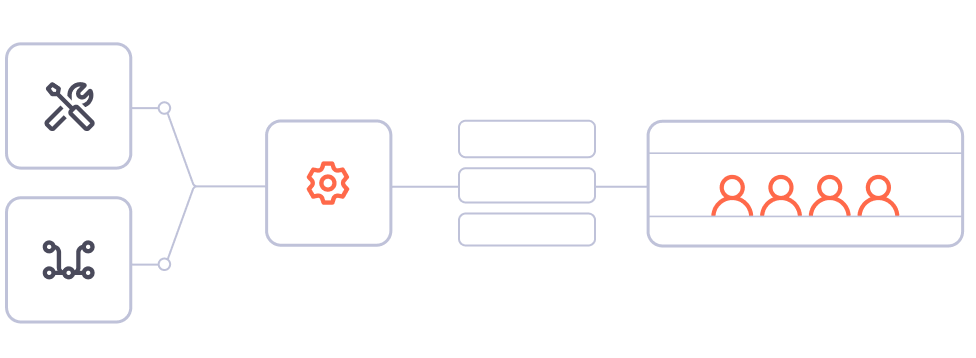
Set up a source connector to extract data from Airbyte
This can be any API tool, cloud data warehouse, database, data lake, file, or many other source types.
Configure the connection in Airbyte
Why Airbyte?
Airbyte is the only unified data movement platform built on the open standard. It is uniquely positioned in terms of data sovereignty, connector extensibility, and support for AI workflows.
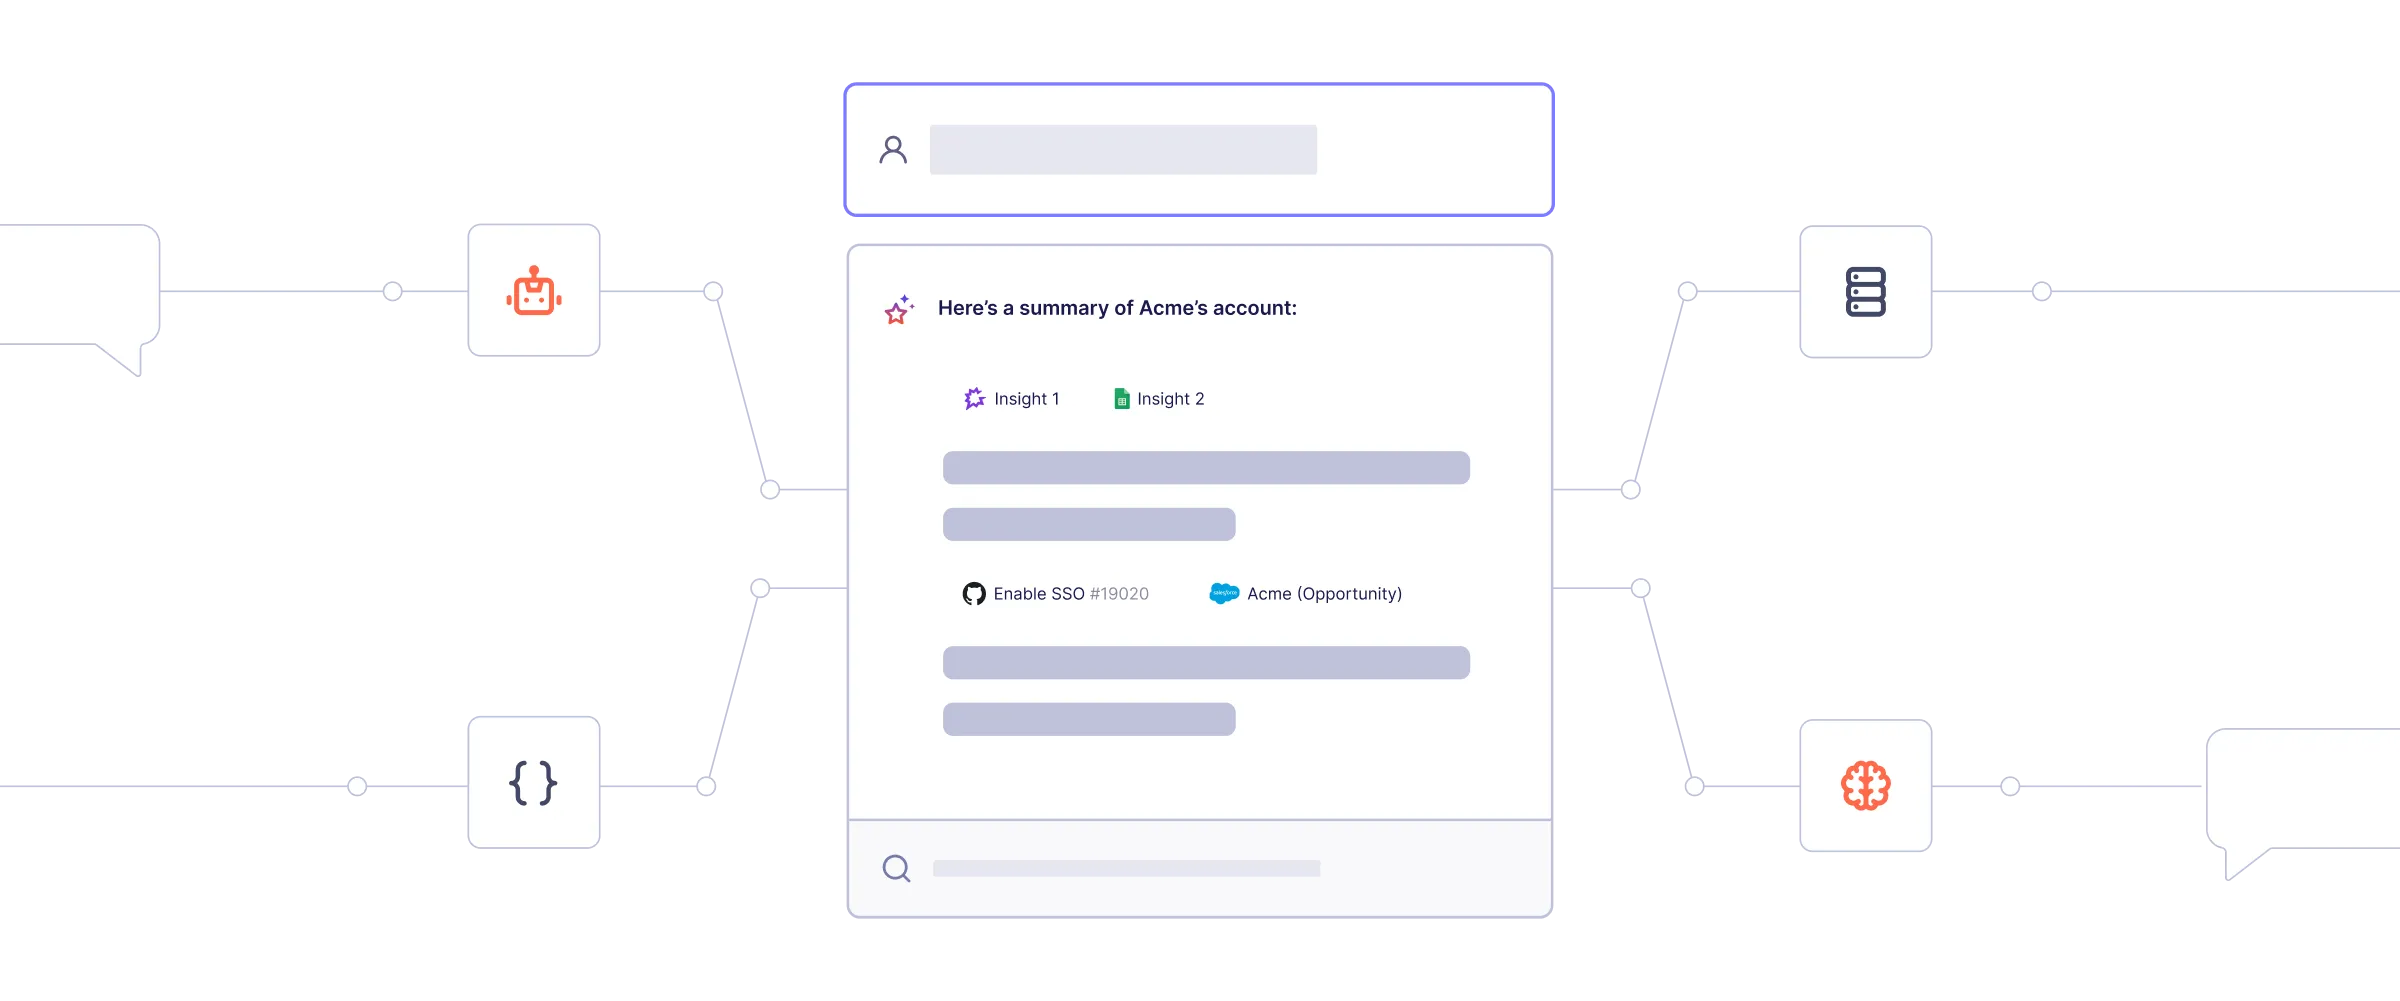
Create context for AI agents by leveraging Airbyte's 600+ connectors. Airbyte's pipelines transfer structured and unstructured data together for metadata preservation. With support for flexible destinations such as Iceberg, Airbyte is the ideal data movement solution for agentic application.
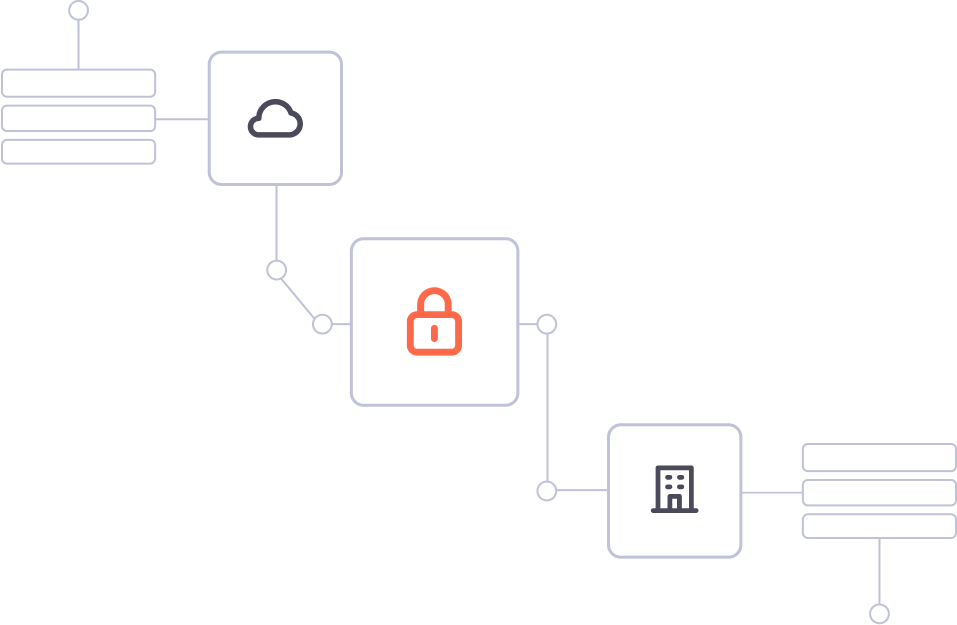
Flexible deployment options: self-hosted, cloud, and hybrid. Secure and compliant: ISO 27001, SOC 2, GDPR, HIPAA, data encryption, audit/monitoring, SSO, RBAC, and more. Centralized multi-tenant management with self-serve capabilities.
Trusted by the world's leading companies
Immediate ROI and productivity gains for your data teams.


.png)

"With our legacy framework, if one of the pipelines fails for one client, it will stop everything for the rest of our clients. But with Airbyte, things are run in parallel because of the platform’s distributed nature, which means that we can process multiple clients at the same time without impacting performance."
Raman Singh, Tech Lead at Symend
"The real ROI is in our ability to iterate quickly, especially at our increasing scale. At the end of the day, you want a tool like that to just work. We can forget about it and know that it's configured and it's connecting and it's working. That hands-free capability is a big appeal for the platform.”
Sean Carver, Director of Data at Petvisor
"Unlike Fivetran's credit-based system that created budget uncertainty, Airbyte's pricing model allows Kuda to forecast expenses accurately and avoid surprise bills."
Mondor La Grange, Head of BI and Data Engineering
"What's different from Stitch Data or Informatica is the way that we can configure Airbyte connections and Airbyte entities through code. That's a huge plus to us as data engineers, because we are used to checking code and being able to manage changes from Github."
Amy Zhao, Senior Manager of Data Engineering at Peloton
"Airbyte allows us to stay flexible while scaling from hundred-million to billion-dollar enterprise clients."
Franziska Ibscher, Product Manager at Drivepoint
FAQs
ETL, an acronym for Extract, Transform, Load, is a vital data integration process. It involves extracting data from diverse sources, transforming it into a usable format, and loading it into a database, data warehouse or data lake. This process enables meaningful data analysis, enhancing business intelligence.
Salesforce is a cloud-based customer relationship management (CRM) platform providing business solutions software on a subscription basis. Salesforce is a huge force in the ecommerce world, helping businesses with marketing, commerce, service and sales, and enabling enterprises’ IT teams to collaborate easily from anywhere. Salesforces is the force behind many industries, offering healthcare, automotive, finance, media, communications, and manufacturing multichannel support. Its services are wide-ranging, with access to customer, partner, and developer communities as well as an app exchange marketplace.
1
Structured data: This includes data that is organized into tables with defined columns and data types, such as CSV, JSON, and Avro files.
2
Semi-structured data: This includes data that has some structure, but not necessarily a fixed schema, such as XML and JSON files.
3
Unstructured data: This includes data that has no predefined structure, such as text, images, and videos.
4
Time-series data: This includes data that is organized by time, such as stock prices, weather data, and sensor readings.
5
Geospatial data: This includes data that is related to geographic locations, such as maps, GPS coordinates, and spatial databases.
6
Machine learning data: This includes data that is used to train machine learning models, such as labeled datasets and feature vectors.
7
Streaming data: This includes data that is generated in real-time, such as social media feeds, IoT sensor data, and log files.
This can be done by building a data pipeline manually, usually a Python script (you can leverage a tool as Apache Airflow for this). This process can take more than a full week of development. Or it can be done in minutes on Airbyte in three easy steps:
1
2
3
This can be done by building a data pipeline manually, usually a Python script (you can leverage a tool as Apache Airflow for this). This process can take more than a full week of development. Or it can be done in minutes on Airbyte in three easy steps:
Airbyte
Fivetran
StitchData
Matillion
Talend Data Integration
ELT, standing for Extract, Load, Transform, is a modern take on the traditional ETL data integration process. In ELT, data is first extracted from various sources, loaded directly into a data warehouse, and then transformed. This approach enhances data processing speed, analytical flexibility and autonomy.
ETL and ELT are critical data integration strategies with key differences. ETL (Extract, Transform, Load) transforms data before loading, ideal for structured data. In contrast, ELT (Extract, Load, Transform) loads data before transformation, perfect for processing large, diverse data sets in modern data warehouses. ELT is becoming the new standard as it offers a lot more flexibility and autonomy to data analysts.
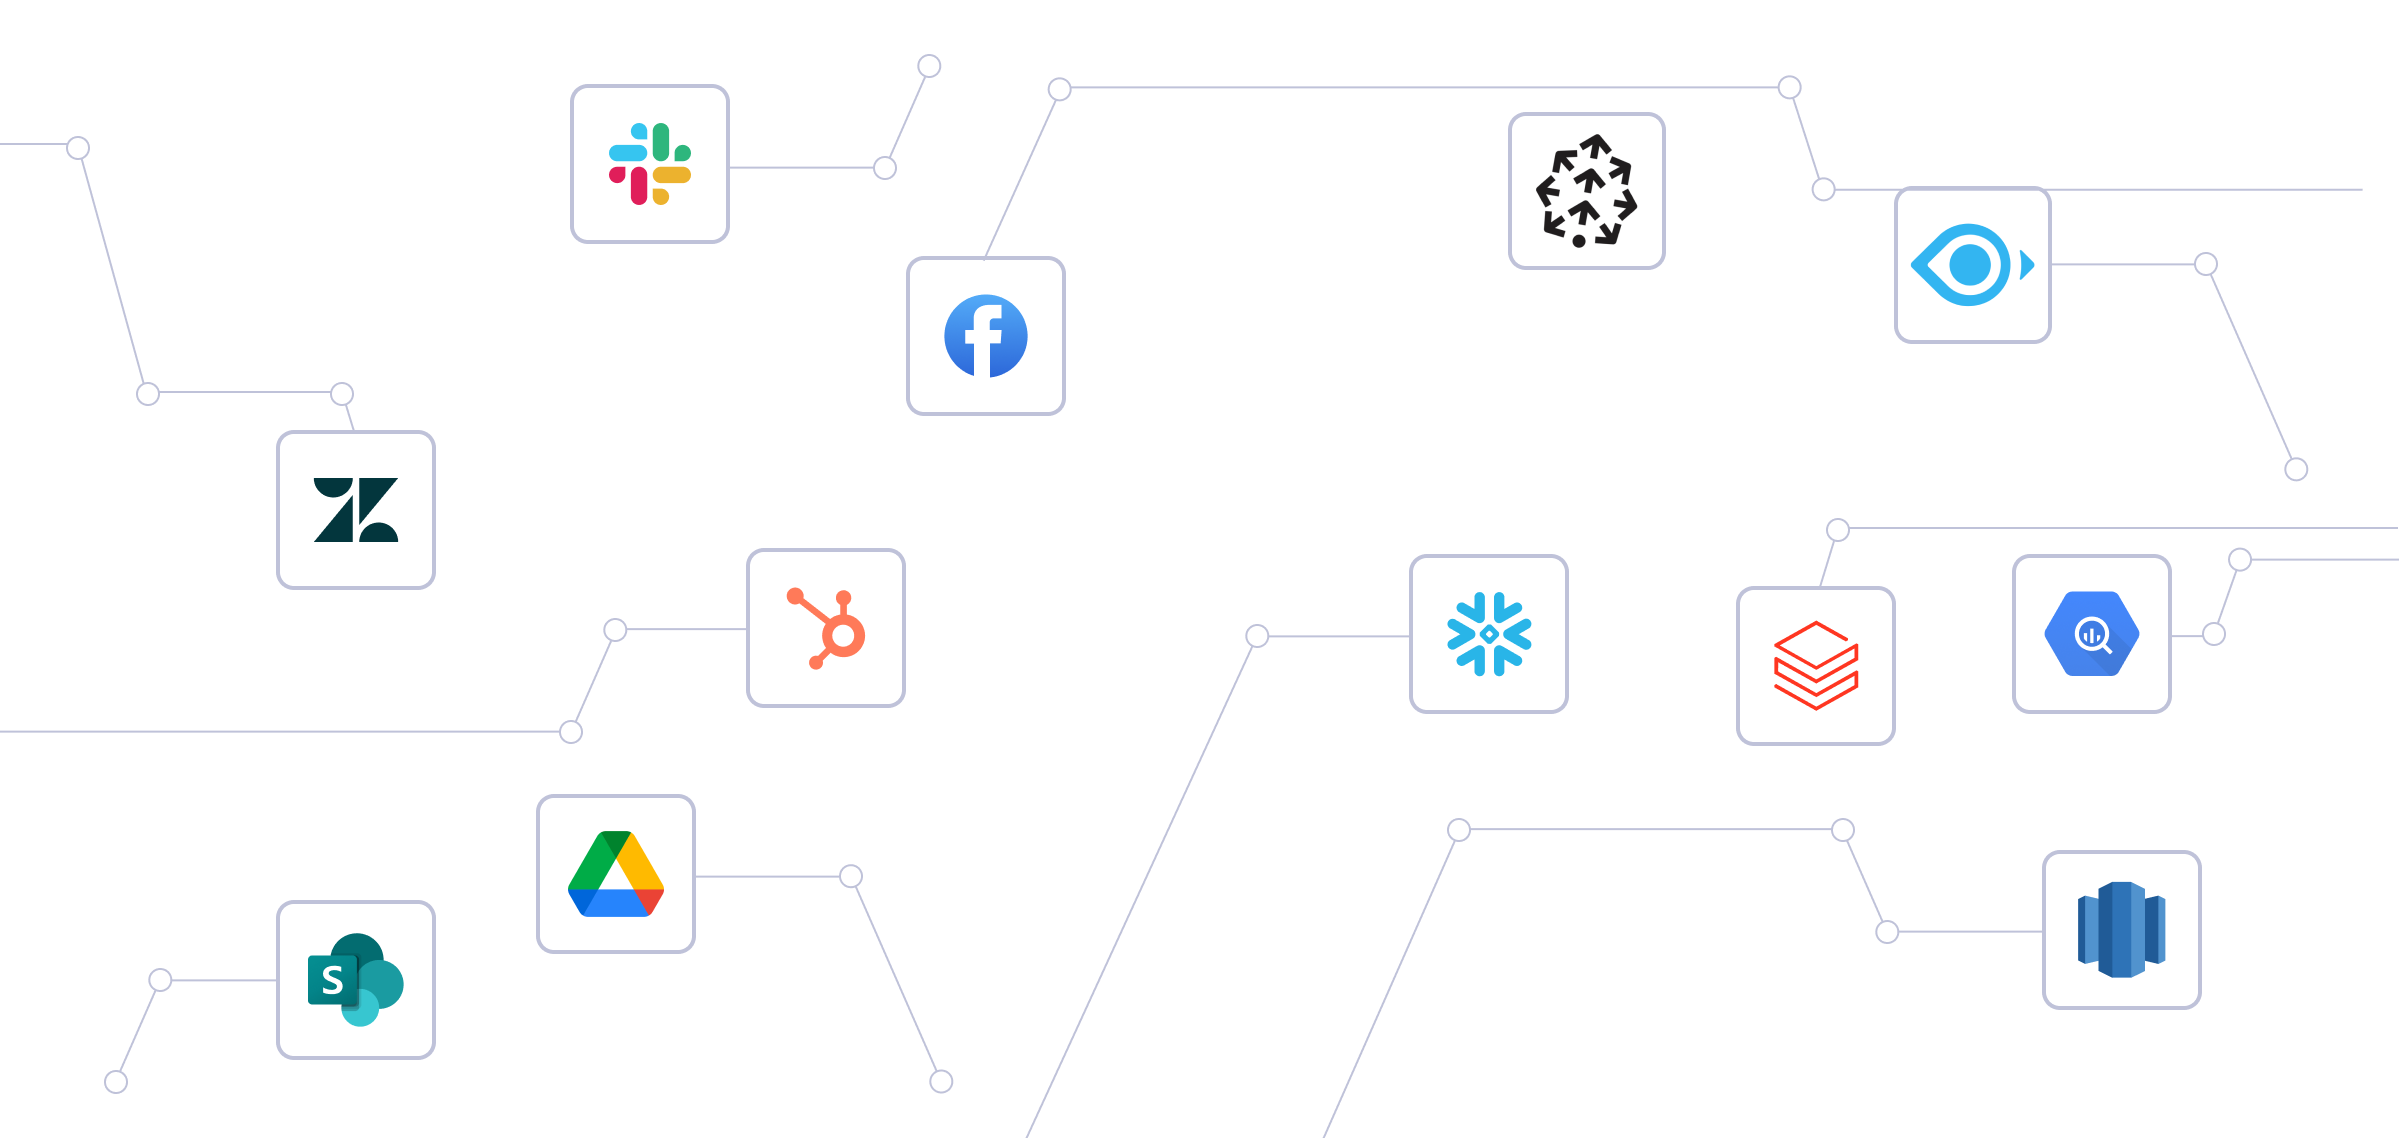
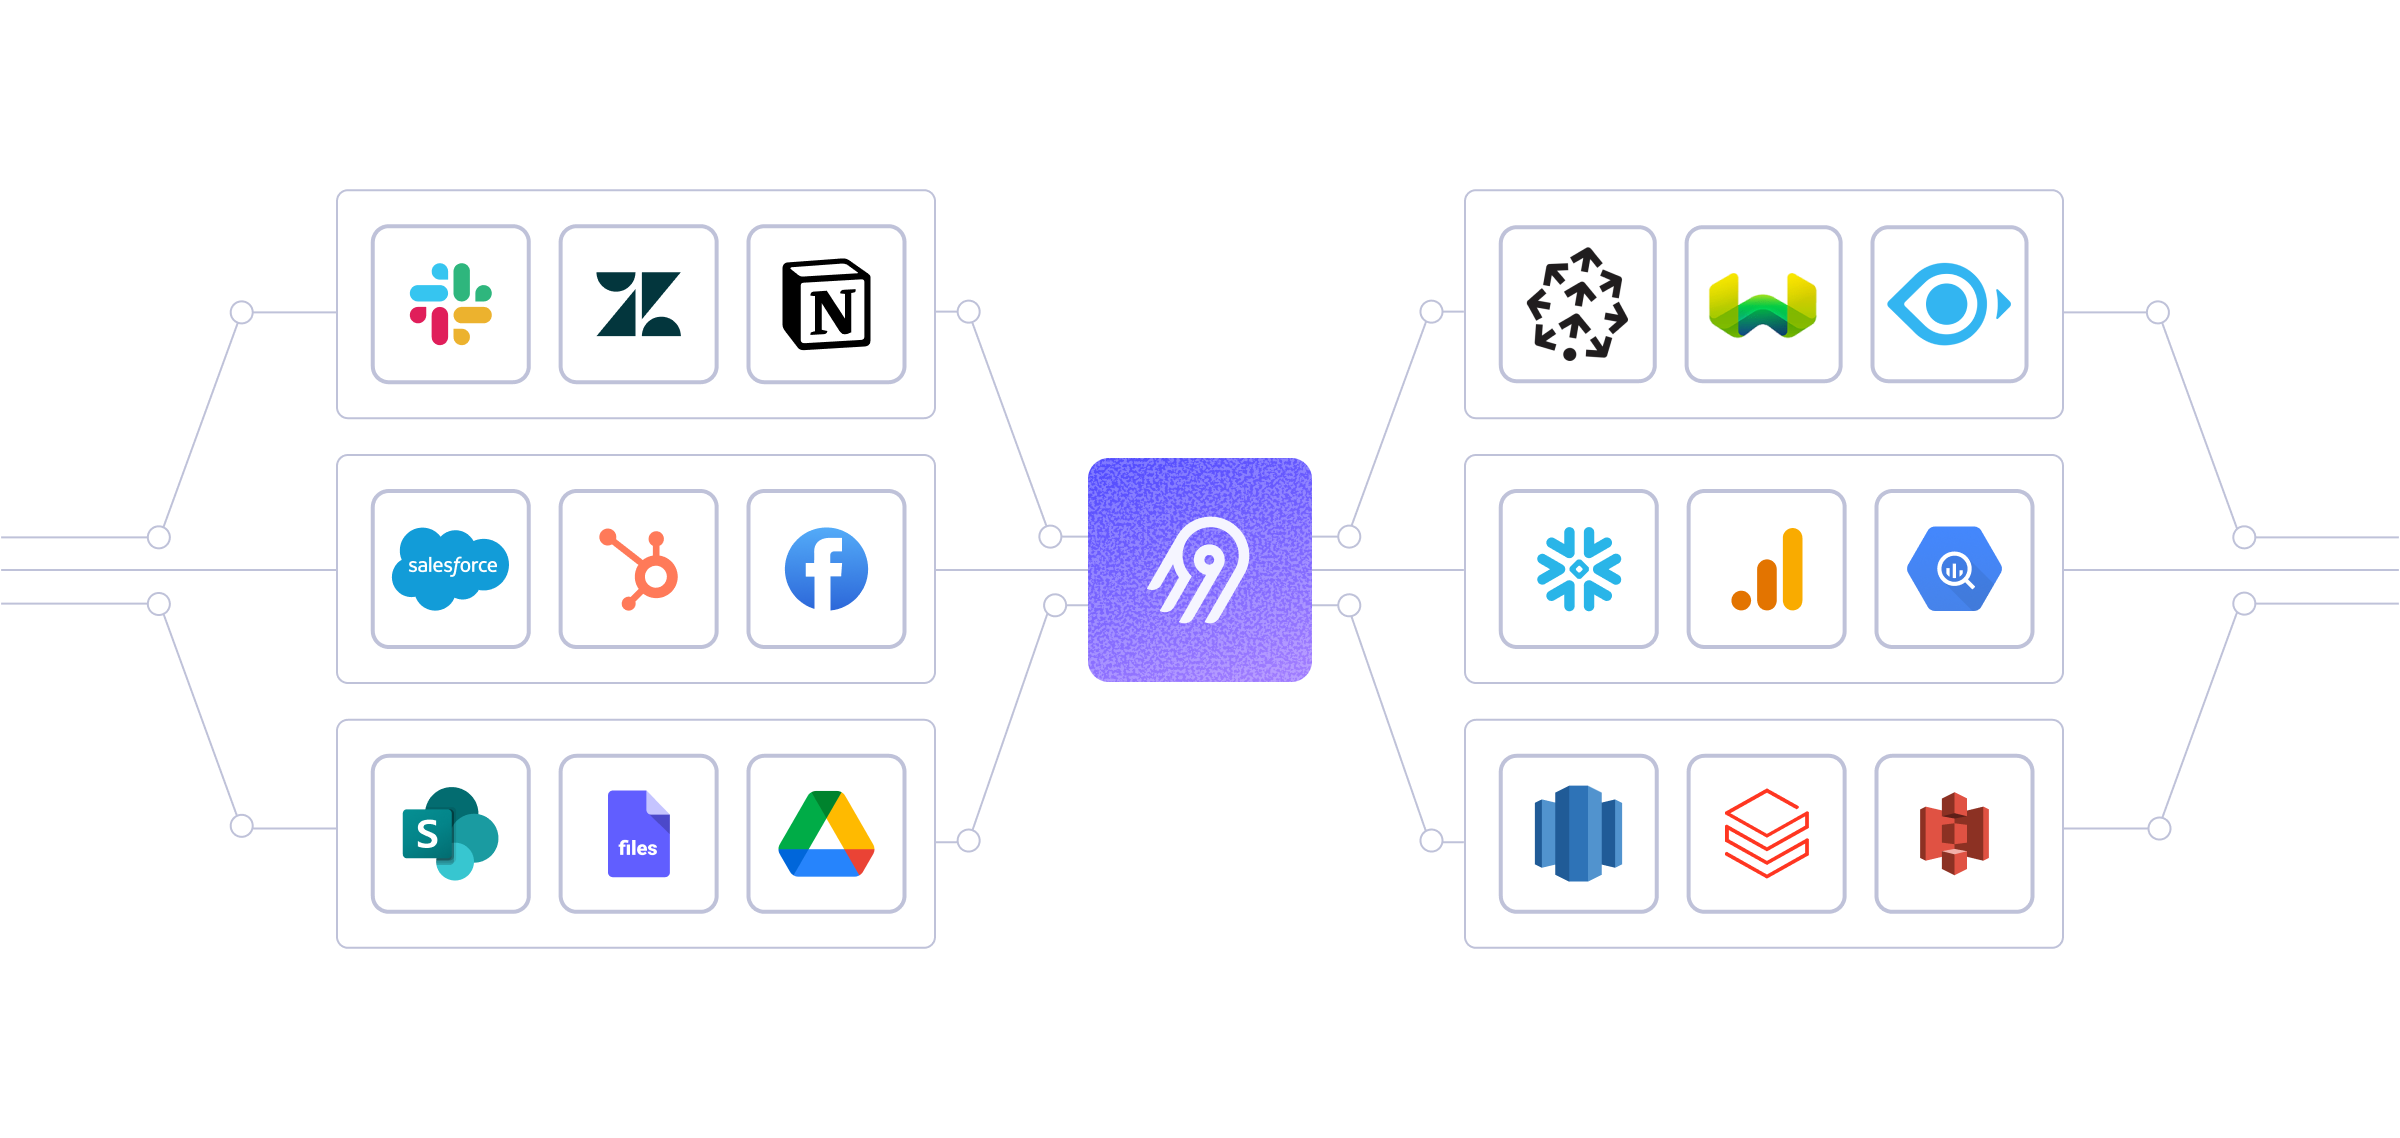
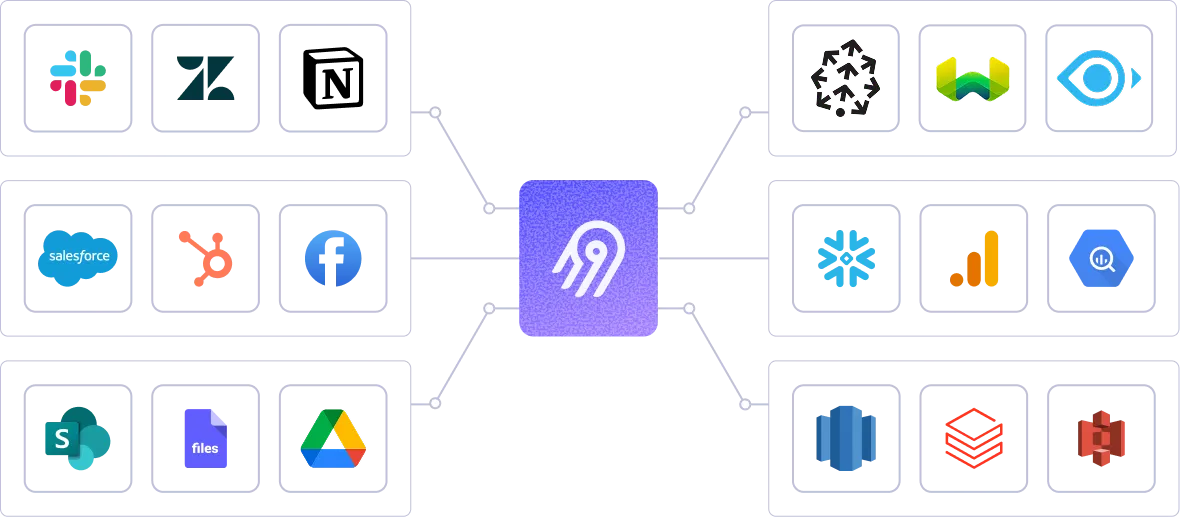
Airbyte supports a growing list of sources, including API tools, cloud data warehouses, lakes, databases, and files, or even custom sources you can build.
Airbyte supports a growing list of destinations, including cloud data warehouses, lakes, and databases.

Github
Unstructured

Gitlab
Unstructured

Google Drive
Unstructured

Microsoft OneDrive
Unstructured

Microsoft Sharepoint
Unstructured

Notion
Unstructured

S3
Unstructured

Slack
Unstructured

Apify Dataset
Unstructured

Azure Blog Storage
Unstructured